Introduction:
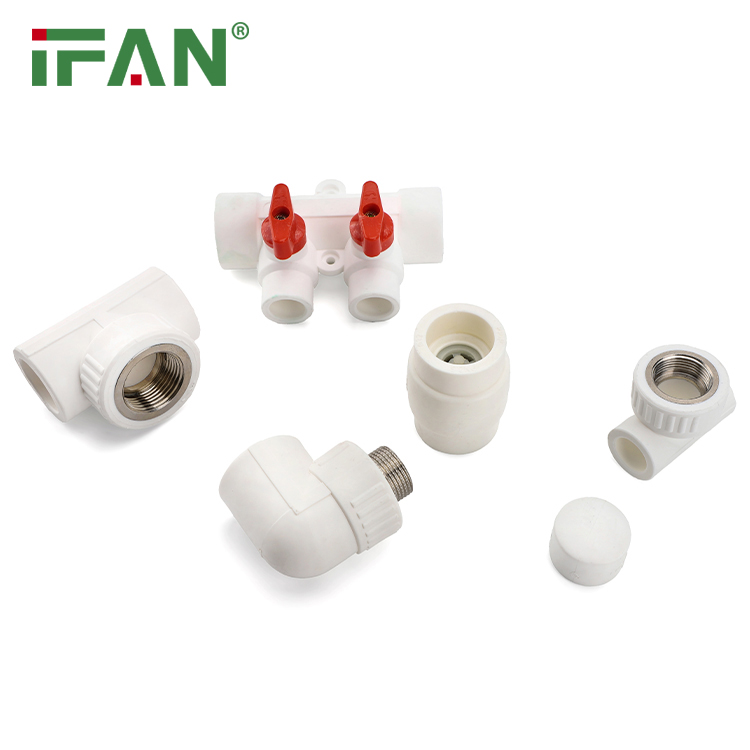
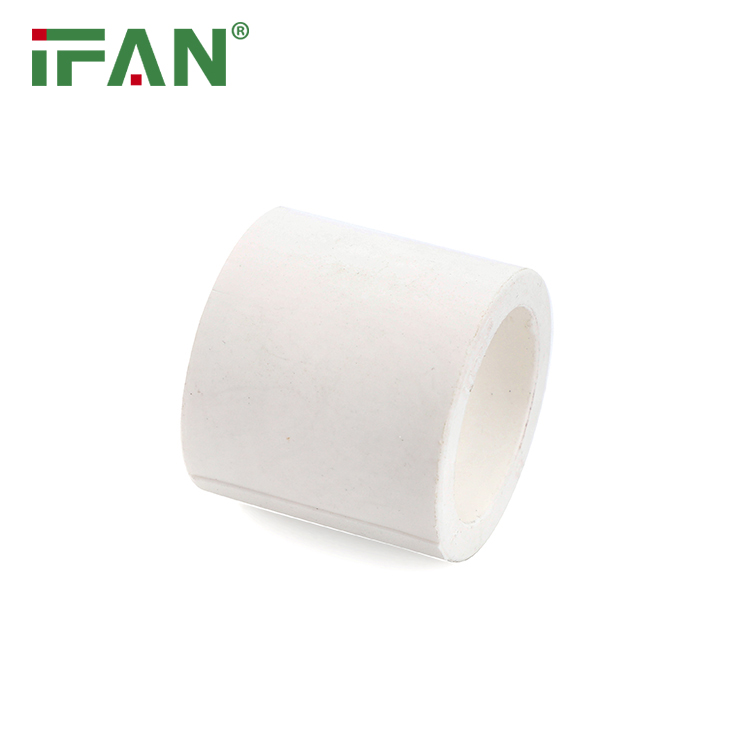
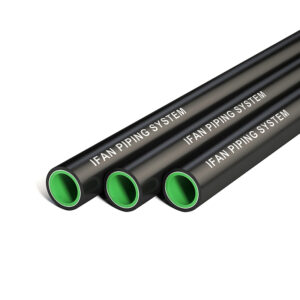
Polypropylene Random (PPR) pipes have emerged as the ideal choice for plumbing systems due to their durability, longevity, and ease of installation. However, proper installation techniques are crucial to ensure the optimal performance of PPR pipes. This article aims to provide a step-by-step guide for installing PPR pipes, including preparation, *******, joining, and testing.
Preparation:
Before installing PPR pipes, it is essential to prepare the necessary tools and equipment. These include a pipe cutter, chamfering tool, welding machine, and measuring tape. It is also crucial to ensure that the surface where the pipes will be installed is clean and free from any debris or contaminants.
Cutting:
The first step in installing PPR pipes is ******* them to the required length. It is essential to use a pipe cutter to ensure a clean and precise cut. The cut should be perpendicular to the axis of the pipe, and the edges should be smooth and free from burrs. After *******, use a chamfering tool to remove any sharp edges or burrs from the pipe’s ends.
Joining:
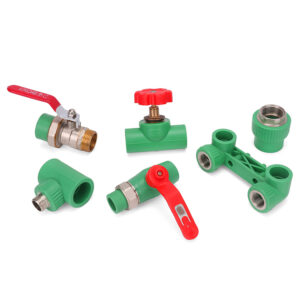
Joining PPR pipes is typically done using a welding machine. The welding process involves heating the pipe and fitting simultaneously and then joining them together. The following steps should be followed when joining PPR pipes:
1. Insert the pipe into the fitting, ensuring that it is fully inserted and aligned.
2. Mark the insertion depth on the pipe using a marker or tape measure.
3. Use the welding machine to heat the fitting and the pipe simultaneously.
4. After heating, remove the pipe and fitting from the welding machine and insert the pipe into the fitting, ensuring that it is fully inserted to the marked depth.
5. Hold the pipe and fitting in place until the joint cools and solidifies.
Testing:
After completing the installation, it is crucial to test the plumbing system to ensure that it is leak-free. The testing process involves filling the system with water and pressurizing it to the required level. The following steps should be followed when testing PPR pipes:
1. Close all valves and taps connected to the plumbing system.
2. Connect a pressure gauge to the system and pressurize it to the required level.
3. Monitor the pressure gauge for any pressure drops, which may indicate a leak in the system.
4. If there are no leaks, release the pressure and open all valves and taps to ensure that the system is functioning correctly.
Conclusion:
In conclusion, proper installation techniques are crucial to ensure the optimal performance of PPR pipes. The preparation, *******, joining, and testing steps outlined in this article provide a step-by-step guide for installing PPR pipes. By following these steps, plumbing professionals can ensure that the plumbing system is leak-free, durable, and long-lasting.