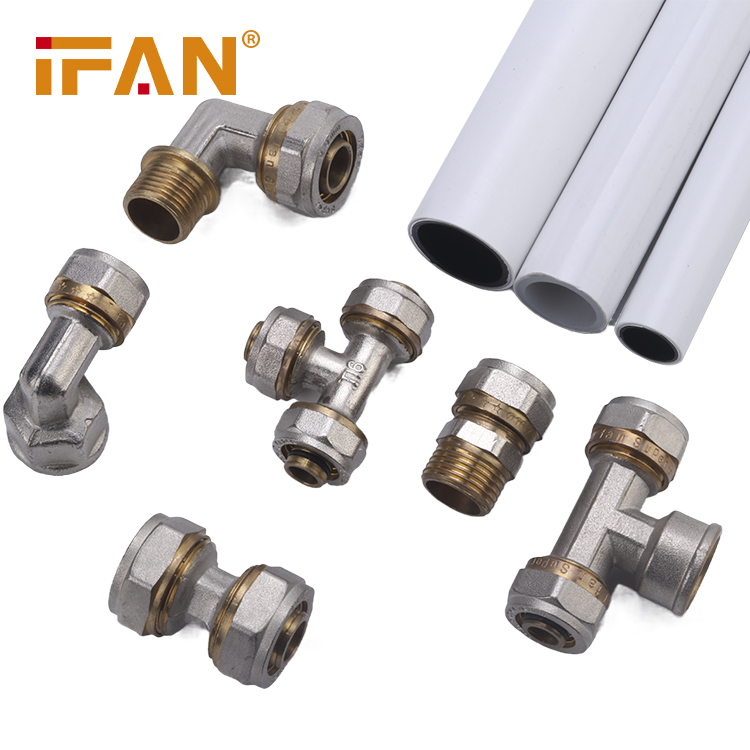
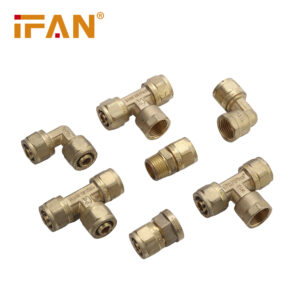
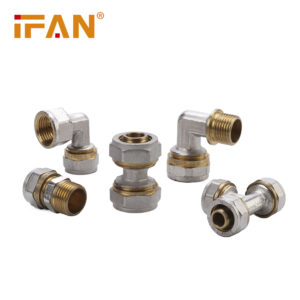
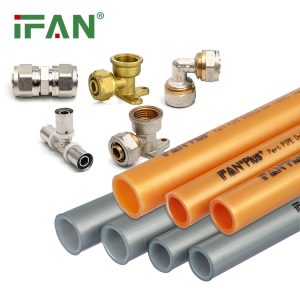
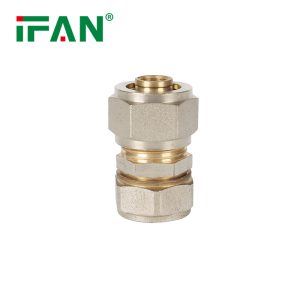
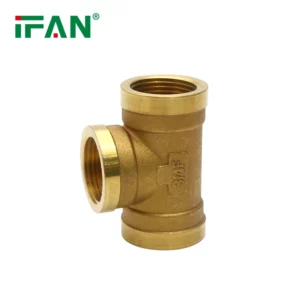
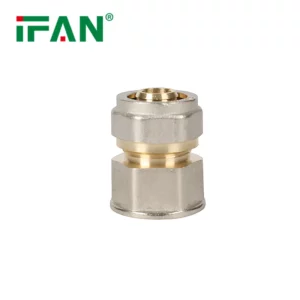
Brass compression fittings are commonly used in various plumbing and gas applications. They provide a reliable and leak-free connection between pipes or tubing. The compression fitting assembly process involves several steps to ensure a secure and efficient connection. Here is a step-by-step guide on how to use brass compression fittings:
Step 1: Gather the necessary tools and materials
Before starting the compression fitting installation, gather all the required tools and materials. You will need a pipe cutter, deburring tool, adjustable wrench, Teflon tape, and the appropriate size and type of brass compression fittings.
Step 2: Preparing the pipe or tubing
Measure and mark the pipe or tubing at the desired length. Use a pipe cutter to make a clean, square cut at the marked location. Ensure that there are no burrs or sharp edges on the cut end of the pipe. Use a deburring tool to remove any burrs or rough edges.
Step 3: Applying Teflon tape (optional)
If the compression fitting requires additional sealing, such as for gas applications, you can apply Teflon tape to the threads of the fitting. Wrap the Teflon tape clockwise around the male threads for a secure seal.
Step 4: Assembling the compression fitting
Slide the compression nut onto the pipe or tubing, followed by the brass compression sleeve (also known as a ferrule). Ensure that the nut and sleeve are oriented correctly, with the tapered end of the sleeve facing the fitting.
Step 5: Inserting the pipe or tubing
Insert the prepared end of the pipe or tubing into the compression fitting until it reaches the shoulder inside the fitting. Make sure it is fully inserted and seated against the shoulder.
Step 6: Tightening the compression nut
Using an adjustable wrench, tighten the compression nut onto the fitting. Begin by hand-tightening the nut and then use the wrench to achieve a snug fit. Be careful not to overtighten, as it may damage the fitting or cause leaks.
Step 7: Checking for leaks
Once the compression nut is tightened, turn on the water supply or gas line to check for leaks. Inspect the connections and fittings for any signs of water or gas leakage. If there are leaks, tighten the nut slightly or disassemble and repeat the steps above.
Step 8: Finishing touches
After ensuring a leak-free connection, you can make any necessary adjustments to the position or alignment of the pipe or tubing. Use the adjustable wrench to hold the fitting steady while making adjustments.
Step 9: Repeat the process
If you have multiple compression fittings to install, repeat the above steps for each fitting. Take care to use the appropriate size and type of fittings for the specific application.
Step 10: Clean up and maintenance
Clean up any debris or excess materials from the installation area. Regularly inspect the compression fittings for any signs of wear, corrosion, or leaks. Perform routine maintenance as needed to ensure the fittings continue to function properly.
By following these steps, you can successfully install brass compression fittings and achieve secure and reliable pipe connections. Remember to consult the manufacturer’s instructions and guidelines for specific fittings and applications.
Related products
-
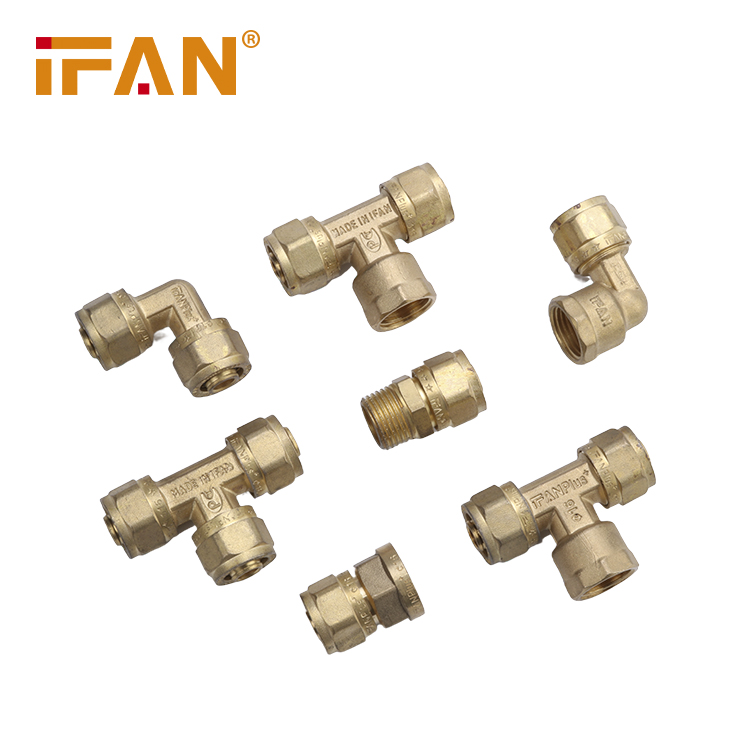
 Compression fitting
High-Performance PEX Compression Connector
-
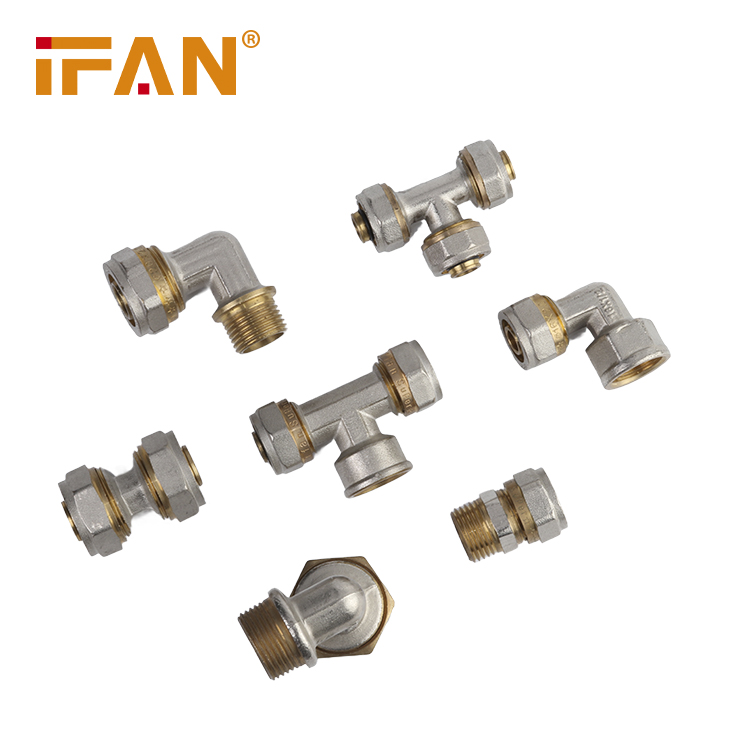
 Compression fitting
PEX Compression Socket: A Comprehensive Guide for Plumbing Efficiency
-
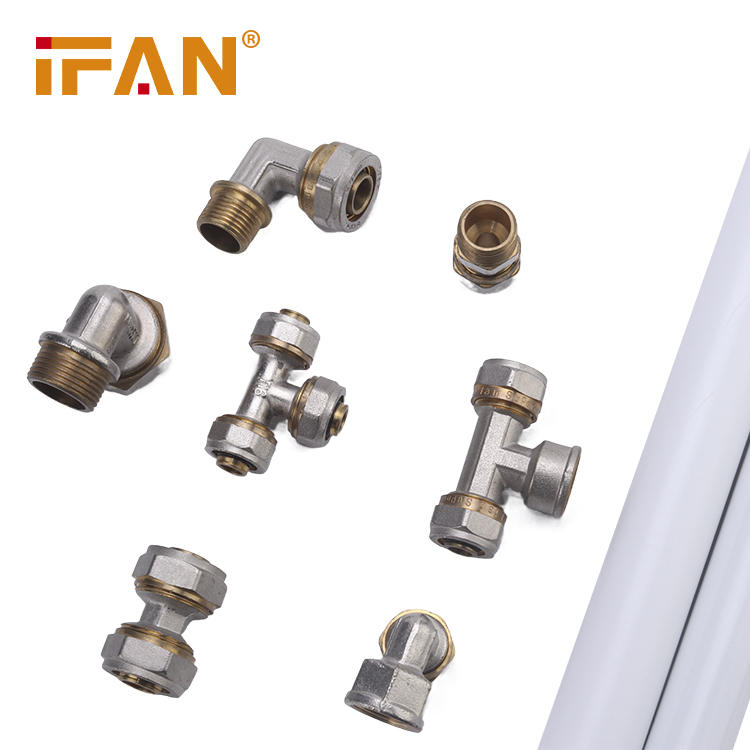
 Compression fitting
IFAN Brass Fitting
-
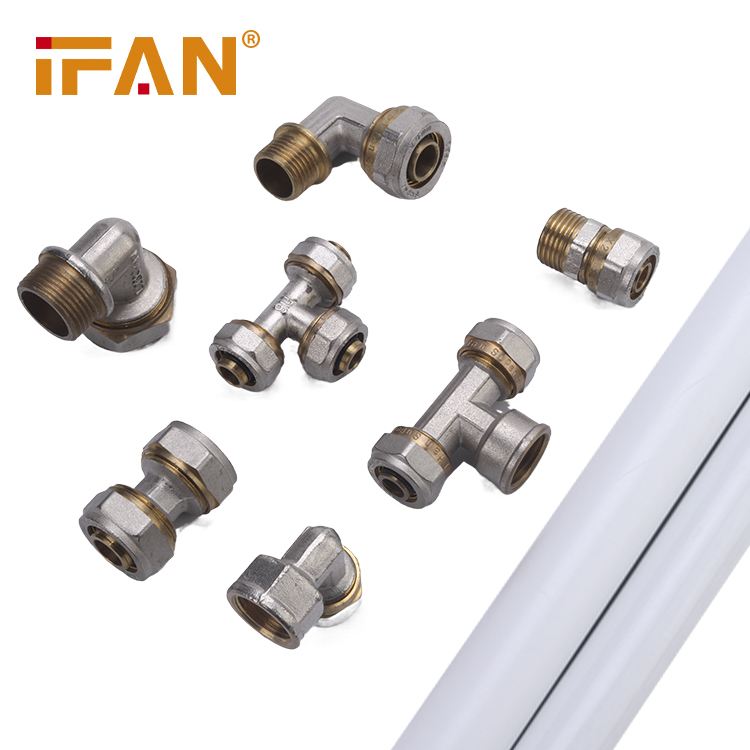
 Compression fitting
IFAN Brass Compression Fitting