
IFAN factory 30+ years manufacture experience support color /size customization support free sample.Welcome to consult for catalog and free samples.This is our Facebook Website:www.facebook.com,Click to watch IFAN’s product video.Compared with Tomex products, our IFAN products from quality to price are your best choice, welcome to buy!
Introduction
When it comes to modern plumbing, PEX (cross-linked polyethylene) piping systems have revolutionized the industry. PEX sliding fittings are a popular choice among both professional plumbers and DIY enthusiasts due to their simplicity and efficiency. Unlike traditional PEX fittings that require crimping or clamping tools, PEX sliding fittings allow for easy and secure connections without the need for specialized equipment. In this article, we’ll guide you through a step-by-step installation process for PEX sliding fittings, making it easy for anyone to complete their plumbing tasks with confidence.
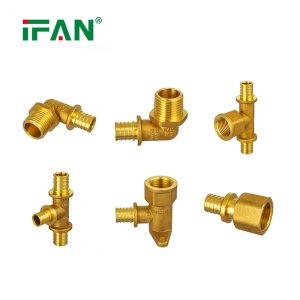
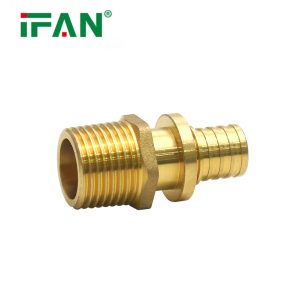
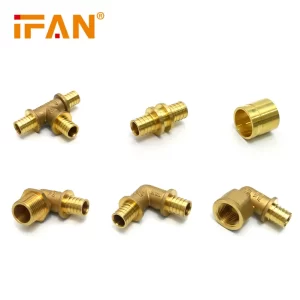
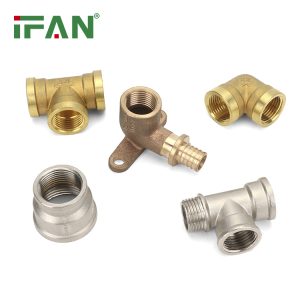
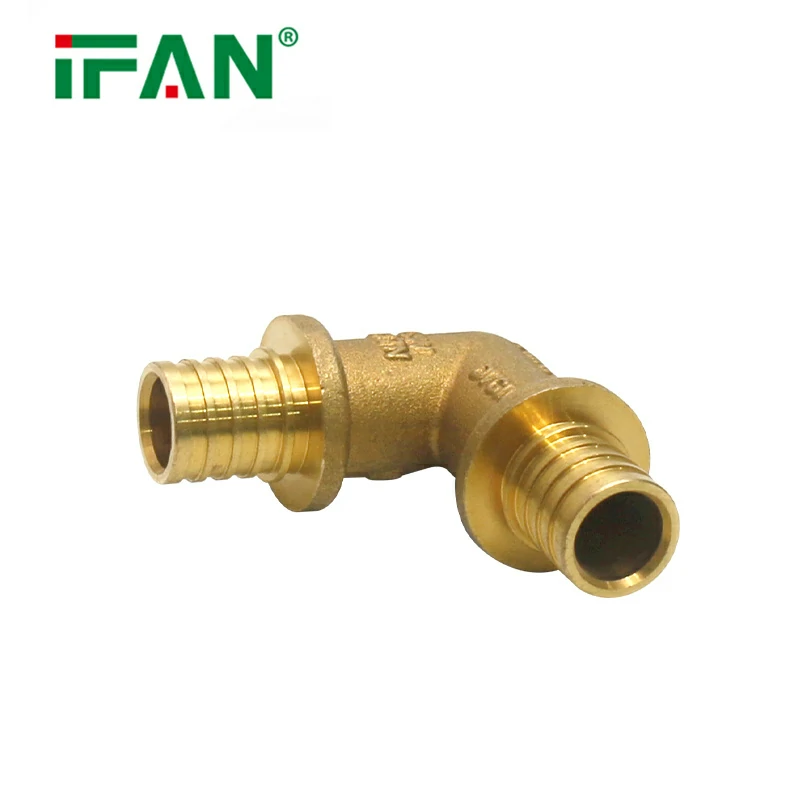
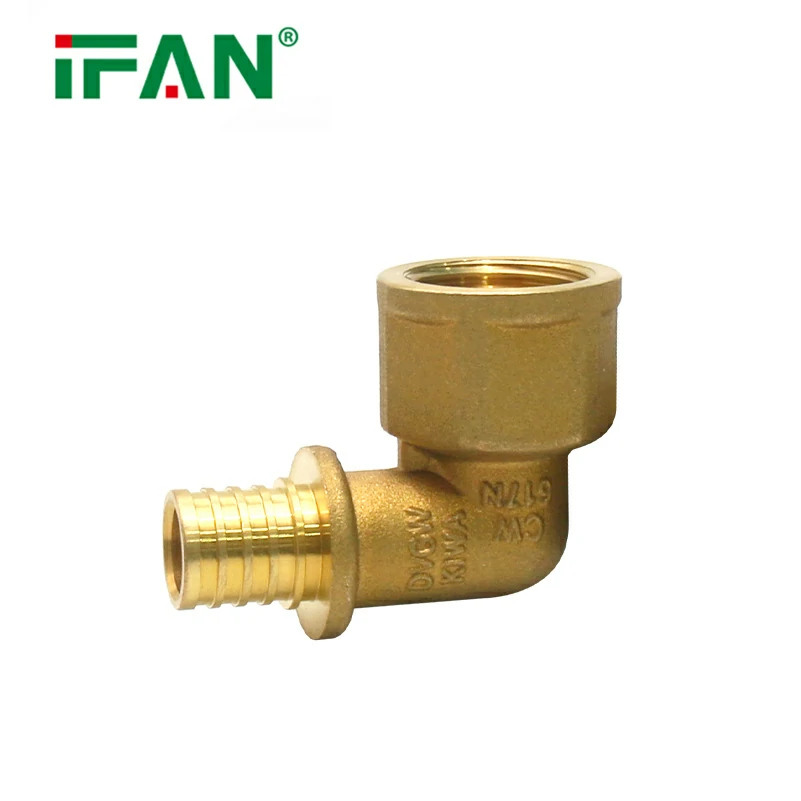
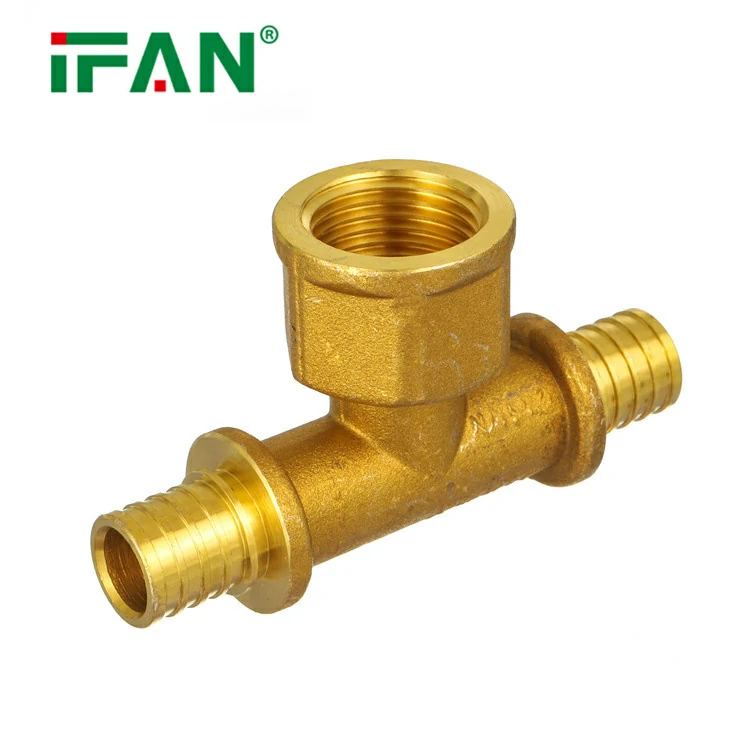
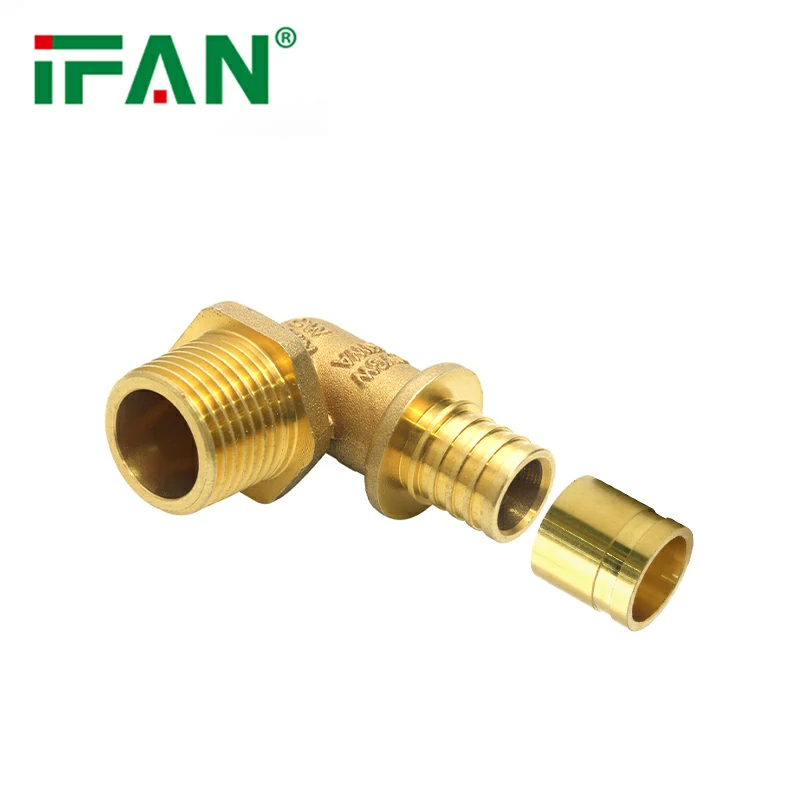
What Are PEX Sliding Fittings?
PEX sliding fittings are designed to make the process of connecting PEX pipes easier and more efficient. These fittings work by utilizing a sliding mechanism that securely locks the PEX pipe into place without requiring any special tools like crimping or cinching devices. The primary benefit of these fittings is the ease of installation, which can save both time and effort, especially for DIY plumbing projects.
Tools and Materials Needed for Installing PEX Sliding Fittings
Before you begin the installation of your PEX sliding fittings, gather all the necessary tools and materials. Here’s a list of what you’ll need:
– PEX sliding fittings of the appropriate size
– PEX pipe cutter for clean and precise cuts
– Measuring tape to ensure accurate pipe length
– Deburring tool (optional but recommended)
– Gloves (to protect your hands during installation)
– Shut-off valve (if applicable to your plumbing setup)
Once you have everything in place, you can begin installing the PEX sliding fittings.
Step-by-Step Guide for Installing PEX Sliding Fittings
Step 1: Measure and Cut the PEX Pipe
The first step in installing PEX sliding fittings is to measure the length of PEX pipe that you need for your installation. Use a measuring tape to get the exact measurement.
Once you’ve measured the pipe, use a PEX pipe cutter to make a clean, straight cut. It’s important to ensure the cut is as smooth and precise as possible, as any rough edges could interfere with the fitting’s ability to create a secure seal.
Pro Tip: After cutting, use a deburring tool (if available) to remove any sharp edges that could cause damage to the fitting or create a less-than-ideal connection.
Step 2: Insert the PEX Pipe into the Sliding Fitting
Next, take the cut PEX pip and prepare to insert it into the PEX sliding fitting. Most PEX sliding fittings have a simple mechanism that allows you to slide the pipe into the fitting with ease.
Insert the pipe into the fitting until you feel or hear a “click” or a visual indicator, depending on the type of **PEX sliding fitting** you are using. This ensures that the pipe is securely locked in place. Make sure the pipe is fully inserted into the fitting to guarantee a leak-free connection.
Step 3: Adjust the Pipe’s Position (If Necessary)
One of the key benefits of PEX sliding fittings is their flexibility. If needed, you can slide the pipe slightly in or out to achieve the exact alignment required for your plumbing setup. This is especially helpful when working in tight spaces or when you need to make adjustments on the fly.
Ensure that the pipe is positioned correctly, with no kinks or bends, before proceeding.
Step 4: Confirm the Connection
Once the pipe is inserted and adjusted, it’s time to confirm that the PEX sliding fitting has locked the pipe securely in place. Check the connection thoroughly to ensure that the fitting is tight and that there is no gap between the pipe and the fitting.
At this point, the fitting should be holding the pipe firmly, creating a strong seal that prevents leaks. It’s important to verify this step carefully before moving on to the next phase.
Step 5: Test the Connection for Leaks
Before you complete your installation, it’s essential to check for any potential leaks. Turn on the water supply and check the fitting area for any signs of leaks or water seepage. If you notice a leak, check to see if the **PEX pipe** is fully inserted into the fitting. If it’s not, simply push the pipe further into the fitting until it clicks into place.
If the fitting appears secure and there are no leaks, your installation is complete!
Step 6: Finalizing the Installation
If you are installing PEX sliding fittings as part of a larger plumbing system, such as connecting multiple pipes, repeat the process for the remaining fittings and pipes. Make sure each connection is secure, and test each one for leaks.
In the case of working with fittings that require additional components like shut-off valves or elbows, follow the same installation steps to ensure all connections are tight and leak-free.
Why Choose PEX Sliding Fittings?
1. Tool-Free Installation
As mentioned earlier, the most significant benefit of PEX sliding fittings is that they require no special tools. You don’t need crimpers or cinching tools, making them ideal for DIY plumbers or anyone looking to avoid the extra expense and complexity.
2. Time-Saving
With no tools required, the installation process is faster compared to traditional PEX fittings that need extra steps for crimping or clamping. This speed makes PEX sliding fittings perfect for both small repairs and large installations.
3. Leak-Free Connections
PEX sliding fittings create a strong, leak-free seal, which ensures your plumbing system will operate without issues. The locking mechanism ensures that there’s no chance of the pipe slipping out or developing leaks over time.
4. Flexibility
Unlike crimp or clamp fittings, PEX sliding fittings offer flexibility during installation. If you need to adjust the position of the pipe after it’s inserted into the fitting, it’s easy to do so without compromising the connection.
Common Types of PEX Fittings
While PEX sliding fittings are an excellent option for many installations, it’s also important to be familiar with other types of PEX fittings. Here’s a quick rundown:
– Crimp Fittings: Require a crimping tool to secure the connection.
– Clamp Fittings: Use a cinching tool to secure the connection, similar to crimp fittings.
– Push-to-Connect Fittings: Allow PEX pipes to be pushed into place without tools. These are great for easy installations but may not be as durable in the long run as PEX sliding fittings.
Conclusion
PEX sliding fittings offer a simple, tool-free solution for plumbing installations, making them an excellent choice for both professionals and DIYers. With their easy installation, leak-free connections, and durability, these fittings save time, effort, and money. By following the step-by-step guide above, you’ll be able to confidently tackle your next plumbing project with ease.
Frequently Asked Questions (FAQs)
1. Do I need any special tools for installing PEX sliding fittings?
No, PEX sliding fittings do not require any special tools. Simply insert the PEX pipe into the fitting, and it will lock into place.
2. Can I use PEX sliding fittings for both new installations and repairs?
Yes, PEX sliding fittings are perfect for both new installations and repairs. They offer flexibility and ease of use in various plumbing situations.
3. How do I know if the PEX pipe is properly inserted into the fitting?
When the PEX pipe is fully inserted into the PEX sliding fitting, you should feel or hear a click or see a visual indicator. This confirms that the pipe is securely in place.
4. Are PEX sliding fittings as durable as traditional fittings?
Yes, PEX sliding fittings are just as durable as traditional fittings. They are made from high-quality materials that resist corrosion and provide long-lasting performance.
5. Can I adjust the position of the PEX pipe once it’s inside the fitting?
Yes, **PEX sliding fittings** allow you to adjust the pipe position after insertion, giving you flexibility during the installation process.
Related products