Description
IFAN factory 30+ years manufacture experience support color /size customization support free sample.Welcome to consult for catalog and free samples.This is our Facebook Website:www.facebook.com,Click to watch IFAN’s product video.Compared with Tomex products, our IFAN products from quality to price are your best choice, welcome to buy!
Introduction
PEX press fittings are popular in modern plumbing due to their durability and ease of installation. However, there may be times when you need to remove and replace these fittings, either due to system upgrades, repairs, or changes in plumbing design. This guide will provide a step-by-step approach to removing and replacing PEX press fittings, ensuring that the process is done efficiently and correctly.
Tools and Materials Needed
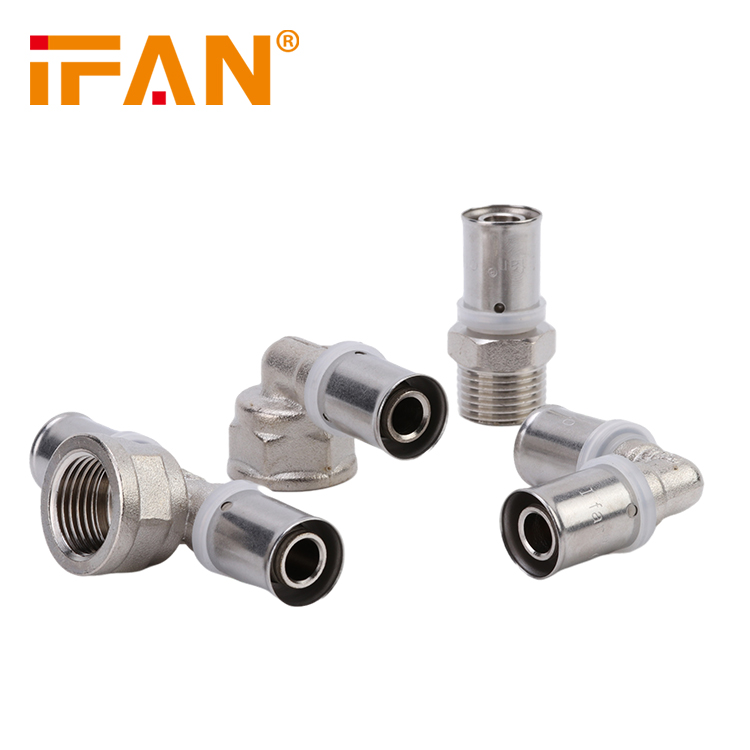
Before starting the removal and replacement process, gather the necessary tools and materials. You’ll need a PEX pipe cutter, a press tool, replacement PEX press fittings, and possibly a PEX removal tool if the fittings are particularly stubborn. Additionally, having a towel or bucket handy for any water spillage can be useful. Make sure you have the correct size and type of replacement fittings that match your existing plumbing system to ensure compatibility and proper function.
Removing the Old PEX Press Fittings
1. Turn Off the Water Supply:Before you start, turn off the water supply to the affected area. This step is crucial to avoid flooding or water damage during the removal process.
2. Drain the System:Open faucets or valves to drain any remaining water from the pipes. This will reduce the risk of water spillage when you cut into the PEX tubing.
3. Cut the PEX Pipe:Use a PEX pipe cutter to make a clean cut on the pipe just before the press fitting. Ensure the cut is straight to facilitate a smooth removal process.
4. Remove the Fitting:If the press fitting is difficult to remove, use a PEX removal tool to help ease it off. Apply gentle pressure to avoid damaging the pipe. In some cases, you may need to use a small pipe wrench or pliers to grip and twist the fitting off. Be cautious not to damage the surrounding PEX pipe.
Installing the New PEX Press Fittings
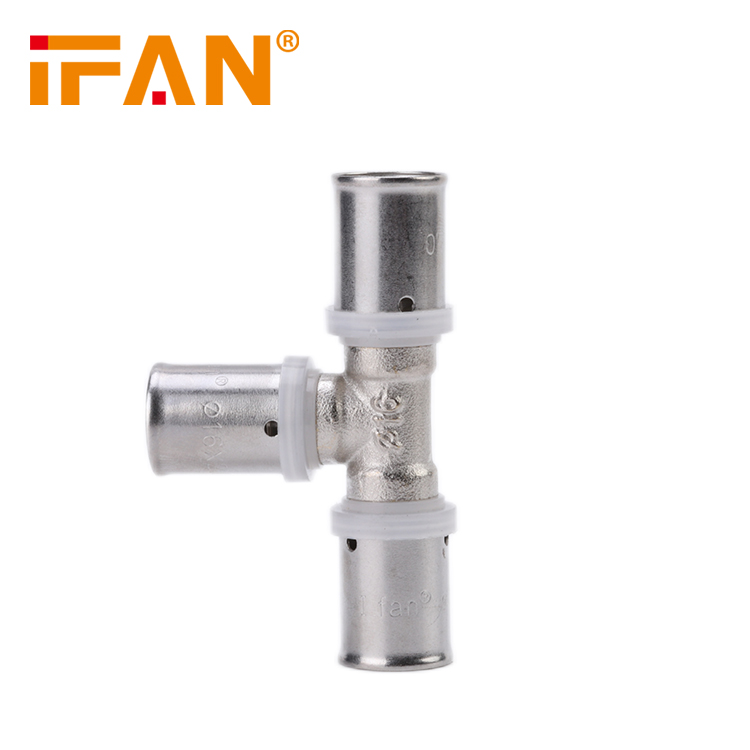
1. Prepare the Pipe:Ensure the ends of the PEX pipe are clean and free from any debris or damage. The pipe should be cut straight to fit properly into the new press fitting.
2. Attach the New Fitting:Slide the new PEX press fitting onto the end of the pipe. Ensure that the fitting is fully inserted and aligned properly. The fitting should slide on smoothly without excessive force.
3. Use the Press Tool:Position the press tool over the fitting and squeeze the handles to compress the fitting onto the PEX pipe. Follow the manufacturer’s instructions regarding the pressing procedure and check that the tool’s settings match the fitting size.
4. Inspect the Connection:After pressing the fitting, inspect the connection to ensure it is secure. The fitting should be snugly fitted and there should be no visible gaps or leaks.
Testing and Finalizing
1. Turn the Water Supply Back On:Slowly turn the water supply back on and check the system for leaks around the newly installed fittings. If leaks are detected, turn off the water and recheck the fitting installation.
2. Check System Pressure:Verify that the system pressure is within the recommended range for your PEX fittings. This helps ensure that the fittings will perform correctly under operational conditions.
3. Clean Up:Once you are satisfied that there are no leaks and the system is functioning properly, clean up any tools or materials used during the process. Dispose of the old fittings and any debris properly.
Conclusion
Removing and replacing PEX press fittings requires careful attention to detail and proper use of tools. By following these steps—turning off the water supply, removing the old fittings, installing new ones, and testing the system—you can ensure a successful and leak-free installation. Proper maintenance and occasional checks will help keep your plumbing system in optimal condition, providing reliable performance over time.
Related products
-
PEX Pipe fitting
PEX Press Male Tee: The Versatile Connector for Piping Systems
-
PEX Pipe fitting
What is the use of tee in pipeline?


