Description
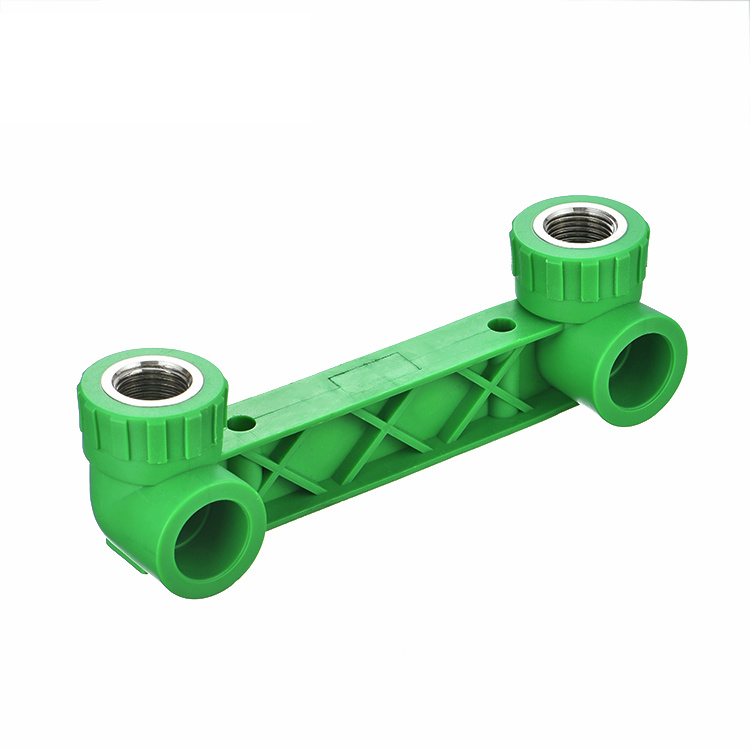
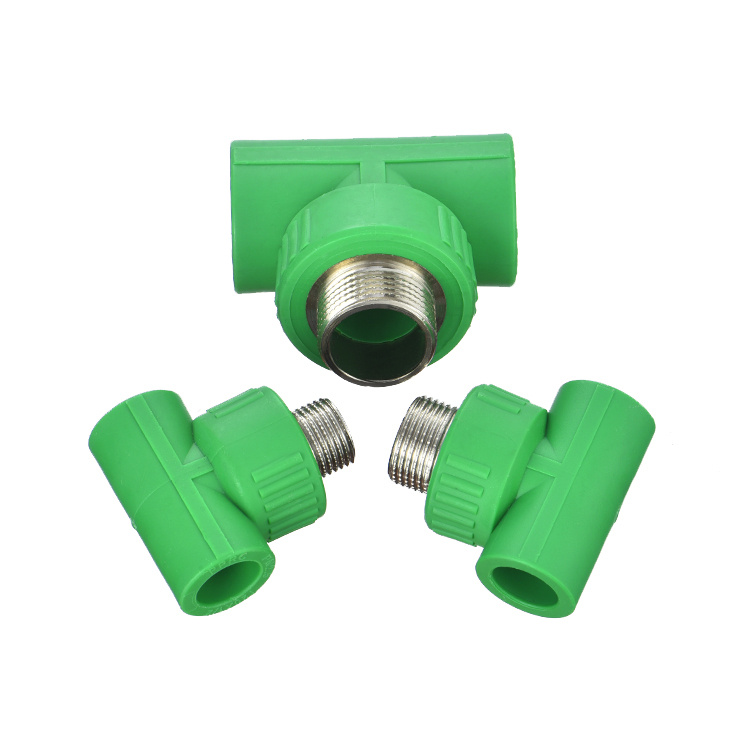
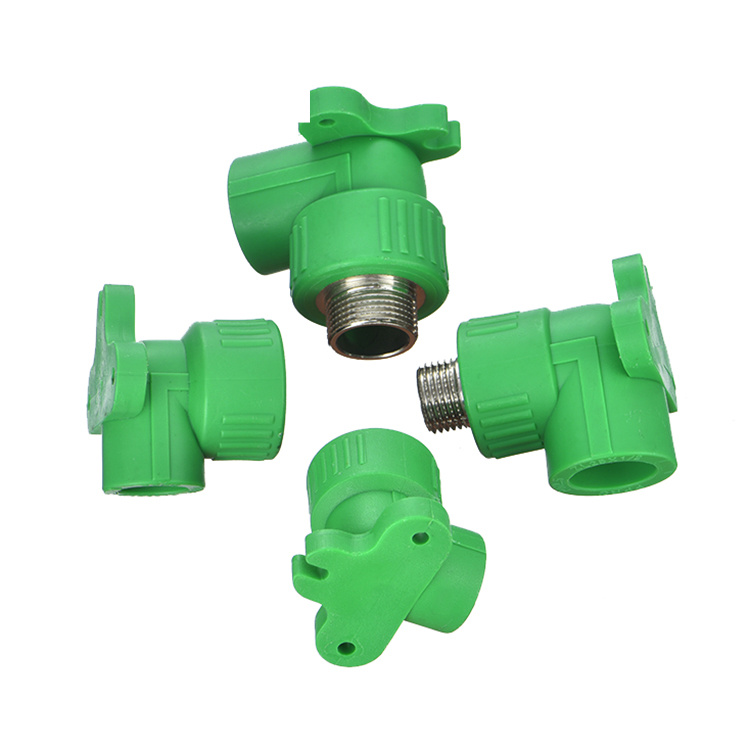
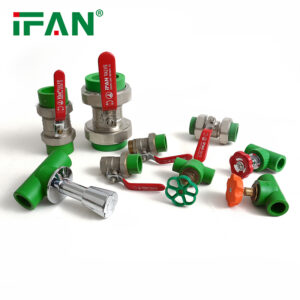
IFAN factory 30+ years manufacture experience support color /size customization support free sample.Welcome to consult for catalog and free samples.This is our Facebook Website:www.facebook.com,Click to watch IFAN’s product video.Compared with Tomex products, our IFAN products from quality to price are your best choice, welcome to buy!
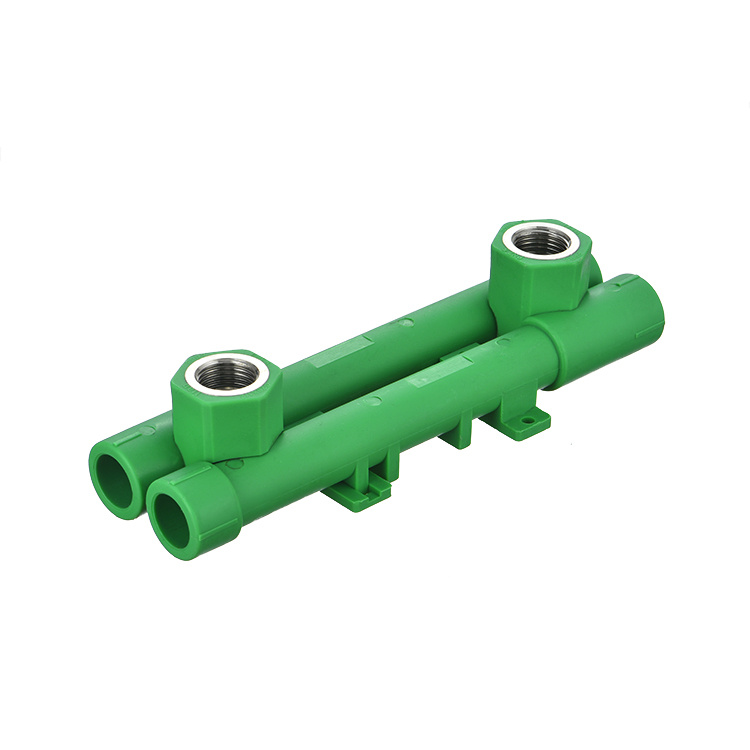
When it comes to plumbing systems, ensuring secure and leak-free connections is essential for long-lasting performance. PPR fittings (Polypropylene Random Copolymer) are a popular choice for modern plumbing systems due to their durability, heat resistance, and ease of installation. However, even though PPR fittings are easy to work with, it is important to understand how to install and connect them properly to avoid any potential issues. In this article, we will walk you through the step-by-step process of installing and connecting PPR fittings, including tips, tools, and frequently asked questions (FAQs).
Why Choose PPR Fittings?
Before we dive into the installation process, it’s important to understand why PPR fittings are so commonly used in plumbing systems.
– Durability: PPR fittings are highly resistant to corrosion, which makes them ideal for both residential and industrial water supply systems.
– Heat Resistance: PPR fittings can handle temperatures up to 95°C (203°F), making them perfect for hot water systems and heating applications.
– Eco-Friendly: PPR is a recyclable material, making it an environmentally friendly choice for plumbing projects.
– Leak-Free Connections: When installed correctly, PPR fittings provide secure, leak-free connections that can last for decades.
Tools You’ll Need for Installing PPR Fittings
Before you start the installation, ensure you have the right tools. Here’s a list of essential tools needed for working with PPR fittings:
1. PPR Pipe Cutter – A sharp tool specifically designed for cutting PPR pipes.
2. PPR Welding Machine – This is used to heat and join the pipe and fitting together using the fusion welding technique.
3. Deburring Tool – To remove any burrs or rough edges from the pipe after cutting.
4. Measuring Tape – To measure the correct length of pipes.
5. Marker – To mark the pipes and fittings where they will be joined.
6. Clamps or Pipe Holders – To hold pipes and fittings in place while working.
Step-by-Step Guide on How to Install and Connect PPR Fittings
Step 1: Measure and Cut the PPR Pipe
The first step in installing PPR fittings is to measure and cut the pipe to the desired length. Use a measuring tape to determine the required pipe length and mark it with a marker. Once marked, use a PPR pipe cutter to make a clean and straight cut. A clean cut is essential for ensuring a proper fusion bond between the pipe and fitting.
Step 2: Deburr the Pipe Ends
After cutting the pipe, use a deburring tool to remove any rough edges or burrs from the pipe ends. Burrs can interfere with the fusion process and cause weak joints, which could lead to leaks in the future. Deburring ensures that the pipe ends are smooth and ready for welding.
Step 3: Prepare the PPR Fitting
Before joining the pipe to the fitting, ensure that both the pipe and the fitting are clean and free from dirt, dust, or moisture. Any contaminants can prevent the fusion process from working properly, resulting in a weak connection.
Step 4: Heat the Pipe and Fitting with the PPR Welding Machine
The most common method for connecting PPR fittings is the fusion welding process. The PPR welding machine heats the pipe and the fitting to a specific temperature (usually around 260°C or 500°F). Here’s how to use the welding machine:
1. Insert the Pipe and Fitting into the Welding Machine: Place both the pipe and fitting into the appropriate sockets of the welding machine. Ensure that they are aligned properly.
2. Heat for the Recommended Time: The welding machine will heat both the pipe and fitting for a specific amount of time (usually around 5 to 10 seconds). Follow the manufacturer’s guidelines for time and temperature.
3. Check for Proper Heating: Both the pipe and fitting should have a slightly melted appearance at the joining point when ready.
Step 5: Join the Pipe and Fitting
Once both the pipe and the fitting are heated, immediately remove them from the welding machine and quickly join them together. Insert the pipe into the fitting with a slight twisting motion to ensure a secure bond. Hold the pipe and fitting together for a few seconds until they cool down and solidify. The fusion process creates a seamless, leak-proof connection between the pipe and the fitting.
Step 6: Allow the Joint to Cool
After joining the pipe and fitting, allow the joint to cool naturally. This may take a few minutes depending on the size of the pipe and the ambient temperature. Do not attempt to move or disturb the joint until it has fully cooled, as this can compromise the strength of the connection.
Step 7: Test for Leaks
Once the PPR fittings have cooled and the system has been installed, it is important to test for leaks. Turn on the water supply and check the joints for any signs of leakage. If you find any leaks, you may need to reheat the joint and attempt the fusion process again.
Tips for Proper Installation of PPR Fittings
1. Work in a Clean Environment: Always work in a clean, dry area to avoid contamination on the pipe or fittings.
2. Follow Manufacturer Guidelines: Different brands may have slightly different instructions for heating times and temperatures. Always follow the manufacturer’s instructions to ensure the best results.
3. Avoid Overheating: Overheating the pipe or fitting can lead to melting, which can weaken the joint.
4. Use High-Quality Fittings: Always use high-quality PPR fittings from reputable manufacturers to ensure long-lasting performance.
Common Mistakes to Avoid When Installing PPR Fittings
1. Incorrect Heating: Overheating or underheating the pipe and fitting can result in a weak connection. Always follow the recommended heating times.
2. Poor Pipe Cutting: A jagged or uneven cut can prevent a proper fusion connection. Always use a sharp, proper pipe cutter.
3. Ignoring Joint Cooling Time: Don’t rush the cooling process. Allow the joint to fully cool before moving or using the system.
How to Maintain PPR Fittings After Installation
To maximize the lifespan of your PPR fittings, it’s important to maintain your plumbing system properly:
– Regularly inspect the system for leaks or damage.
– Avoid exposure to extreme temperatures (both high and low) to maintain the integrity of the fittings.
– Ensure proper insulation is used for systems that carry hot water or are exposed to freezing temperatures.
Frequently Asked Questions (FAQs)
1. Can PPR fittings be used for gas lines?
No, PPR fittings are not suitable for gas lines. They are specifically designed for water and certain chemical applications.
2. How long do PPR fittings last?
When installed and maintained properly, PPR fittings can last for over 50 years, offering a durable and long-lasting solution.
3. Can I install PPR fittings in cold weather?
Yes, PPR fittings can be installed in cold weather, but it’s recommended to ensure that the pipe and fittings are warmed up before the fusion process to avoid poor fusion.
4. How do I know if the PPR fitting is properly fused?
A properly fused joint should show a smooth and uniform fusion between the pipe and fitting. There should be no visible gaps or uneven surfaces.
5. What if the PPR fitting leaks after installation?
If a leak is detected, the joint may need to be reheated and refitted. Ensure the correct fusion temperature and time are applied to achieve a secure connection.
Conclusion
Installing and connecting PPR fittings is a straightforward process when done correctly. By following the proper steps, using the right tools, and avoiding common mistakes, you can ensure a leak-free and long-lasting plumbing system. Whether you’re working on a small residential project or a large-scale commercial system, proper installation of PPR fittings will provide durability, efficiency, and peace of mind.
Related products
-
PPR Fittings
Easy to Install Brass Fittings for DIY Projects
-
PPR Fittings
PPR Material Pipe Fittings

