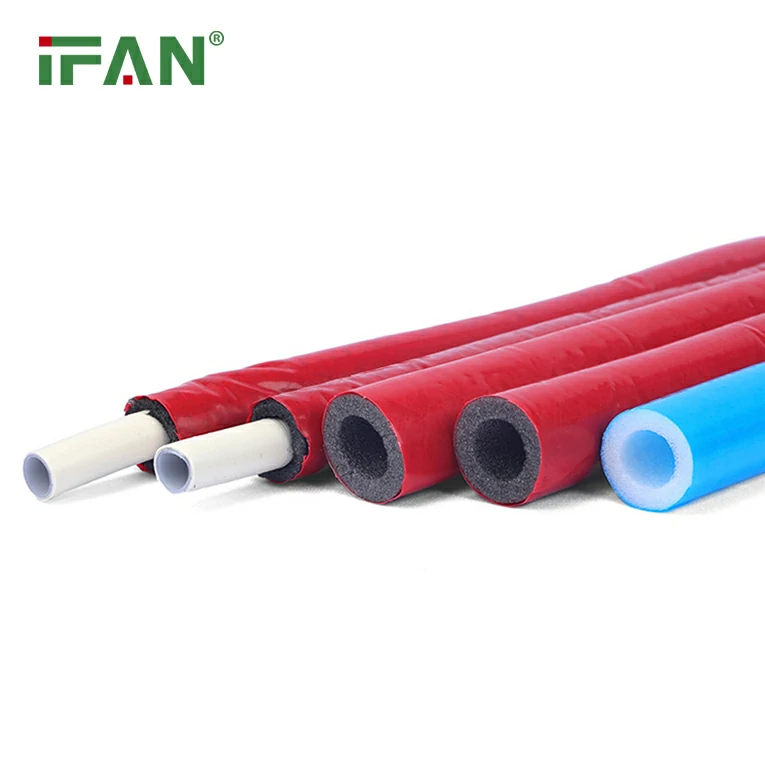
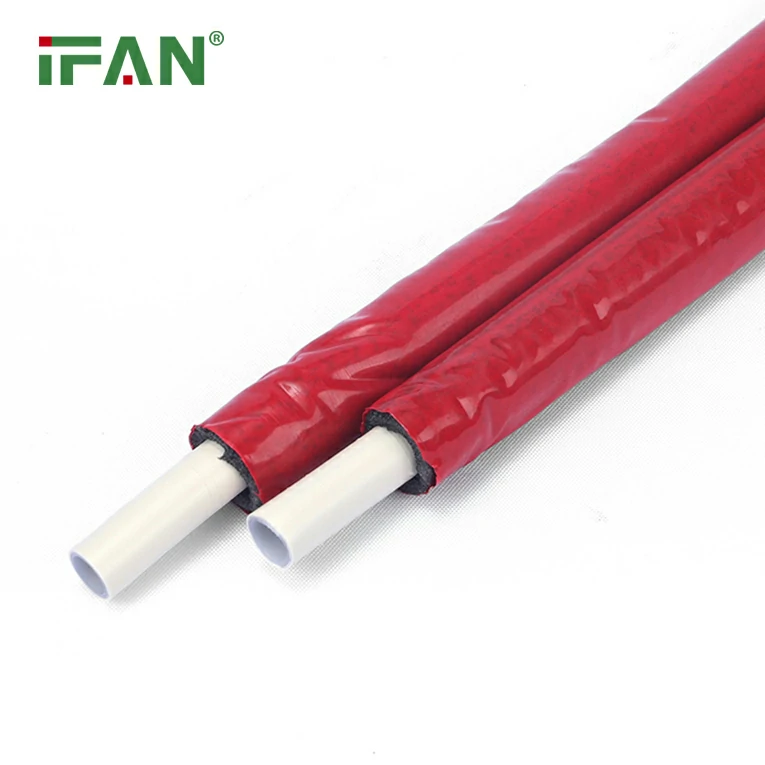
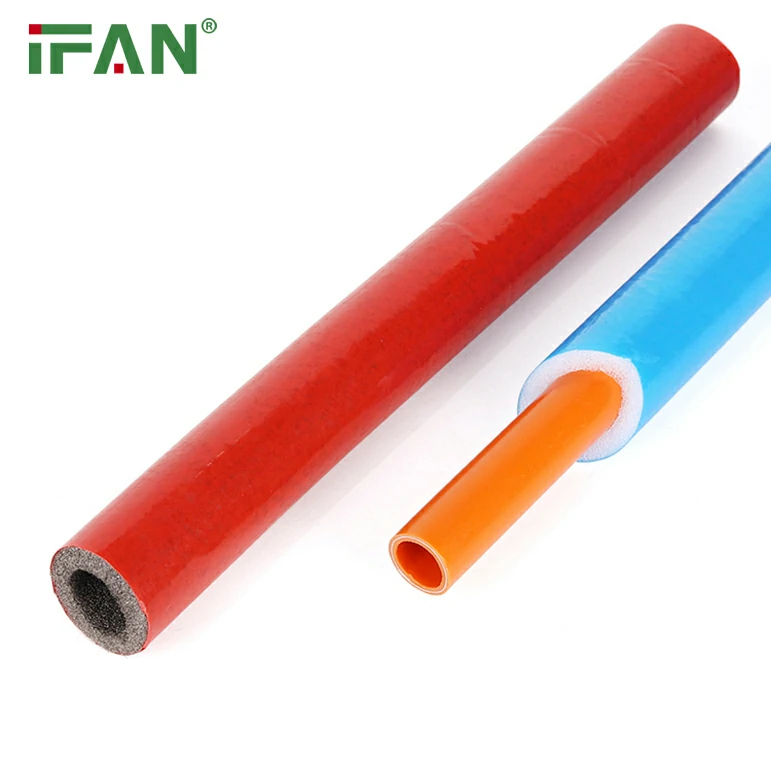
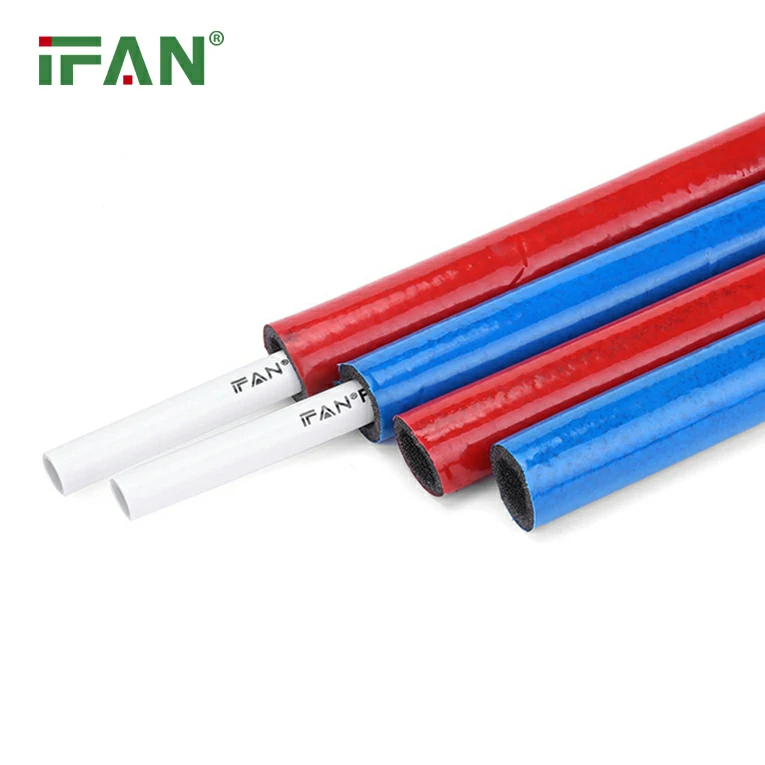
PEX (cross-linked polyethylene) piping has revolutionized plumbing by providing an affordable and durable option for both residential and commercial plumbing systems. However, despite its many advantages, PEX pipes can develop pinhole leaks over time due to various factors such as corrosion, high water pressure, or improper installation. While traditional methods of repairing leaks often require soldering, PEX piping can be repaired easily without soldering. In this guide, we will walk you through the steps to repair pinhole leaks in PEX pipes using PEX fittings, all while maintaining a simple, cost-effective approach.
Understanding PEX Pipe and Its Advantages
Before diving into the repair process, it’s important to understand why PEX pipes are commonly used in plumbing systems. PEX is a flexible material that can be bent to fit into tight spaces, reducing the need for connectors and joints. It’s highly resistant to scale and chlorine, and it doesn’t corrode like metal pipes. This flexibility makes PEX the go-to option for modern plumbing. However, like any material, PEX pipes can be prone to damage over time. Pinholes or small leaks can occur, requiring repair.
Common Causes of Pinhole Leaks in PEX Pipes
Pinhole leaks in PEX pipes can result from several factors:
- Water Quality: Highly acidic or mineral-rich water can erode PEX over time, leading to pinhole leaks.
- High Pressure: Pressure surges or prolonged exposure to high water pressure can weaken PEX, causing it to develop small holes.
- Improper Installation: Bending the PEX too sharply during installation can stress the material and create weak points where leaks can form.
- UV Damage: PEX is sensitive to UV light, and prolonged exposure can weaken it, making it susceptible to pinholes.
Step-by-Step Guide to Repairing Pinhole Leaks in PEX Pipe Without Soldering
The great news is that repairing pinhole leaks in PEX pipes doesn’t require soldering. By using PEX fittings and tools, you can perform the repair quickly and effectively. Here’s a simple step-by-step guide:
Step 1: Turn Off the Water Supply
Before starting the repair, ensure that the water supply to the pipe is completely turned off. This will prevent water from spraying out and making the repair process more difficult. Open a faucet downstream of the affected pipe to release any remaining pressure.
Step 2: Locate the Leak
Inspect the PEX pipe for the location of the pinhole leak. The pinhole might be difficult to spot, so use a flashlight or take the pipe off the wall (if accessible) to get a clear view. If the leak is still small, you may be able to identify it by looking for wet spots on the pipe.
Step 3: Cut Out the Damaged Section
Once the leak is located, mark the area that needs to be replaced. Use a pipe cutter to cut out the damaged section of PEX pipe. Be sure to make clean, straight cuts, as jagged edges can affect the effectiveness of the repair.
Step 4: Prepare the New Fitting
PEX fittings are used to connect a new piece of PEX pipe in place of the damaged section. Choose a PEX fitting that matches the diameter of your existing pipe. Most PEX pipes come in ½-inch or ¾-inch sizes, but be sure to verify the exact measurement.
There are several types of PEX fittings available, including:
- Crimp Fittings: These are the most common and secure fittings. They require a crimping tool to secure them to the pipe.
- Push-Fit Fittings: These fittings don’t require any tools and are an excellent option for quick, temporary repairs.
- Expanding Fittings: These are also widely used but require an expansion tool.
Step 5: Install the New Fitting
Now that you have prepared the PEX fitting, it’s time to install it.
- For Crimp Fittings: Slide the crimp ring over the end of the pipe, then push the pipe onto the fitting. Use a crimping tool to secure the crimp ring in place. Make sure the ring is tightly crimped to ensure a leak-proof connection.
- For Push-Fit Fittings: Simply slide the pipe into the fitting. These fittings will automatically secure themselves, but ensure that the pipe is fully seated.
- For Expanding Fittings: Use the expansion tool to slightly expand the pipe end, then slide the fitting into place. Once the pipe contracts, it will form a secure seal.
Step 6: Test the Repair
Once you’ve installed the fitting, turn the water supply back on slowly to check for leaks. Monitor the repair for several hours or even a full day to ensure there’s no water leakage.
Step 7: Finish the Job
If the repair holds up and there are no further leaks, then your job is complete. If you have exposed pipes, consider insulating them to prevent future damage or leaks due to extreme temperatures.
Tools You Will Need for PEX Pipe Repair
To successfully repair pinhole leaks in PEX pipe, you’ll need a few tools:
- Pipe cutter
- PEX crimping tool or push-fit tool (depending on the type of fittings you choose)
- PEX fittings (crimp, push-fit, or expanding)
- PEX pipe (if replacement sections are required)
- Marker or pencil (for marking the damaged section)
- Flashlight (for inspecting the pipe)
Advantages of Using PEX Fittings for Repairs
Using PEX fittings to repair pinhole leaks offers numerous advantages:
- No Soldering Required: This method doesn’t require heat, so it’s safer and more convenient, especially for DIY repairs.
- Quick and Easy: PEX fittings are easy to use, and the repair process is faster compared to traditional pipe repair methods.
- Durable and Reliable: PEX fittings are durable, reliable, and ensure a long-lasting repair if installed correctly.
Preventing Future Pinhole Leaks in PEX Pipes
While you can easily repair pinhole leaks in PEX pipes, taking steps to prevent future leaks is just as important:
- Check Water Pressure: High water pressure can damage PEX pipes. Install a pressure regulator if necessary.
- Insulate Exposed PEX Pipes: Prevent freezing by insulating PEX pipes in unheated areas.
- Inspect Regularly: Perform regular maintenance and inspections to catch small leaks before they become bigger problems.
- Avoid Sharp Bends: When installing new PEX pipes, avoid making sharp bends that could stress the material and lead to future leaks.
FAQs About Repairing PEX Pipe Pinhole Leaks
1. Can I repair a pinhole leak in PEX without cutting the pipe?
Yes, you can use a clamp or a push-fit repair coupling if the leak is small and accessible. These methods don’t require cutting the pipe but may not be as long-lasting as full pipe replacement.
2. What should I do if my PEX pipe is frozen and leaking?
If a PEX pipe is frozen and leaking, thaw the pipe carefully with a hairdryer or heat gun. Once thawed, use the steps outlined in this guide to repair the leak.
3. How do I prevent PEX pipes from leaking in the first place?
Proper installation, insulation, and regular maintenance are key to preventing leaks. Additionally, ensure your water pressure is within safe limits.
4. Can I use standard plumbing tools to repair PEX pipes?
No, PEX requires specific tools such as a PEX crimping tool or expansion tool. These tools ensure a proper seal and leak-free connection.
5. How long does a PEX pipe repair last?
A PEX pipe repair using proper fittings should last as long as the original pipe. As long as the pipe is installed correctly and there is no external damage, the repair will be reliable.
By following this guide, you should be able to easily repair pinhole leaks in PEX pipes without the need for soldering. Whether you’re a DIY enthusiast or just need to fix a minor plumbing issue, this method offers an efficient, durable solution.

