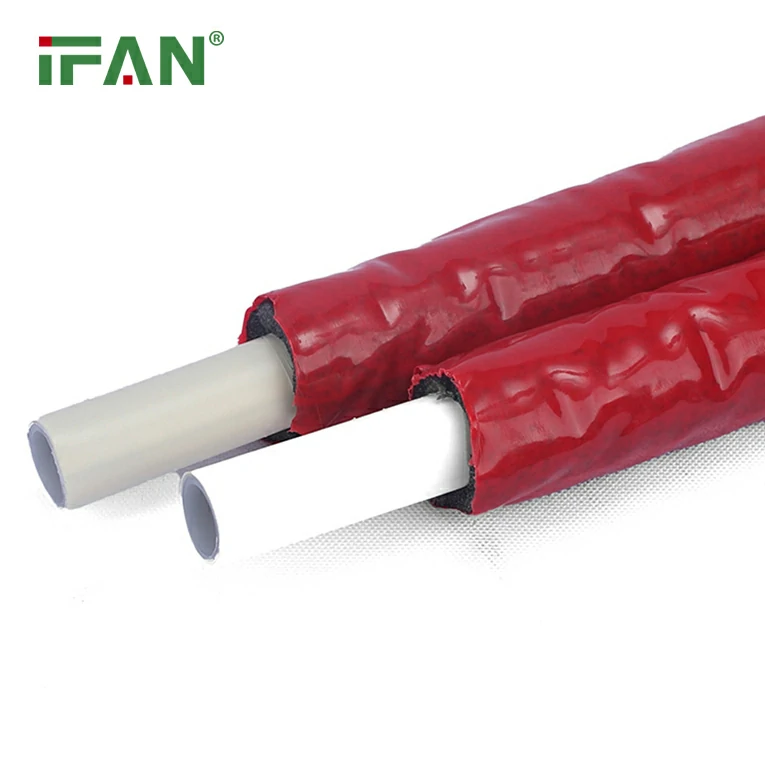
PEX (cross-linked polyethylene) pipes have quickly become one of the most popular choices for modern plumbing systems due to their flexibility, ease of installation, and resistance to corrosion. However, like any other piping material, PEX is not immune to damage, and pinhole leaks can sometimes occur. While these leaks can be a nuisance, they are not necessarily difficult to repair. The good news is that you don’t have to worry about soldering or using complex tools to fix these issues. With the right PEX fittings and a few straightforward steps, you can repair a pinhole leak in PEX pipe without any advanced skills.
In this article, we will walk you through the process of repairing pinhole leaks in PEX pipe, explore the various tools and PEX fittings you’ll need, and provide you with practical tips to avoid these issues in the future. Whether you’re a DIY enthusiast or a professional plumber, this guide will give you the confidence to fix pinhole leaks quickly and efficiently.
What Causes Pinhole Leaks in PEX Pipes?
Before diving into how to repair pinhole leaks, it’s important to understand why they occur. Pinhole leaks are small holes that develop in PEX pipes, often causing water to seep out. These leaks can be caused by several factors, including:
- Corrosion from chemicals or water quality: While PEX pipes are resistant to corrosion, the quality of water passing through them can affect their durability. Hard water, high chlorine content, or certain chemicals can gradually weaken the pipe material, leading to the formation of pinhole leaks.
- Improper installation: If PEX pipes are installed too tightly or bent too sharply, they may develop stress points that lead to pinhole leaks over time. Using incorrect PEX fittings or tools can also contribute to the problem.
- Freezing temperatures: Although PEX is more resistant to freezing compared to metal pipes, extremely low temperatures can cause the pipe to expand and contract, leading to cracks or pinhole leaks.
- Excessive pressure: Over-pressurizing a plumbing system can also cause small holes to form in the pipe. PEX pipes are generally rated for high pressure, but consistent over-pressurization may weaken them.
Now that we understand the causes, let’s get into how to repair these leaks without the need for soldering.
Tools and Materials You Will Need
Repairing a pinhole leak in PEX pipe is simple and doesn’t require advanced tools or soldering. Here’s a list of materials you’ll need:
- PEX Pipe Cutter: A PEX pipe cutter is designed to make clean, precise cuts on PEX pipes. It ensures that you don’t damage the surrounding pipe when making your cut.
- PEX Repair Kit: A PEX repair kit typically includes PEX fittings (such as compression or crimp fittings), pipe clamps, and specialized connectors that are designed to fix leaks without requiring soldering.
- Pipe Fittings (Crimp, Compression, or Push-fit): Depending on the type of repair, you will need appropriate PEX fittings that match the pipe size and the repair method you’re using. Compression and push-fit fittings are commonly used for quick repairs.
- Pipe Deburring Tool: This tool is used to smooth out the edges of a cut PEX pipe, ensuring a secure connection with the fittings and preventing leaks.
- Shut-off Valve: Before beginning the repair, you’ll need to shut off the water supply to the affected section of pipe.
With these tools and materials, you’ll be ready to tackle the repair process.
Step-by-Step Guide to Repairing Pinhole Leaks in PEX Pipe Without Soldering
Step 1: Locate the Leak
The first step in any plumbing repair is locating the source of the leak. While pinhole leaks are often small and can be difficult to detect, there are several ways to find them:
- Visual inspection: Look for water spots or dampness along the PEX pipe. Sometimes the leak is visible, and you can simply mark the area.
- Pressure test: If you can’t find the leak by sight, perform a pressure test on the system. If the pressure drops, there’s likely a leak somewhere in the system.
- Listen for hissing sounds: If the water is leaking out under pressure, you may hear a faint hissing noise. This can help pinpoint the location of the pinhole.
Once the leak is located, dry the area around the leak to ensure you can perform the repair without any moisture interfering.
Step 2: Shut Off the Water Supply
Before attempting any repair, make sure to turn off the water supply to the affected section of the PEX pipe. This will prevent any water from flowing while you’re working and ensure that you don’t cause further damage or flooding.
Step 3: Cut the Damaged Section
Using a PEX pipe cutter, carefully cut out the section of pipe that contains the pinhole leak. If the leak is small, you may only need to cut out a small portion of the pipe. Make sure to leave enough room on both sides of the cut to attach the fittings properly.
Be sure to use a pipe cutter designed for PEX, as a dull blade or an improper tool could cause the pipe to crimp or deform.
Step 4: Prepare the Pipe Ends
Once you’ve made the cut, use a pipe deburring tool to smooth out the edges of the pipe. This is important because rough or jagged edges can prevent a proper seal when connecting the new fittings.
Step 5: Install the PEX Fittings
There are several types of PEX fittings you can use for repairs, depending on your preferred method of installation. Let’s go over the three most common types:
- Compression Fittings: These fittings are simple to install and don’t require a crimping tool. Slip the compression fitting over the pipe ends, then tighten the nut to create a secure seal. This method is ideal for quick repairs and doesn’t require specialized tools.
- Crimp Fittings: Crimp fittings require a crimping tool to secure the pipe to the fitting. Insert the pipe into the fitting and place a crimp ring over the pipe. Using the crimping tool, apply pressure to the ring, ensuring a tight and leak-proof connection.
- Push-fit Fittings: Push-fit fittings are one of the easiest options for DIY repairs. Simply push the fitting onto the pipe ends, and the internal mechanism will automatically lock the pipe in place. Push-fit fittings require no tools and are ideal for quick and hassle-free repairs.
Step 6: Test the Repair
Once the fittings are securely in place, turn the water supply back on and test the system. Check for leaks around the fittings and pipe ends. If the system is holding pressure and there’s no water seeping out, the repair is complete.
Step 7: Secure the Pipe (if necessary)
In some cases, you may need to secure the repaired section of pipe to prevent it from shifting or becoming damaged again. Use pipe clamps to hold the repaired section in place, especially if it’s exposed to movement or vibration.
Preventing Pinhole Leaks in PEX Pipe
While repairing pinhole leaks is simple, it’s always better to prevent them in the first place. Here are some tips to help you avoid future leaks in your PEX pipes:
- Use a Water Softener: Hard water can cause mineral buildup and corrosion, which can weaken PEX pipes over time. Installing a water softener can reduce the risk of mineral buildup and help extend the lifespan of your pipes.
- Proper Installation: Ensure that your PEX pipes are installed correctly, with proper support and without sharp bends. Using PEX fittings and connectors that match the pipe size is also crucial.
- Monitor Water Pressure: High water pressure can put undue stress on PEX pipes. Install a pressure regulator if necessary to keep the pressure within the recommended range.
- Protect Pipes from Freezing: PEX pipes are more resistant to freezing than metal pipes, but extreme cold can still cause them to crack. Insulate pipes in unheated areas to prevent freezing.
- Inspect Your System Regularly: Periodically inspect your PEX plumbing system for signs of wear or potential leaks. Early detection can help you avoid more serious issues later on.
Conclusion
Repairing pinhole leaks in PEX pipes without soldering is a quick and straightforward process. With the right tools and materials, you can tackle this issue efficiently and restore your plumbing system to full functionality. Whether you use compression, crimp, or push-fit fittings, the key is to ensure that the connections are secure and leak-proof. Additionally, taking steps to prevent future leaks will help you extend the life of your PEX plumbing system.
Frequently Asked Questions (FAQs)
1. Can I repair a pinhole leak in PEX without shutting off the water?
No, it is essential to shut off the water supply before beginning any repair work to prevent further damage and flooding.
2. What type of PEX fittings should I use for repairs?
Compression, crimp, and push-fit fittings are all suitable for repairing PEX pipes. The choice depends on your preference and the tools you have available.
3. How do I know if a PEX pipe has a pinhole leak?
You can spot a pinhole leak by looking for damp spots or water pooling around the pipe. In some cases, you may need to perform a pressure test to find the leak.
4. Are push-fit fittings reliable for long-term use?
Yes, push-fit fittings are reliable and durable for long-term use. They are an easy and secure option for DIY repairs and are widely used in both residential and commercial plumbing