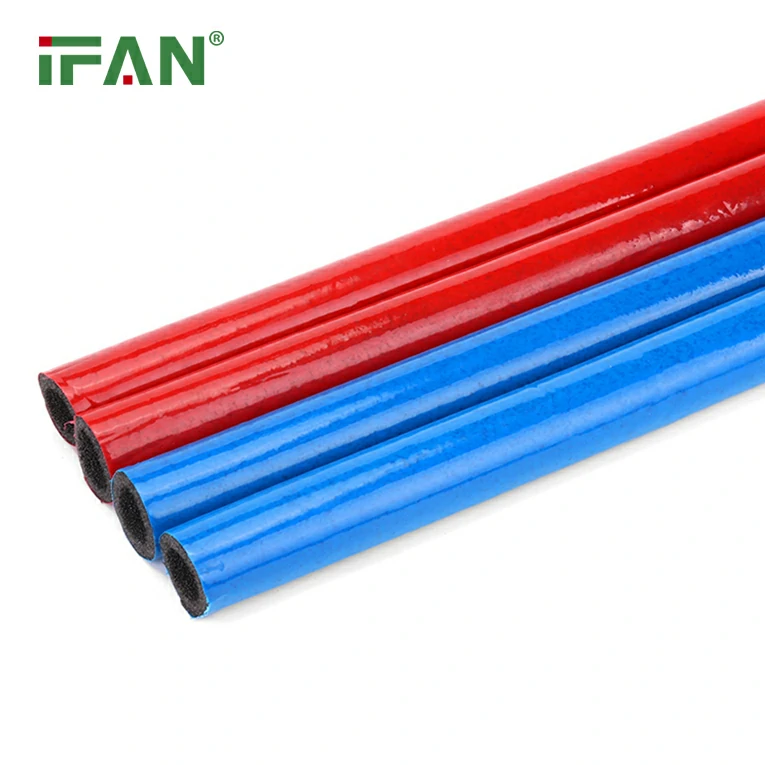
Brass fittings are essential components in plumbing and piping systems due to their durability, corrosion resistance, and versatility. These fittings are widely used for water supply, gas lines, HVAC systems, and other applications that demand secure, leak-proof connections. When combined with PPR (Polypropylene Random Copolymer) pipes, brass fittings offer a reliable solution for both residential and industrial plumbing projects. In this guide, we’ll walk you through the proper installation process for brass fittings in plumbing systems, focusing on ensuring a secure and efficient setup.
Why Choose Brass Fittings for PPR Plumbing?
Before diving into the installation process, it’s essential to understand why brass fittings are the preferred choice for PPR piping systems.
- Durability: Brass is a robust material that can withstand high pressure and extreme temperatures, making it ideal for various plumbing applications.
- Corrosion Resistance: Unlike other metals that corrode over time, brass is resistant to rust and chemical corrosion, ensuring the longevity of your plumbing system.
- Compatibility with PPR: Brass fittings work well with PPR pipes due to their ability to form tight, secure seals, preventing leaks.
With these benefits in mind, let’s move on to how to properly install brass fittings with PPR piping systems.
Tools and Materials Needed
Before beginning the installation process, gather the following tools and materials to ensure a smooth installation:
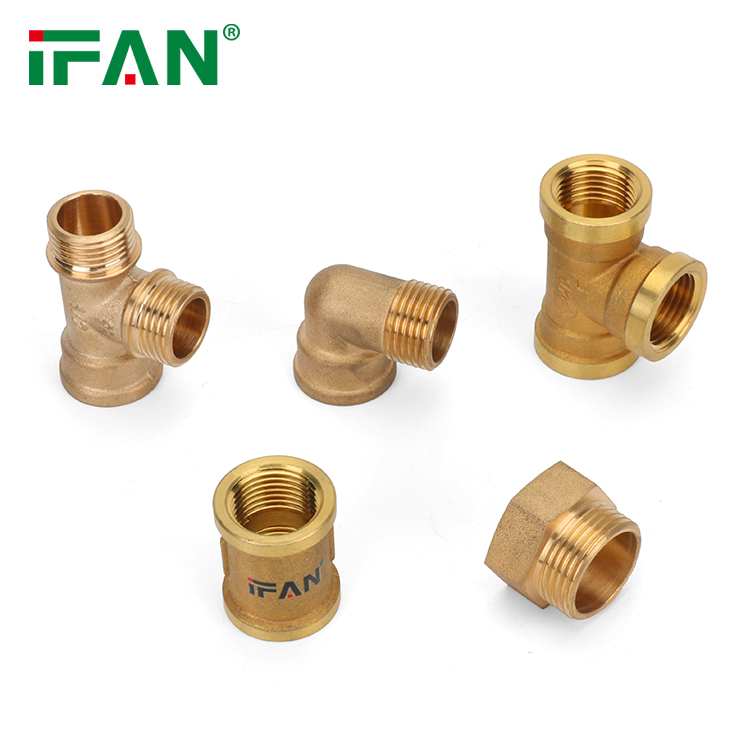
- Brass Fittings (Elbows, Tees, Couplings, etc.)
- PPR Pipes (Proper size for the application)
- Pipe Cutter or Hacksaw
- Deburring Tool
- Teflon Tape or Pipe Joint Compound
- Pipe Wrench
- Heat Fusion Tool (for PPR pipes)
- Measuring Tape
Having all the necessary materials at hand will help speed up the process and ensure a professional-grade installation.
Step-by-Step Installation of Brass Fittings in PPR Piping Systems
1. Measure and Cut the PPR Pipes
The first step in the installation is to measure and cut the PPR pipes to the desired length. Be sure to take precise measurements and double-check the length of the pipes. Use a pipe cutter or hacksaw to make clean, straight cuts. After cutting the pipes, use a deburring tool to remove any rough edges or burrs from the cut ends. This will help ensure a tight fit when connecting the brass fittings.
2. Prepare the Brass Fittings
Brass fittings come in various forms, such as elbows, tees, couplings, and adaptors. Depending on your system’s needs, choose the appropriate brass fitting to connect the PPR pipes.
Inspect the fittings to ensure they are free from debris, dust, or any manufacturing residues. If necessary, clean the inside of the fitting with a soft cloth or brush to prevent any contamination that might affect the sealing process.
3. Apply Teflon Tape or Pipe Joint Compound
To ensure a leak-free connection, apply a thin layer of Teflon tape or pipe joint compound to the threaded ends of the brass fittings. Start wrapping the tape clockwise, covering the threads evenly, but be sure not to overdo it. Too much tape can cause difficulty in tightening the fitting properly.
Alternatively, you can use pipe joint compound, which is especially useful when working with threaded connections. Apply a thin, even coat to the threads of the fitting, ensuring it covers all exposed areas.
4. Heat Fusion of PPR Pipes
For a secure connection between PPR pipes and brass fittings, you’ll need to perform a heat fusion process. PPR pipes are heat-welded to brass fittings using a heat fusion tool.
- Set the Heat Fusion Tool: Heat the fusion tool to the appropriate temperature according to the manufacturer’s instructions, typically around 260°C (500°F).
- Insert the Pipe and Fitting: Insert the end of the PPR pipe and the fitting into the fusion tool. Allow both components to heat up for the recommended duration.
- Join the Fitting and Pipe: Once the pipe and fitting have reached the proper temperature, quickly remove them from the fusion tool and immediately insert the pipe into the fitting. Hold them in place for a few seconds to ensure a secure bond.
- Allow Cooling: Let the connection cool for a few minutes to allow the fusion joint to set. During this time, avoid any pressure or movement on the connection.
5. Tighten the Brass Fittings
After ensuring that the PPR pipe and brass fitting are securely fused, use a pipe wrench to tighten any threaded brass fittings. Be cautious not to over-tighten, as this can damage the threads or cause the fitting to crack. Tighten the fittings until they are snug and there is no visible gap between the pipe and fitting.
6. Test the System for Leaks
Once all the brass fittings have been installed and tightened, it’s crucial to test the system for leaks. Turn on the water supply and carefully inspect all the connections for any signs of leakage. Pay close attention to the threaded areas and fusion joints. If you notice any leaks, tighten the fitting slightly or reapply Teflon tape as needed.
If leaks persist, you may need to replace the fitting or check for any debris that might be interfering with the seal.
7. Final Inspection
After confirming that all fittings are secure and leak-free, perform a final inspection of the entire system. Ensure that all pipes are properly aligned and that no parts are under undue stress. Any misalignment or pressure points could cause future problems.
Common Mistakes to Avoid
When installing brass fittings with PPR pipes, avoid the following common mistakes:
- Incorrect Measurements: Always double-check your measurements before cutting the pipes to avoid wasting materials or causing poor fits.
- Over-tightening Fittings: Over-tightening brass fittings can damage threads and create stress points that lead to future leaks.
- Skipping the Deburring Step: Not deburring the edges of the cut pipes can lead to poor connections and leaks.
- Failing to Test for Leaks: Always test your system after installation to catch any leaks before they cause damage.
Benefits of Proper Brass Fitting Installation
Installing brass fittings correctly ensures that your plumbing system:
- Remains Leak-Free: Properly installed fittings prevent leaks, ensuring that water or gas remains contained within the pipes.
- Lasts Longer: The durability of brass ensures a long lifespan, especially when installed correctly.
- Operates Efficiently: A properly installed system ensures that water pressure and flow rates are optimal.
Conclusion
Proper installation of brass fittings in PPR plumbing systems is critical to ensuring long-lasting, reliable performance. By following the steps outlined above and avoiding common mistakes, you can create a plumbing system that is leak-free, durable, and efficient. Brass fittings paired with PPR pipes offer an excellent combination of strength and flexibility, ideal for both residential and industrial applications.
Frequently Asked Questions (FAQs)
1. Can brass fittings be used with all types of pipes?
Brass fittings are compatible with many types of pipes, including PPR, copper, PVC, and steel, as long as the fitting is the correct size and type for the pipe.
2. Do I need to use Teflon tape on brass fittings?
Teflon tape is recommended for threaded brass fittings to ensure a leak-proof connection. It’s especially useful in threaded plumbing systems.
3. How long do brass fittings last in plumbing systems?
Brass fittings are highly durable and can last decades, especially in environments that are not subject to aggressive chemicals or extreme corrosion.
4. Is heat fusion necessary when installing brass fittings with PPR pipes?
Yes, heat fusion is required to securely connect PPR pipes with brass fittings. The process creates a strong bond between the two materials.
5. What should I do if my brass fitting starts leaking?
If a brass fitting begins leaking, check the tightness of the connection. You may need to reapply Teflon tape or replace the fitting if damage is visible.

