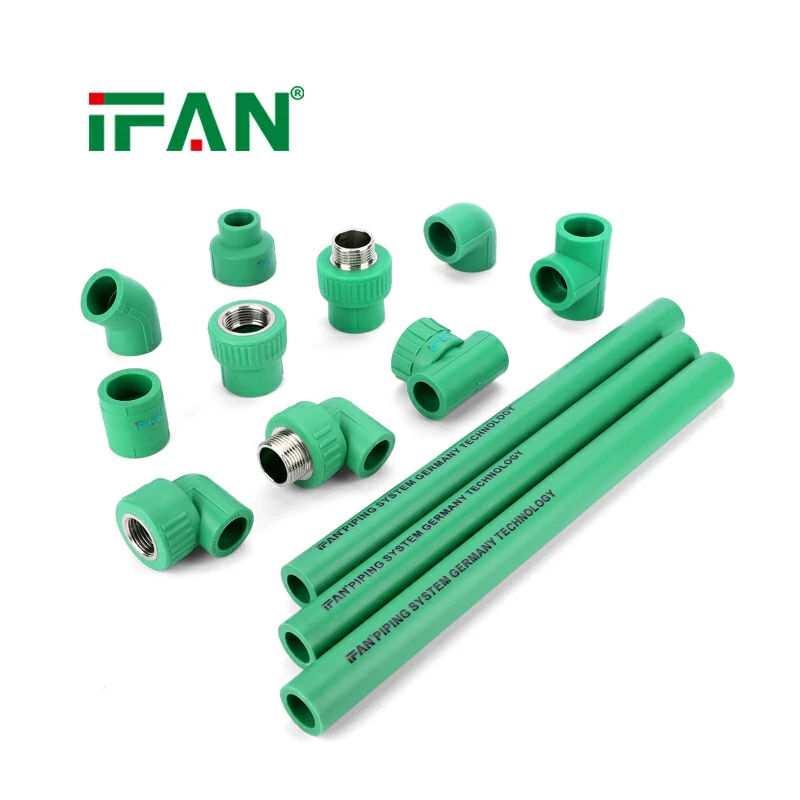
To insulate PEX pipe underground, you will need:
- PEX pipe
- Insulation foam sleeves for underground installations
- Duct tape or zip ties
- Adhesive glue (optional)
- Rigid foam insulation board
Here’s how to insulate PEX pipe underground:
- Dig a trench deep enough to bury the PEX pipe, taking into consideration the depth of frost line in your area.
- Install the PEX pipe into the trench, leaving some slack to accommodate any movement due to soil shifting or settling.
- Put the insulation foam sleeves over the PEX pipe, making sure that they fit tightly around the pipe and there are no gaps between the foam and the pipe.
- Secure the foam sleeves onto the PEX pipe using duct tape or zip ties. If covering long stretches of piping, adhesive glue can also be used to hold the sleeves firmly in place.
- Cover the foam-insulated PEX pipe with a layer of rigid foam insulation board.
- Backfill the trench with soil until it is level with the surrounding ground surface.
- Mark the location of the PEX pipes on the surface with flags so that they can be easily located in the future if necessary.
It’s important to follow the manufacturer’s instructions for the foam sleeves to ensure proper insulation performance. Always consult with a professional plumber or building inspector before starting any work related to underground piping.
Install the PEX pipe into the trench and connect it to the hot and cold water supply lines.
To install PEX pipe into a trench and connect it to the hot and cold water supply lines, follow these steps:
- Dig a trench that is deep enough for the PEX pipe to be buried underground. The depth of the trench will depend on the frost line in your area.
- Install a shut-off valve near where the PEX pipe will connect to the main water supply.
- Connect the PEX pipe to the shut-off valve using a fitting that matches the size of the pipe.
- Run the PEX pipe through the trench, making sure to avoid any sharp edges or objects that could damage the pipe.
- Connect the PEX pipe to the hot and cold water supply lines inside the building using appropriate fittings and connectors. Make sure to follow manufacturer instructions for proper installation.
- Secure the PEX pipe to the building using pipe clamps or brackets.
- Check the installation for leaks. Turn on the main water supply and let the water run for a few minutes. Check all connections and joints for leaks. If necessary, tighten any loose fittings or use plumber’s tape to seal the connections.
- Cover the PEX pipe with insulation foam sleeves designed for underground installations to protect it from extreme temperatures.
It is always recommended to consult with a professional plumber before starting any work related to plumbing installation to ensure proper procedures are followed.
Refill the trench with soil until it is level with the surrounding ground surface.
To refill the trench with soil until it is level with the surrounding ground surface, follow these steps:
- Begin by removing any rocks, debris or sharp objects from the trench.
- Fill the bottom of the trench with a layer of clean sand or gravel to provide a stable base for the pipe.
- Place the PEX pipe into the trench and make sure it is positioned correctly. The pipe should be at a slight angle so that any water inside will flow towards the proper drainage area.
- Cover the pipe with a layer of sand or gravel, making sure that it is evenly spread.
- Fill the rest of the trench with soil, packing it down firmly as you go to prevent settling.
- Use a rake or shovel to create a slight slope away from the building. This will help ensure proper drainage away from the foundation.
- Water the trench lightly to help settle the soil.
- Check the completed work to ensure that the soil level is even with the surrounding ground surface.
It is important to note that the exact process for filling in a trench may vary depending on local regulations and requirements. Always consult with a professional plumber or building inspector before starting any work related to plumbing installation.