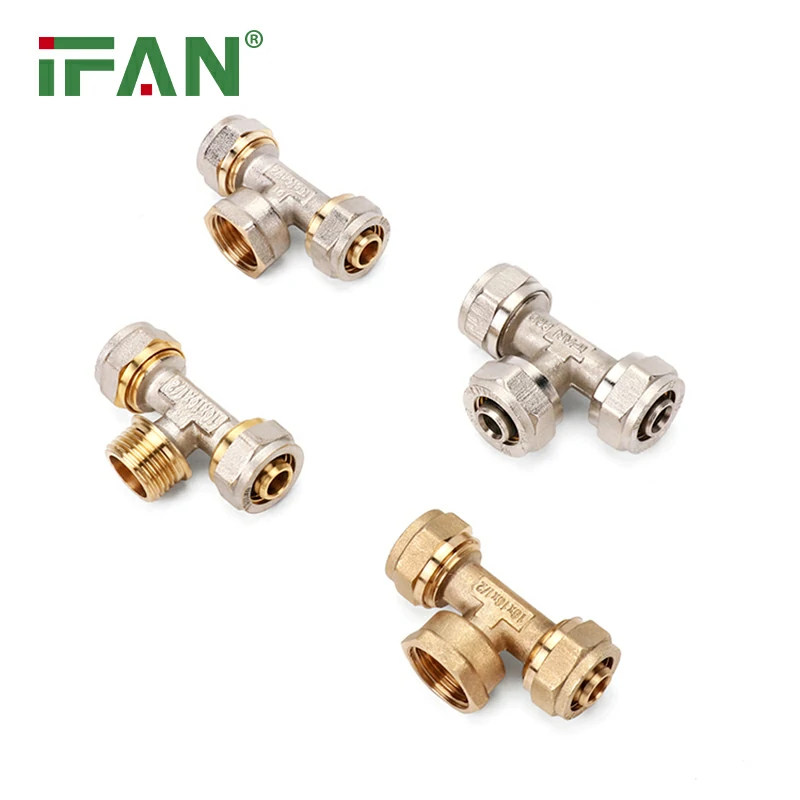
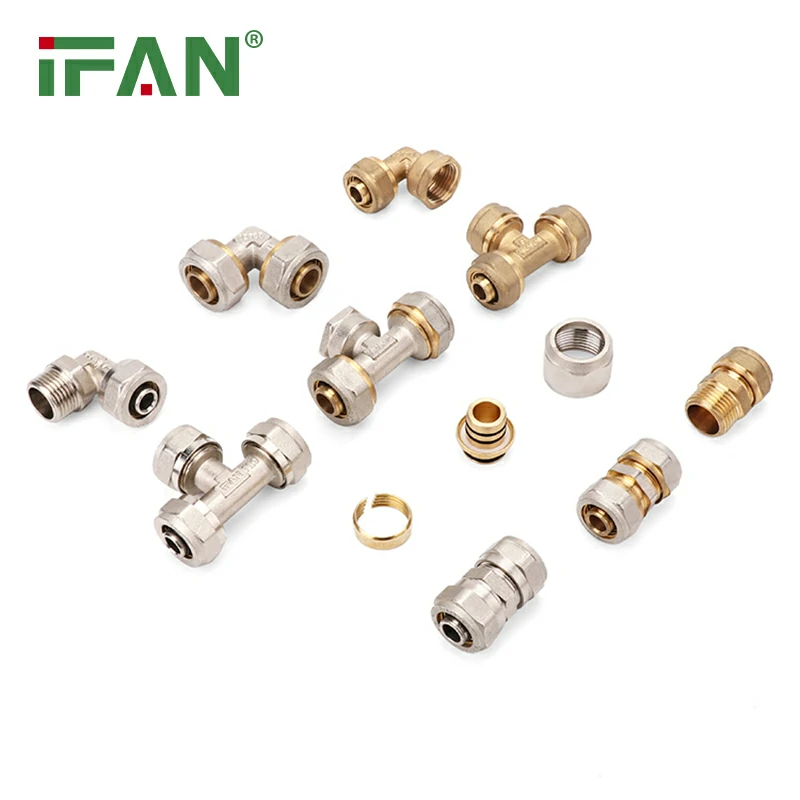
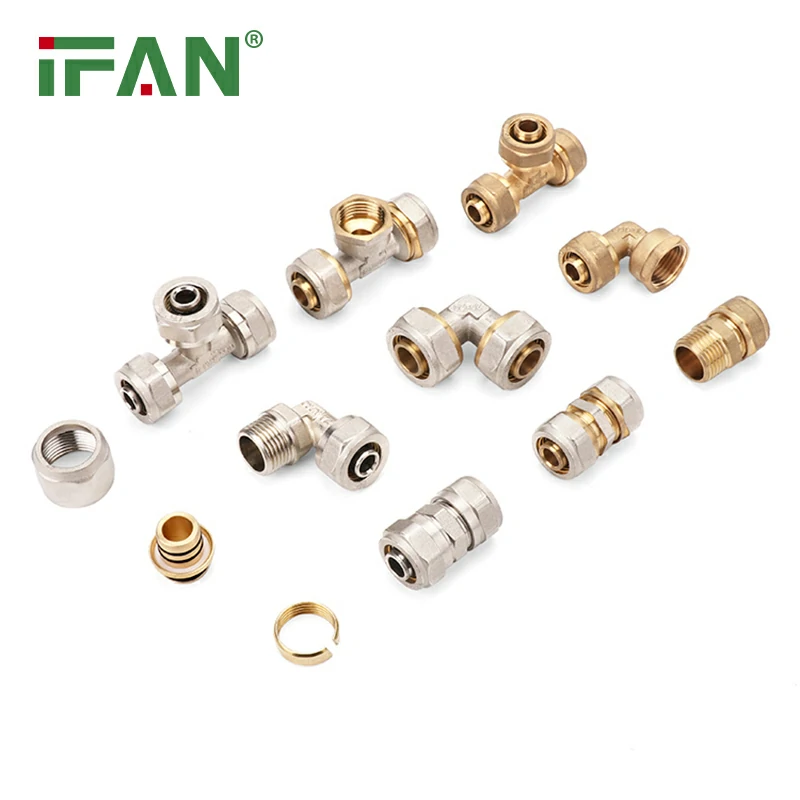
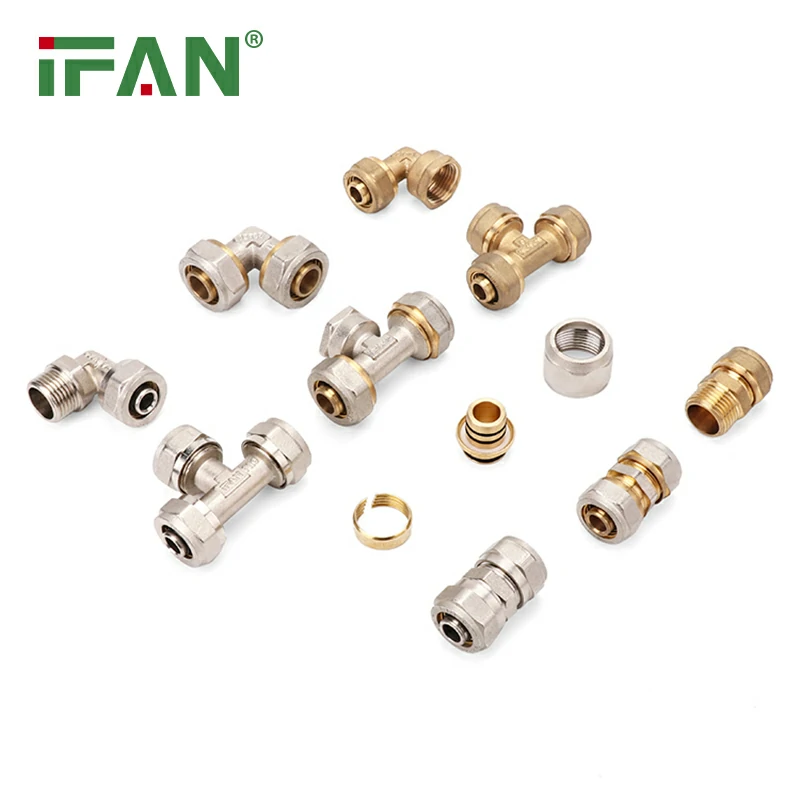
IFAN factory 30+ years manufacture experience support color /size customization support free sample.Welcome to consult for catalog and free samples.This is our Facebook Website:www.facebook.com,Click to watch IFAN’s product video.Compared with Tomex products, our IFAN products from quality to price are your best choice, welcome to buy!
PEX (cross-linked polyethylene) piping is a popular choice for modern plumbing systems due to its flexibility, durability, and ease of installation. When working with PEX pipe fittings, it’s crucial to ensure that they are properly connected and sealed to achieve a leak-free plumbing system. This guide will walk you through the steps to properly connect and seal PEX fittings, ensuring a reliable and long-lasting plumbing setup.
Why PEX Fittings Are Essential for Leak-Free Plumbing
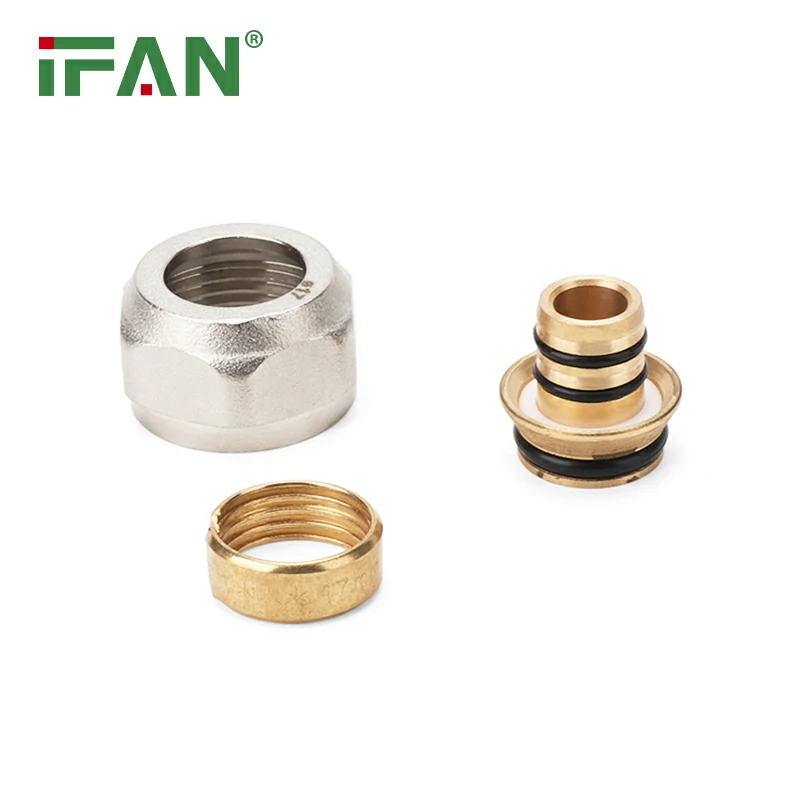
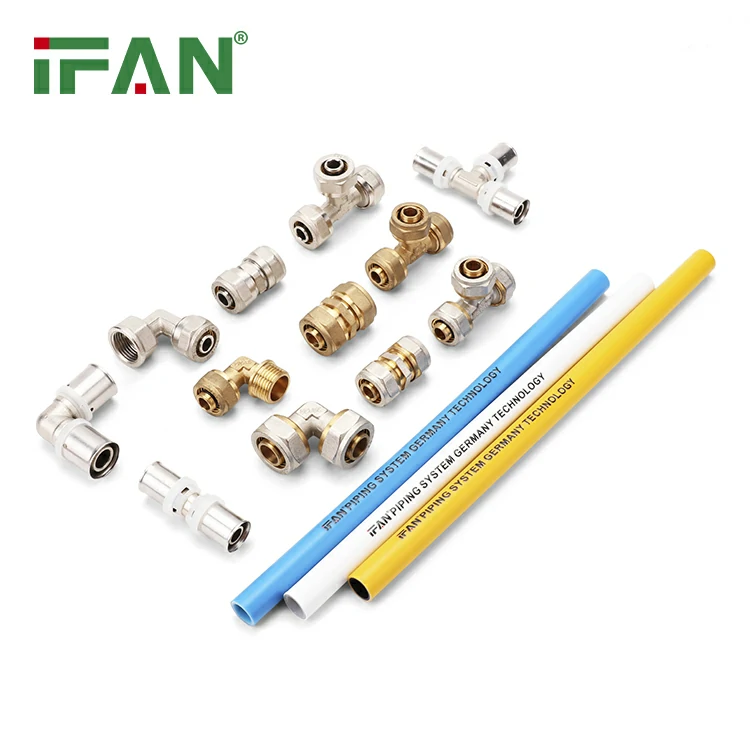
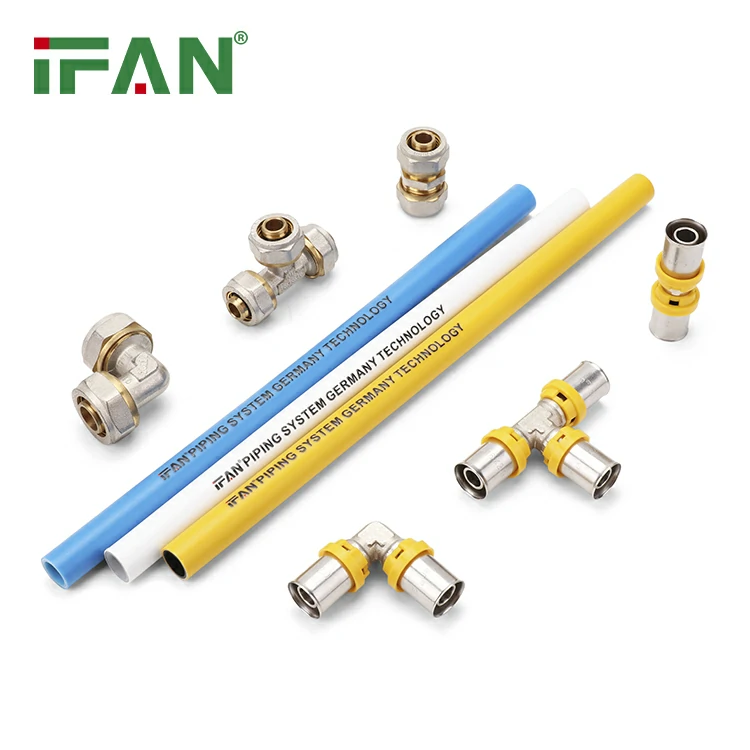
PEX pipe fittings are key components that allow PEX pipes to be connected, whether for water supply, heating, or other plumbing applications. These fittings can be made from a variety of materials, including brass, stainless steel, and plastic, and they come in various forms such as push-fit, crimp, and clamp style fittings. Regardless of the type of fitting, ensuring a proper connection and seal is crucial to prevent leaks that could lead to costly water damage or system failures.
Step 1: Choose the Right PEX Fittings
Before beginning your plumbing project, it’s essential to choose the correct PEX pipe fittings for your system. The fitting type you choose will depend on the type of PEX pipe you’re using, the plumbing system’s requirements, and the tools you have available.
- Brass and Stainless Steel Fittings: These are often the most durable and long-lasting options for residential and commercial plumbing.
- Plastic Fittings: Ideal for DIY projects, they are lightweight and easy to install but may not have the same long-term durability as metal options.
Important Tip: Always ensure the fitting matches the diameter of your PEX pipe (e.g., 16mm, 20mm, 32mm). Most systems use standardized pipe sizes, but it’s always best to double-check.
Step 2: Prepare the PEX Pipe and Fitting
Proper preparation is essential to achieving a leak-free seal. Here’s how to prepare both the PEX pipe and fitting:
Preparing the PEX Pipe:
- Cut the PEX Pipe: Use a PEX cutter to ensure a clean, straight cut. Avoid using tools that could crush or distort the pipe. A sharp cutter will prevent any damage to the pipe’s integrity.
- Inspect the End of the Pipe: Make sure the cut is even and smooth. A jagged or uneven edge can prevent a proper seal with the fitting.
- Remove Any Burrs: If you notice any rough edges on the cut pipe, gently smooth them with a deburring tool to prevent them from interfering with the fitting.
Preparing the Fitting:
- Inspect the Fitting: Before installation, check the fitting for any cracks, damage, or defects. Make sure that the sealing surface is smooth and clean.
- Lubrication (Optional): Some types of fittings, such as push-fit fittings, may require a small amount of lubrication for easier installation. Follow the manufacturer’s instructions for this step.
Step 3: Installing the PEX Fitting
There are various methods for connecting PEX pipe fittings, depending on the type of fitting used. The most common types of PEX fittings are crimp, clamp, and push-fit fittings. Let’s explore each method.
Crimp Fittings:
- Slide the Crimp Ring: First, slide the crimp ring onto the PEX pipe.
- Insert the Fitting: Push the PEX pipe into the fitting until the pipe is fully inserted.
- Secure the Crimp Ring: Use a crimping tool to secure the crimp ring over the pipe, just behind the fitting. Ensure the ring is evenly compressed around the pipe.
- Check the Connection: After crimping, check that the crimp ring is securely attached and the pipe is tightly connected to the fitting.
Clamp Fittings:
- Slide the Clamp: Position the clamp over the PEX pipe.
- Insert the Fitting: Insert the PEX pipe into the fitting until it’s fully seated.
- Secure the Clamp: Use a clamp tool to tighten the clamp securely around the pipe and fitting. Be careful not to overtighten, as this can cause damage to the PEX pipe.
- Inspect for Leaks: After tightening the clamp, check for a secure connection and test the system for leaks.
Push-Fit Fittings:
- Insert the Pipe: Simply push the PEX pipe into the fitting until it’s fully seated. You should feel some resistance when the pipe is properly inserted.
- Lock in Place: Many push-fit fittings have a locking mechanism that will automatically secure the pipe in place once it is fully inserted.
- Ensure Proper Seal: Check that the connection is tight and there are no gaps or loose fittings.
Step 4: Testing for Leaks
Once the PEX fittings are installed, it’s crucial to test the system to ensure that there are no leaks. Here’s how to perform a simple leak test:
- Turn on the Water Supply: Slowly turn on the water supply to the system, starting with the lowest faucet and gradually moving to higher fixtures.
- Inspect All Connections: As the water begins to flow through the system, inspect each connection for signs of leaks.
- Fix Any Leaks: If you find any leaks, turn off the water supply and check the fitting for proper installation. Tighten or adjust the fitting as necessary.
Step 5: Final Inspections and Maintenance
Once the system is leak-free, perform a final inspection of all the connections and make sure the PEX pipes are securely fastened and properly routed. Regular maintenance is key to ensuring that your PEX plumbing system continues to function properly. Check for any signs of wear, such as discolored pipes, leaking fittings, or corroded metal components.
Tips for Ensuring Leak-Free PEX Plumbing
- Use the Right Tools: Always use high-quality tools specifically designed for PEX fittings, such as a crimping tool or clamp tool.
- Avoid Over-tightening: Whether you’re crimping, clamping, or using push-fit fittings, avoid over-tightening, which can cause damage to the pipe and fittings.
- Check the Manufacturer’s Instructions: Always refer to the manufacturer’s guidelines for specific instructions on the installation process for your PEX fittings.
- Use Compatible Fittings and Pipes: Ensure that your PEX pipe fittings are compatible with the type of PEX pipe you’re using (e.g., PEX-A, PEX-B, or PEX-C).
Common FAQs
1. What is the difference between crimp and clamp PEX fittings?
Crimp fittings use a crimp ring and crimping tool to secure the connection, while clamp fittings use a stainless steel clamp and a clamp tool. Both methods are reliable, but crimp fittings are typically used in professional settings, while clamp fittings are often preferred for DIY installations.
2. Can I reuse PEX fittings?
Generally, it’s not recommended to reuse PEX fittings. Once a fitting has been crimped or clamped, it may not form a secure seal if removed and reinstalled. It’s best to replace the fitting to ensure a reliable, leak-free connection.
3. How can I prevent leaks in my PEX plumbing system?
To prevent leaks, always ensure that PEX fittings are installed properly, the pipes are cut cleanly, and the fittings are secured with the appropriate tool. Regular inspections and maintenance are also essential for long-term leak prevention.
4. What size PEX pipe and fittings should I use?
PEX pipe and fittings come in various sizes, typically ranging from 16mm to 32mm. Choose the correct size based on your plumbing system’s requirements. Refer to local plumbing codes for the right size for your application.
5. Can PEX piping be used for both hot and cold water?
Yes, PEX piping is suitable for both hot and cold water systems. However, ensure that the PEX pipe you choose is rated for the correct temperature range to avoid damage over time.
By following these steps and tips, you can successfully connect and seal PEX fittings for a leak-free plumbing system. Whether you’re installing a new system or making repairs, proper installation will ensure your plumbing works efficiently for years to come

