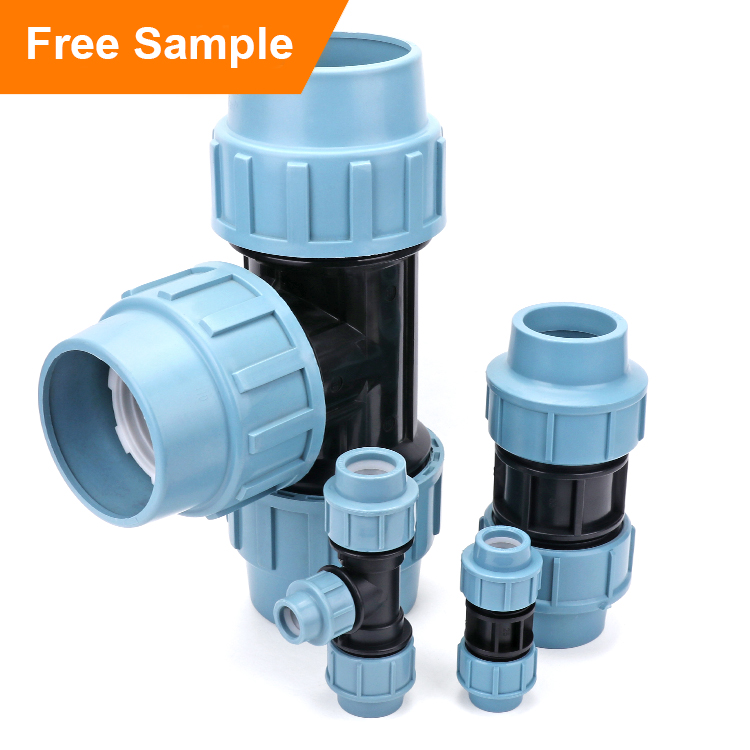
IFAN factory 30+ years manufacture experience support color /size customization support free sample.Welcome to consult for catalog and free samples.This is our Facebook Website:www.facebook.com,Click to watch IFAN’s product video.Compared with Tomex products, our IFAN products from quality to price are your best choice, welcome to buy!
PEX press fittings are an excellent choice for plumbing installations due to their ease of use, reliability, and cost-effectiveness. Unlike traditional copper or PVC pipes, PEX (cross-linked polyethylene) tubing and press fittings offer a fast, safe, and efficient method of creating leak-free connections. In this guide, we’ll walk you through the steps to install PEX press fittings for a leak-free plumbing system, ensuring long-lasting and durable performance.
What Are PEX Press Fittings?
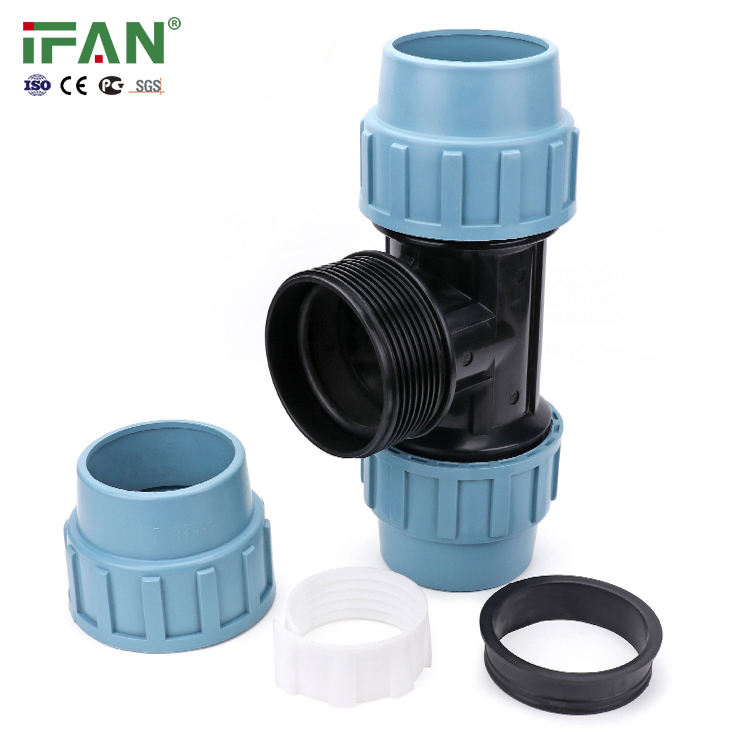
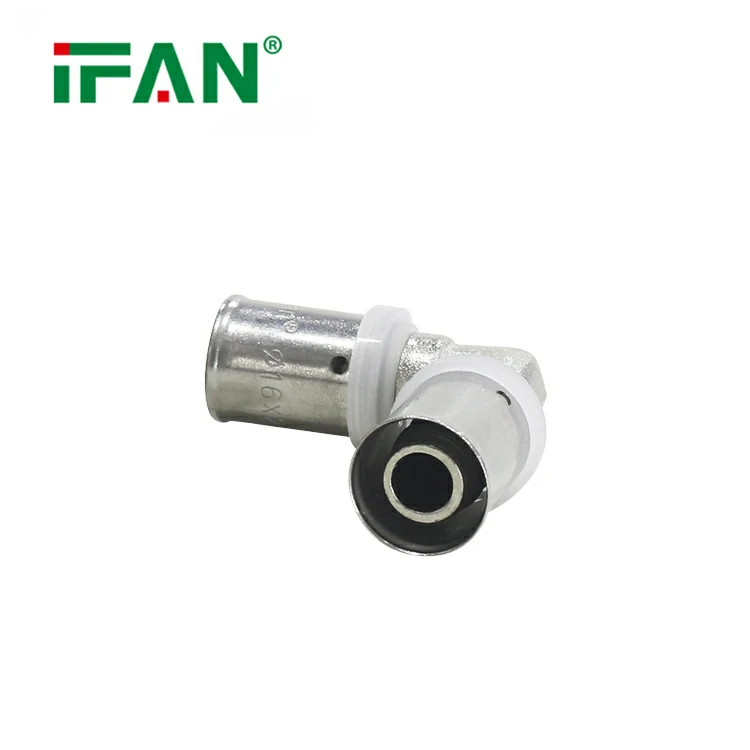
PEX press fittings are designed to connect PEX tubing in plumbing systems. They use a specialized press tool to create a secure, tight, and leak-proof seal. This system eliminates the need for soldering, adhesives, or threading, making it ideal for both professionals and DIY enthusiasts. PEX press fittings are commonly used in residential and commercial plumbing systems for water supply lines, heating systems, and more.
Benefits of Using PEX Press Fittings
Before we dive into the installation process, it’s important to understand the benefits of using PEX press fittings:
- Quick and Easy Installation: PEX press fittings eliminate the need for heat or open flames, making installation faster and safer.
- Durability: PEX is resistant to freezing, corrosion, and scaling, which ensures a long-lasting plumbing system.
- Leak-Proof: PEX press fittings create a secure, leak-free connection that ensures a reliable water supply.
- Cost-Effective: Compared to traditional materials like copper, PEX press fittings reduce both material and labor costs.
Now that we understand the benefits, let’s walk through the steps for installing PEX press fittings.
Tools and Materials You Will Need
Before starting the installation process, ensure you have the following tools and materials on hand:
- PEX tubing
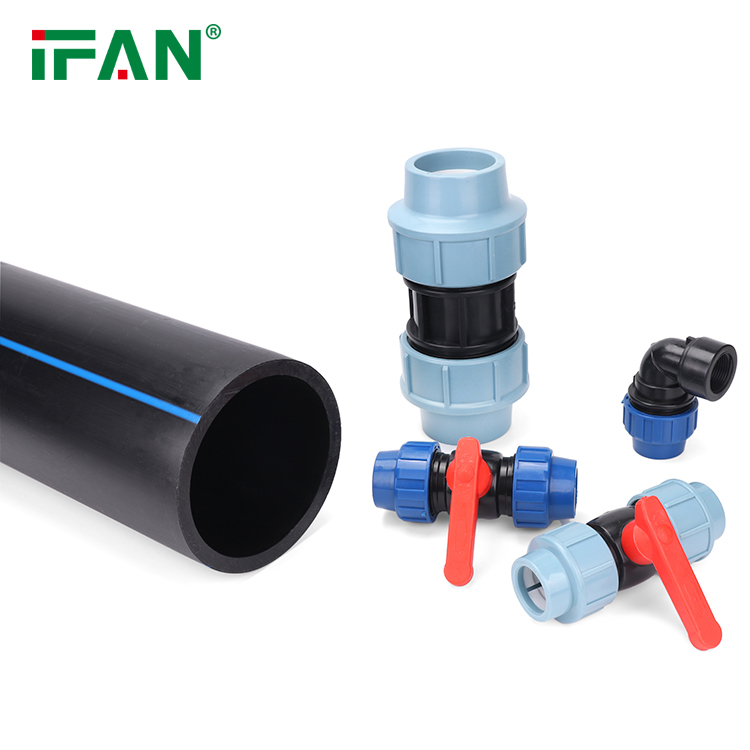
- PEX press fittings (elbows, tees, couplings, etc.)
- PEX press tool
- Pipe cutter or tubing cutter
- Deburring tool (optional, but recommended)
- Marker or measuring tape
- Pipe supports or hangers (if necessary)
Step 1: Plan Your Plumbing Layout
Planning the layout of your plumbing system is essential before starting any installation. You should determine where the PEX press fittings will be placed and measure the lengths of tubing required. Mark the locations of each fitting to ensure a proper and efficient connection. Planning ahead can save time and reduce the need for adjustments during installation.
Step 2: Cut the PEX Tubing
To install PEX press fittings, the tubing must be cut to the desired lengths. Use a sharp pipe cutter or tubing cutter to ensure a clean, straight cut. This will help create a secure seal between the PEX tubing and the fitting.
When cutting the tubing, be sure to leave enough space between the fittings for proper installation. It’s always better to leave a bit of extra tubing and trim it down as needed.
Step 3: Deburr the PEX Tubing
After cutting the PEX tubing, it’s important to deburr the edges to remove any rough spots. These burrs can affect the seal of the press fitting, leading to potential leaks. Use a deburring tool or a knife to smooth out the cut edge. This step is especially important for ensuring a leak-free installation.
Step 4: Insert the PEX Tubing into the Fitting
Now it’s time to insert the PEX tubing into the press fitting. Carefully slide the cut end of the tubing into the fitting, ensuring it’s fully inserted. The tubing should be seated all the way to the fitting’s depth, ensuring that there is no gap between the tubing and the fitting.
Some PEX press fittings may feature an O-ring or compression ring, which helps ensure a tight, leak-proof seal. Make sure that the tubing is properly positioned and that the fitting is fully seated.
Step 5: Use the PEX Press Tool
Once the PEX tubing is inserted into the fitting, you’ll need to use a specialized PEX press tool to secure the connection. The press tool works by applying pressure to the fitting, causing it to compress tightly around the tubing. This creates a secure, leak-proof seal.
Follow the manufacturer’s instructions for your press tool to ensure that you apply the correct amount of pressure. It’s important to make sure the fitting is fully compressed and that no gaps remain.
Tip:
If you are unsure whether the connection is secure, visually inspect the fitting to ensure that it is properly crimped or compressed around the tubing. Some press tools may include a gauge to indicate proper compression.
Step 6: Check for Leaks
After completing the installation of each press fitting, it’s essential to test the system for leaks. Turn on the water supply and inspect each connection for any signs of leakage. If you notice any leaks, double-check the compression of the fitting and ensure that the tubing is properly inserted into the fitting.
If necessary, reapply pressure with the press tool or recheck the installation process to ensure a proper connection.
Step 7: Secure the PEX Tubing
Once the fittings are securely in place, it’s important to support the PEX tubing along its run. Use pipe supports or hangers to secure the tubing in place, ensuring that it is properly aligned and supported to prevent stress on the fittings.
Step 8: Final Inspection
Finally, perform a thorough inspection of the entire plumbing system to ensure everything is properly installed and free of leaks. If you notice any issues, address them immediately before finishing the installation.
Common Mistakes to Avoid
To ensure a successful PEX press fitting installation, avoid these common mistakes:
- Improper Cutting: Ensure that the tubing is cut cleanly and straight to prevent leaks.
- Failing to Deburr: Deburring the cut edges is essential for creating a secure seal.
- Incorrect Pressing: Apply the correct amount of pressure using the press tool to ensure a secure connection.
- Not Checking for Leaks: Always test the system after installation to confirm that no leaks are present.
Why Choose PEX Press Fittings?
PEX press fittings are an ideal choice for plumbing systems due to their fast installation, leak-free connections, and long-lasting durability. They are resistant to freezing and corrosion, making them a reliable option for both residential and commercial applications.
With the right tools and a little patience, you can install PEX press fittings to create a leak-free plumbing system that will last for years to come.
Frequently Asked Questions (FAQs)
1. Do I need special tools to install PEX press fittings?
Yes, you will need a specialized PEX press tool to securely compress the fittings onto the tubing. This ensures a tight, leak-free connection.
2. Can PEX press fittings be used for both hot and cold water systems?
Yes, PEX press fittings are designed to be used in both hot and cold water systems, as well as in radiant heating systems.
3. How do I know if the PEX press fitting is installed correctly?
After using the press tool, ensure that the fitting is fully compressed around the tubing. Visually inspect the fitting for proper compression and check the system for leaks.
4. Can I install PEX press fittings myself?
Yes, PEX press fittings can be installed by both professionals and DIY enthusiasts. However, it’s important to have the right tools and follow the manufacturer’s instructions for the best results.
5. Are PEX press fittings more durable than traditional plumbing fittings?
Yes, PEX press fittings are resistant to corrosion, freezing, and scaling, making them a more durable option compared to traditional metal fittings like copper.