Signs of Frozen PEX Pipes (And How to Unfreeze Them)
As the winter months set in, the risk of plumbing issues, particularly with PEX pipes, increases significantly. PEX, or cross-linked polyethylene, is a popular choice for modern plumbing due to its flexibility and resistance to corrosion. However, like all pipes, PEX can freeze in extremely cold conditions. This article will explore the signs of frozen PEX pipes, methods to unfreeze them, and tips for preventing freezing in the first place.
Understanding PEX Pipes
PEX pipes have become a standard in residential plumbing because of their unique properties. They are flexible, easy to install, and resistant to scale and chlorine, making them ideal for hot and cold water systems. However, when exposed to freezing temperatures, even PEX can succumb to freezing and the associated problems of burst or cracked pipes.
Signs of Frozen PEX Pipes
Detecting frozen PEX pipes early can help you avert catastrophic damage to your plumbing system. Here are some common signs to watch out for:
1. Reduced or No Water Flow
One of the first signs of frozen PEX pipes is a noticeable reduction or complete cessation of water flow from your faucets. If you turn on the tap and only a trickle (or no water at all) comes out, it could indicate that ice has formed inside the pipes.
2. Frost or Ice Buildup on Pipes
If you notice frost or ice on the surface of your PEX pipes, it’s a strong indication that the water inside is freezing. This is especially common in sections of pipe that are exposed to cold air, such as those running along exterior walls.
3. Unusual Noises
Sometimes, frozen pipes can create unusual noises, resonating a thudding or banging sound when water pressure builds up behind the blockage. This may indicate that the ice has caused a significant disruption in water flow.
4. Bumps or Swelling in the Pipe
Frozen water expands, and this pressure can cause visible swelling or bumps along the length of the pipe. If you notice these protrusions, it’s likely due to ice forming inside.
5. Temperature Fluctuations
If certain areas of your home feel significantly colder than others, it might suggest that the pipes in those areas have frozen. Regularly check temperatures in rooms where pipes are located to catch potential freeze conditions early.
Steps to Unfreeze PEX Pipes
If you suspect that your PEX pipes have frozen, acting quickly is essential to prevent rupturing the pipes and incurring expensive damage. Here’s a step-by-step guide to safely unfreeze your PEX pipes:
Step 1: Locate the Frozen Section
Start by identifying the area of your plumbing system that is affected. Check pipes in your home’s unheated areas, such as basements, attics, and garages. If you hear water struggling to flow, it may lead you to the frozen section.
Step 2: Turn Off the Water Supply
Before attempting to thaw the pipes, ensure you turn off the main water supply. This protects against any potential flooding from leaks once the ice melts.
Step 3: Open Faucets
Open the faucets connected to the frozen section of the pipe. This allows water to flow as the ice begins to melt, helping to relieve pressure in the system.
Step 4: Apply Gentle Heat
To thaw out the frozen pipes, use gentle heat. Here are a few methods you can use:
- Hair Dryer: A hair dryer is an effective way to apply localized heat to the frozen area. Make sure you keep it moving and do not hold it too close to the pipe to avoid damage.
- Heat Tape: Electrical heat tape can be wound around the frozen section of the pipe and plugged in to provide gentle heat.
- Space Heater or Heat Lamp: Placing a space heater or heat lamp in the vicinity of the frozen pipe can help raise the temperature of the surrounding air, gradually warming the pipes.
- Warm Towels: Soaking towels in warm water and wrapping them around the pipes can also be effective, though it requires more effort and time.
Step 5: Monitor the Situation
As you apply heat, keep checking the faucet connected to that section of the pipe. Eventually, you should begin to see water flowing again. If you notice any signs of leaking or bursting, shut off the main water supply immediately.
Step 6: Ensure Full Thawing
Once water flow resumes, continue to monitor the situation as there may be additional ice further down the line that hasn’t melted yet. It’s crucial to ensure that the entire pipe is fully thawed to prevent recurrent freezing.
Prevention Tips
Once the frozen pipes are dealt with, it’s important to take preventive measures to avoid recurrence. Here are some strategies:
1. Insulate Your Pipes
Insulating your PEX pipes, particularly those in unheated areas or along exterior walls, will provide the necessary protection against freezing temperatures. Foam pipe insulation is an easy and cost-effective option.
2. Keep Garage Doors Closed
If your water supply pipes are located in the garage, keep the garage doors closed to maintain a higher temperature in that area.
3. Let Faucets Drip
During particularly cold spells, allowing faucets to drip just a little can reduce pressure in the pipes, preventing freezing and potential bursting.
4. Maintain Home Temperature
When leaving your home during winter, keep the thermostat set to a consistent temperature, even during the night. This prevents significant fluctuations that could lead to freezing.
5. Seal Cracks and Openings
Inspect your home for any cracks near windows, doors, and foundations where cold air could infiltrate. Sealing these gaps will help maintain a warmer environment for your pipes.
Conclusion
Knowing the signs of frozen PEX pipes and effectively unfreezing them is crucial for any homeowner, especially in freezing temperatures. Since PEX is susceptible to cold just like other plumbing materials, being proactive with solutions and preventive measures can save you both time and money. Regular maintenance and vigilance ensure that your plumbing system works seamlessly through the winter months.
Frequently Asked Questions (FAQs)
If you cannot locate the frozen area, consider calling a professional plumber who can use specialized equipment to detect and unfreeze your pipes safely. By understanding the signs and addressing the issue promptly, you can protect your plumbing system and prevent the inconveniences associated with frozen PEX pipes.When it comes to plumbing systems, PEX (cross-linked polyethylene) pipes have gained immense popularity for their flexibility, ease of installation, and resistance to various chemicals and corrosion. One essential aspect of installing a PEX system is the ability to create a closed loop, which is particularly important for systems like radiant heating, hot water recirculation, and even certain plumbing applications. This article will explore the process, benefits, and considerations around closing a PEX pipe loop, ensuring that your system functions efficiently.
What causes PEX pipes to freeze?
PEX pipes can freeze due to prolonged exposure to sub-zero temperatures, especially in unheated areas or poorly insulated spaces.
Can frozen PEX pipes burst?
Yes, frozen pipes can burst due to the pressure caused by expanding ice, leading to significant water damage once they thaw.
How long does it take to thaw frozen PEX pipes?
The time it takes to thaw frozen pipes can vary depending on the thickness of the ice and the method used, but it typically takes anywhere from several minutes to a few hours.
Is it safe to use a blowtorch on frozen PEX pipes?
No, using a blowtorch can damage PEX pipes and increase the risk of fire. Always use a gentle heat source, such as a hair dryer or heat tape.
What should I do if I cannot find the frozen section?
Understanding PEX Pipe
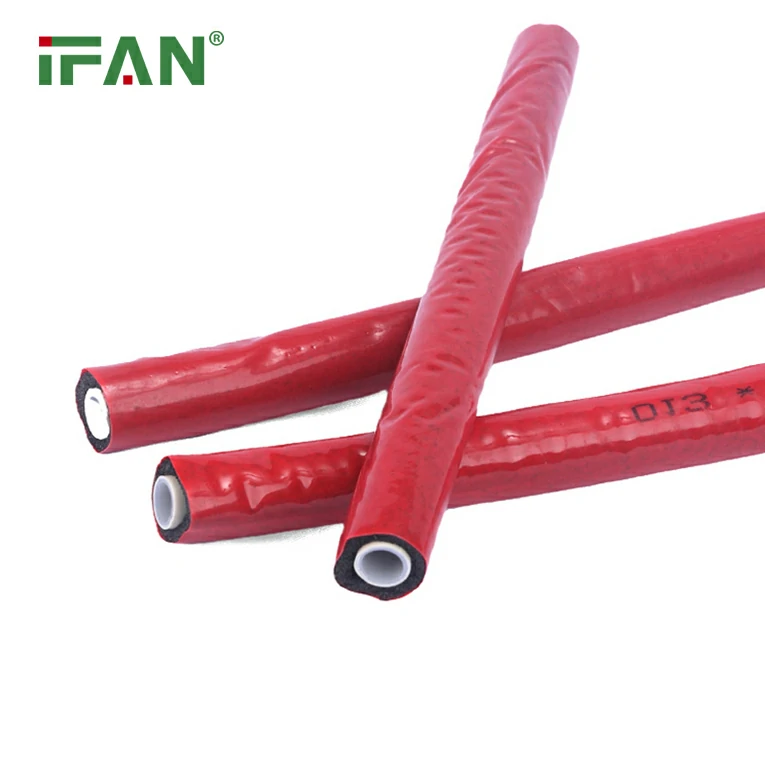
PEX piping is a modern solution for residential and commercial plumbing. Unlike traditional copper or PVC pipes, PEX is more flexible and resistant to temperature fluctuations and corrosive substances. This makes it a preferred choice for various applications, including water supply lines, radiant heating systems, and plumbing retrofits.
Why Close a PEX Pipe Loop?
A closed PEX pipe loop is essential for several reasons:
- Consistent Temperature: In systems such as radiant heating, closing the loop allows for consistent temperature distribution. This ensures that all areas of a space receive evenly heated water.
- Improved Efficiency: Closed-loop systems, especially in hot water recirculation setups, can save energy and reduce waiting time for hot water to reach faucets and fixtures.
- Reduced Water Waste: By creating a loop, you minimize the amount of water wasted while waiting for it to heat up, which is both eco-friendly and cost-effective.
- Pressure Maintenance: A closed system helps maintain water pressure, which can be particularly beneficial in large homes where water pressure can fluctuate based on usage.
Steps to Close a PEX Pipe Loop
Closing a PEX pipe loop requires careful planning and execution. Here’s a step-by-step guide to help you achieve a successful installation.
Step 1: Plan the Loop Design
Before starting your installation, create a detailed plan of your PEX loop system. Consider key points:
- Placement: Determine where the loop will be located and how it will connect to different fixtures or systems.
- Pipe Size: Choose the appropriate size of PEX pipe for your system. Common sizes include 1/2-inch, 3/4-inch, and 1-inch depending on your flow requirements.
Step 2: Gather Necessary Tools and Materials
To effectively close a PEX pipe loop, gather the following tools and materials:
- PEX pipes
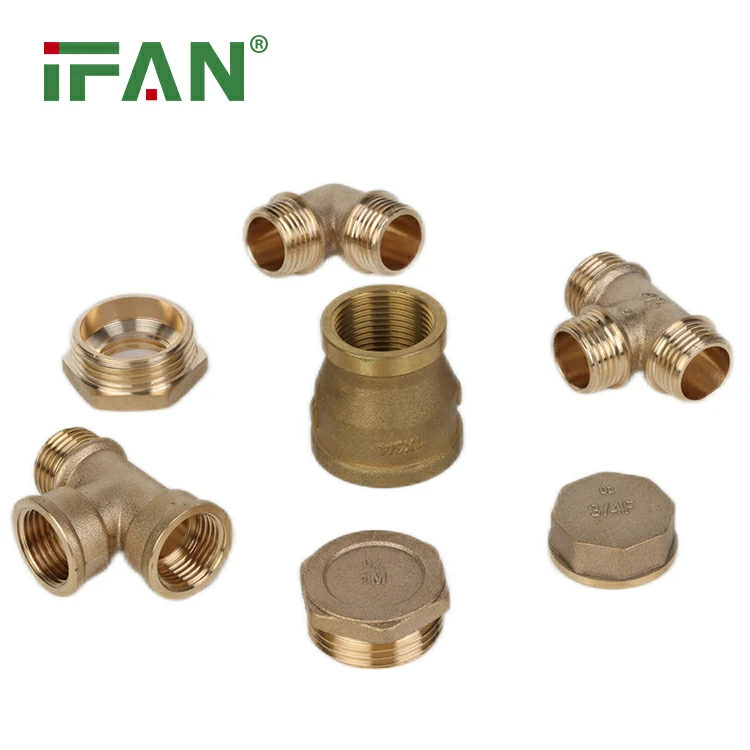
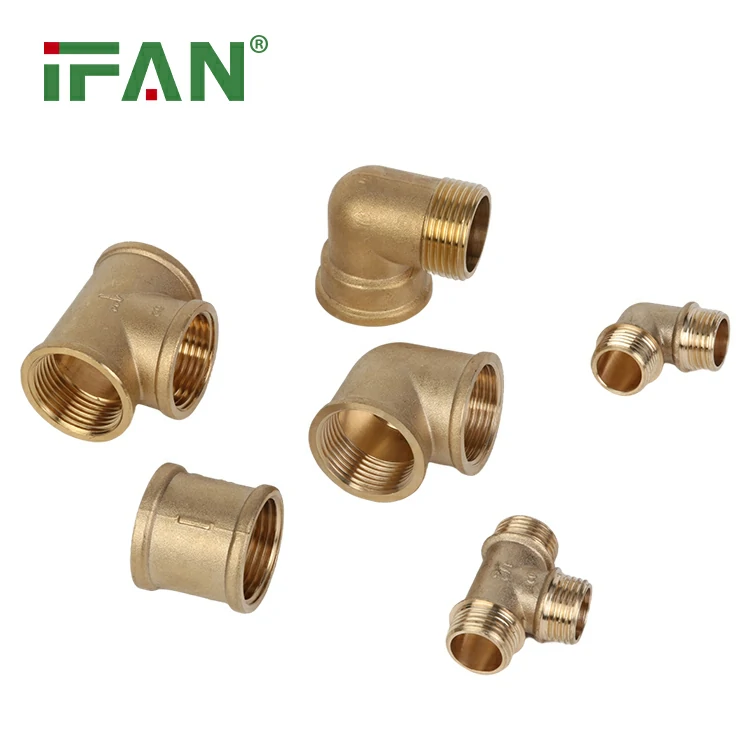
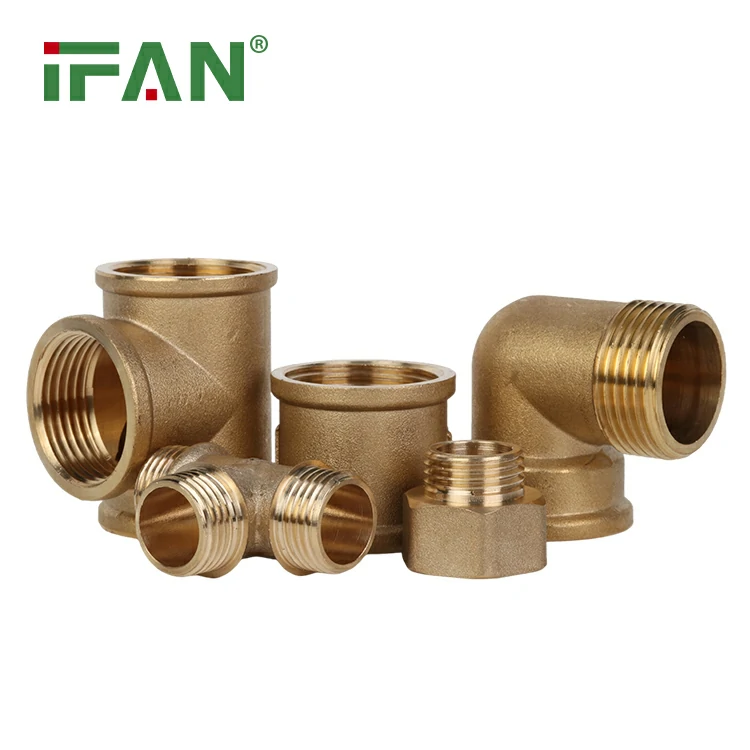
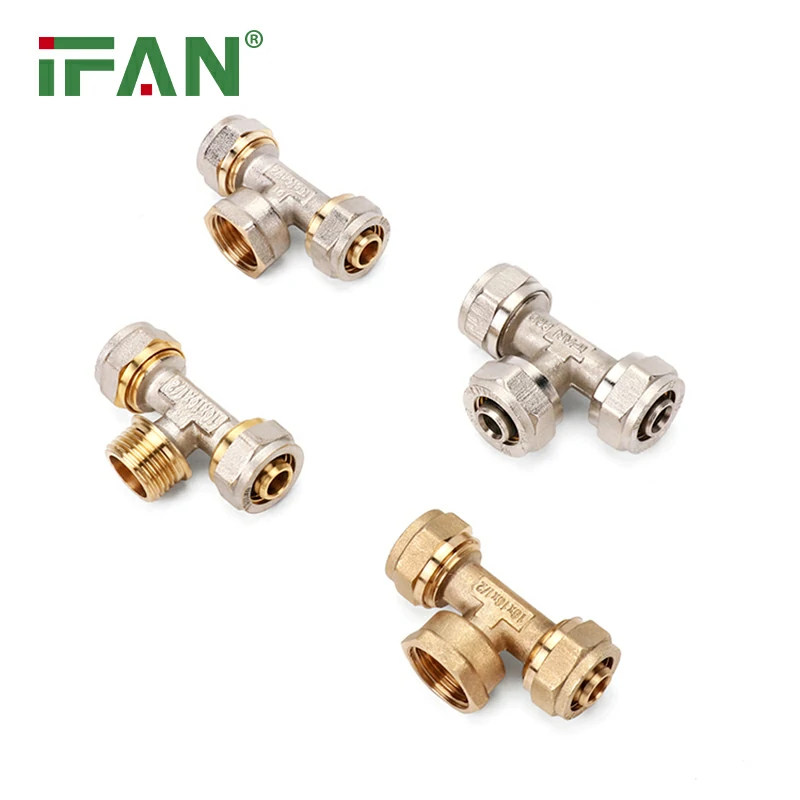
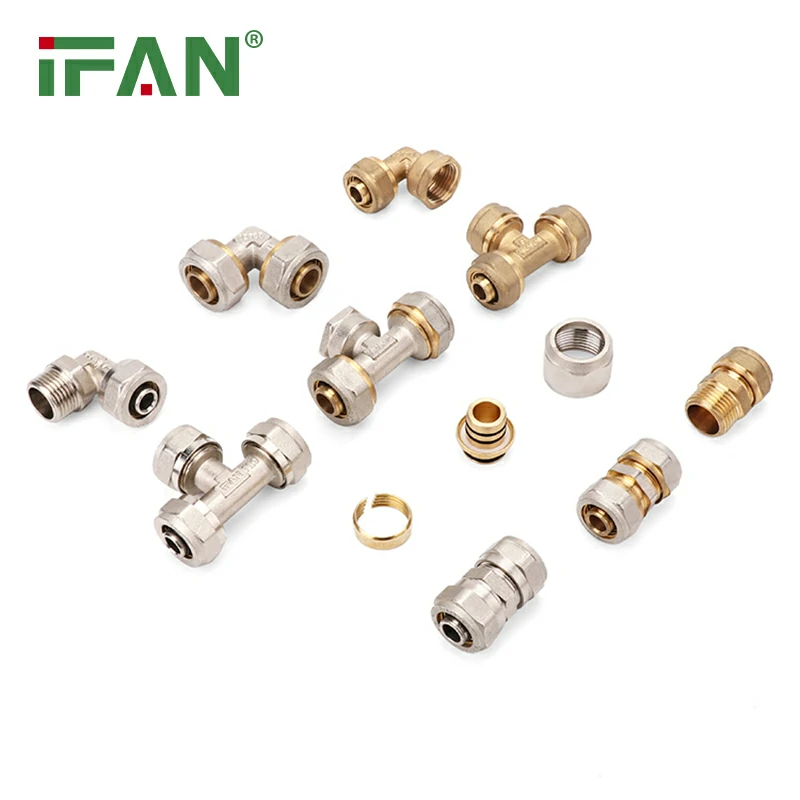
- PEX fittings (elbows, tees, connectors)
- PEX crimp rings
- PEX crimp tool
- Pipe cutter
- Measuring tape
- Marker
- Safety glasses
Step 3: Measure and Cut PEX Pipes
Using a measuring tape, determine the lengths of PEX pipe needed for your loop. Make accurate measurements, as this minimizes waste and ensures proper fitting. Once you have the measurements, use a PEX pipe cutter to make clean cuts—this is crucial for achieving tight connections.
Step 4: Install PEX Fittings
Join the PEX pipes using appropriate fittings; for a closed loop, you will typically use elbows or tees. Follow these steps:
- Insert the PEX Pipe into the Fitting: Push the cut end of the PEX pipe into the fitting until it reaches the depth marked on the fitting.
- Install Crimp Rings: Slide a crimp ring over the PEX pipe where it meets the fitting. Position the crimp ring about 1/8 inch from the end of the pipe.
- Use the Crimp Tool: Position the crimp tool over the ring and squeeze it firmly until the ring is compressed around the pipe. Check for a complete seal by inspecting the crimp; it should not rotate.
- Repeat: Continue this process for each fitting and pipe segment until the loop is fully constructed.
Step 5: Secure and Support the PEX Loop
Depending on the layout of your PEX pipe loop, securing the pipes may be necessary to prevent movement and potential damage. Use pipe clamps or brackets to fasten the pipes to walls, floors, or ceilings.
Step 6: Test the System
Once your PEX pipe loop is complete, it’s crucial to conduct a pressure test:
- Turn on the Water Supply: Slowly turn the water supply on and check for leaks at each connection point.
- Pressure Test: Monitor the pressure gauge for any significant drops which could indicate leaks.
- Inspect for Leaks: If any leaks are found, immediately address them by disconnecting the affected sections and redoing the crimp connections as necessary.
Benefits of Using PEX Pipes
Incorporating PEX pipes into your plumbing system offers numerous advantages:
- Flexibility: PEX can bend around corners and avoids the need for numerous fittings, which can save time and materials.
- Corrosion Resistance: PEX does not corrode like copper pipes, offering longevity and durability.
- Thermal Expansion: PEX can expand slightly in response to freezing temperatures without bursting, making it an ideal choice in colder climates.
- Easy Installation: The lightweight and flexible nature of PEX allows for quicker, simpler installations compared to traditional materials.
Maintenance of Closed PEX Loop Systems
After completing your PEX pipe loop, proper maintenance is vital for ensuring the longevity and efficiency of the system. Here are some tips:
- Regular Inspection: Periodically check your PEX pipes and fittings for signs of wear, leaks, or damage.
- Watch for Temperature Variations: Monitor the performance of your loop system, particularly for temperature inconsistencies, which may indicate issues within the loop.
- Flushing the System: Annually, consider flushing your PEX system to remove any sediment or mineral buildup, which can impede water flow.
- Maintain Water Pressure: Keep an eye on water pressure when using hot water recirculation systems, ensuring it remains consistent for optimal performance.
Conclusion
Closing a PEX pipe loop is an essential project’s step for creating efficient plumbing and heating systems. Understanding the process, from planning to installation and maintenance, can lead to a successful and functional setup that saves energy, reduces water waste, and ensures consistent performance. By leveraging the adaptability of PEX and taking care to follow installation best practices, homeowners can enjoy the many benefits of a well-constructed plumbing loop.
Frequently Asked Questions (FAQs)
- What is a PEX pipe loop and why is it important?
- A PEX pipe loop is a plumbing configuration that forms a continuous circulation path for water. It is especially important for ensuring consistent temperature and pressure, reducing water waste in systems like radiant heating.
- Can I close a PEX pipe loop myself?
- Yes, as long as you follow proper installation guidelines and have the necessary tools, you can successfully close a PEX pipe loop on your own.
- What types of fittings are used in PEX pipe loops?
- Common fittings include elbows, tees, and connectors, which help in bending and connecting different segments of PEX pipe to form a closed loop.
- How do I detect leaks in a closed PEX pipe loop?
- Conduct a pressure test after installation and regularly check visible sections of pipe for any signs of moisture or leakage.
- Are PEX pipes suitable for outdoor use?
- PEX pipes are not recommended for outdoor use as they can degrade when exposed to UV light. Always insulate or cover any indoor PEX that may be near windows or exterior walls. By closing the PEX pipe loop effectively, homeowners can not only optimize their plumbing systems but also ensure long-lasting and efficient performance.