IFAN factory 30+ years manufacture experience support color /size customization support free sample.Welcome to consult for catalog and free samples.This is our Facebook Website:www.facebook.com,Click to watch IFAN’s product video.Compared with Tomex products, our IFAN products from quality to price are your best choice, welcome to buy!
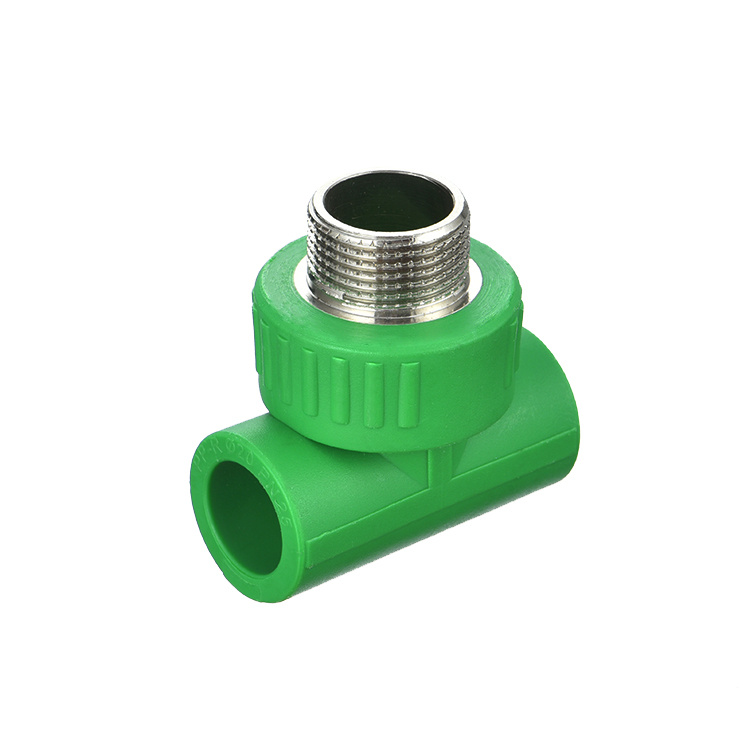
PPR fittings are an essential part of modern plumbing systems, offering a reliable, durable, and cost-effective solution for both residential and commercial applications. With their resistance to corrosion, high temperature tolerance, and ease of installation, PPR fittings have gained widespread popularity. If you’re planning to install PPR fittings yourself, this step-by-step guide will walk you through the entire process to ensure a smooth, successful installation.
Why Choose PPR Fittings?
Before diving into the installation process, let’s quickly review why PPR fittings are an excellent choice for your plumbing needs. These fittings are made from Polypropylene Random Copolymer, a material known for its:
- Corrosion resistance: PPR fittings do not rust, ensuring a longer lifespan and minimal maintenance.
- High temperature tolerance: They can withstand water temperatures of up to 95°C (203°F), making them suitable for both hot and cold water systems.
- Ease of installation: The installation process is simpler than that of materials like copper or galvanized steel, saving you both time and money.
- Durability: PPR fittings are robust and can last for 50 years or more, depending on usage.
Now that you know why PPR fittings are an ideal choice, let’s go over the installation process.
Tools and Materials Needed
To install PPR fittings, you’ll need the following tools and materials:
- PPR pipes and PPR fittings
- PPR pipe cutter or hacksaw
- PPR welding machine or fusion machine
- Pipe cleaning tools (cloth, sandpaper, or a wire brush)
- Measuring tape
- Marker or pencil
- Protective gloves and safety glasses
Make sure you have all these tools on hand before starting your installation project. With everything prepared, you can begin the installation process.
Step 1: Measure and Mark the Pipe
The first step in installing PPR fittings is to measure and mark the pipes to ensure they are cut to the correct length. Accurate measurements are crucial for a proper fit.
- Use a measuring tape to determine the length of the pipe you need.
- Mark the pipe with a pencil or marker to indicate where you will make the cut.
- Double-check your measurements before proceeding to avoid cutting the pipe incorrectly.
Step 2: Cut the PPR Pipe
Once the pipe is marked, the next step is to cut it to the required length. Using a PPR pipe cutter or a hacksaw, make a straight, clean cut to ensure that the pipe fits securely into the fittings.
- Cut the pipe slowly and steadily, avoiding any rough edges or burrs that could cause leaks later.
- After cutting, smooth the edges with a file or sandpaper to eliminate any sharp points that could damage the fittings or interfere with the fusion process.
Step 3: Clean the Pipe and Fittings
Before proceeding with the installation, it’s essential to clean the pipe and the PPR fittings to remove any dirt, dust, or grease that could affect the quality of the joint.
- Use a cloth or a wire brush to clean the inside of the fitting and the outside of the pipe.
- Make sure both the pipe and the fitting are dry before continuing with the fusion process.
Step 4: Heat the Pipe and Fitting
Now that the pipe and fitting are prepared, the next step is to heat the pipe and the fitting to the appropriate temperature using a PPR welding machine or fusion machine. The heat softens the pipe and fitting, allowing them to fuse together and form a secure, leak-proof joint.
- Set the fusion machine to the recommended temperature (usually around 260°C or 500°F).
- Place the pipe and fitting into the machine’s heating elements. The machine should heat both components evenly and simultaneously.
- Monitor the heating process and ensure that both the pipe and fitting are heated to the proper temperature. This process typically takes 10 to 15 seconds, depending on the size of the pipe and fitting.
Step 5: Join the Pipe and Fitting
Once the pipe and fitting are heated, it’s time to join them. This step requires precision to ensure a strong, leak-proof connection.
- Quickly remove the pipe and fitting from the heating elements once they are fully heated.
- Push the pipe into the fitting while it is still soft and malleable. Apply consistent pressure to ensure that the pipe fits snugly into the fitting. You should feel some resistance as the two components fuse together.
- Hold the joint in place for a few seconds to allow it to cool and set. Do not twist or move the pipe during this process to avoid compromising the joint.
Step 6: Allow the Joint to Cool
After the pipe and fitting have been joined, it’s important to allow the joint to cool completely before applying any pressure or testing the system. The cooling process usually takes about 5 to 10 minutes.
- Do not rush this step, as premature handling could result in a weak joint that may leak.
- Make sure the joint is fully cooled and solidified before moving on to the next step.
Step 7: Test the System
Once all the PPR fittings are installed and the joints have cooled, it’s time to test the system to ensure that everything is working properly.
- Turn on the water supply and check for any leaks at the joints.
- Inspect the entire system for any signs of pressure loss or issues with the fittings.
- If you notice any leaks, you may need to repeat the fusion process for the affected joint.
Step 8: Final Checks and Clean-Up
Once you’re satisfied that the system is functioning properly, perform a final check to ensure all connections are secure and leak-free.
- Tighten any loose connections and double-check the quality of the joints.
- Clean up any debris or leftover materials, and properly store your tools for future use.
Tips for Successful PPR Fitting Installation
- Use high-quality PPR fittings: Always opt for reputable brands to ensure the durability and reliability of your plumbing system.
- Avoid over-heating the pipe and fittings, as this can cause damage to the material and lead to a poor bond.
- Take your time: Rushed installations can result in improper fittings or leaks, so be patient during each step of the process.
- Wear protective gear: Safety is important when working with heat and tools, so be sure to wear gloves and safety glasses.
Frequently Asked Questions (FAQs)
1. How long does it take for the PPR fitting to cool down after fusion?
After joining the pipe and fitting, the cooling process usually takes around 5 to 10 minutes. It’s essential to let the joint cool completely before moving or pressurizing the system.
2. Can I install PPR fittings on my own?
Yes, installing PPR fittings is relatively easy and can be done by most DIY enthusiasts. However, you need the right tools, such as a PPR welding machine, and a bit of practice to ensure the process is done correctly.
3. Are PPR fittings suitable for both hot and cold water?
Yes, PPR fittings are designed to handle both hot and cold water systems, thanks to their high-temperature resistance and durability.
4. How long do PPR fittings last?
When installed properly, PPR fittings can last up to 50 years or more, depending on the conditions and usage.
5. Can I use PPR fittings for outdoor installations?
Yes, PPR fittings can be used for outdoor plumbing systems. They are resistant to UV rays and can withstand various environmental factors, making them suitable for outdoor use.
By following these steps and tips, you’ll ensure a successful installation of your PPR fittings, resulting in a reliable and long-lasting plumbing system. Whether you’re a beginner or experienced DIYer, these instructions will help you complete the job efficiently and effectively.