PEX plumbing systems are widely regarded for their ease of installation and long-lasting performance. However, like any plumbing system, PEX pipes can sometimes experience issues, such as leaks. A leaking PEX line can be a stressful problem for homeowners and plumbing professionals alike, but the good news is that it is often straightforward to repair if done properly.
In this article, we’ll discuss how to repair a leaking PEX line, covering the tools and materials you’ll need, the steps involved in the repair process, and tips for preventing future leaks. Whether you’re a DIY enthusiast or a professional plumber, you’ll find valuable insights into how to fix your PEX pipe without causing further damage.

Understanding PEX Pipes and Common Causes of Leaks
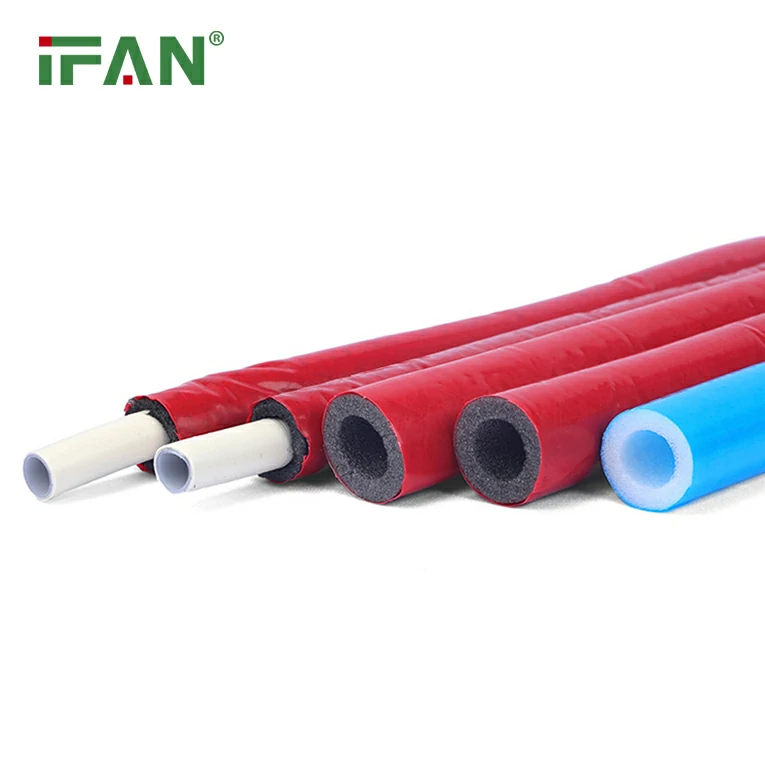
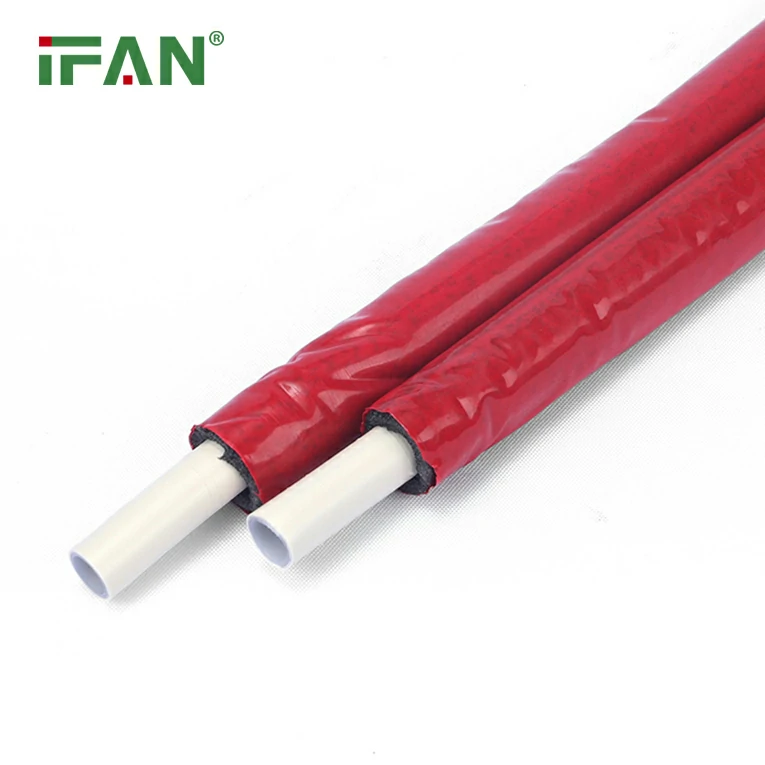
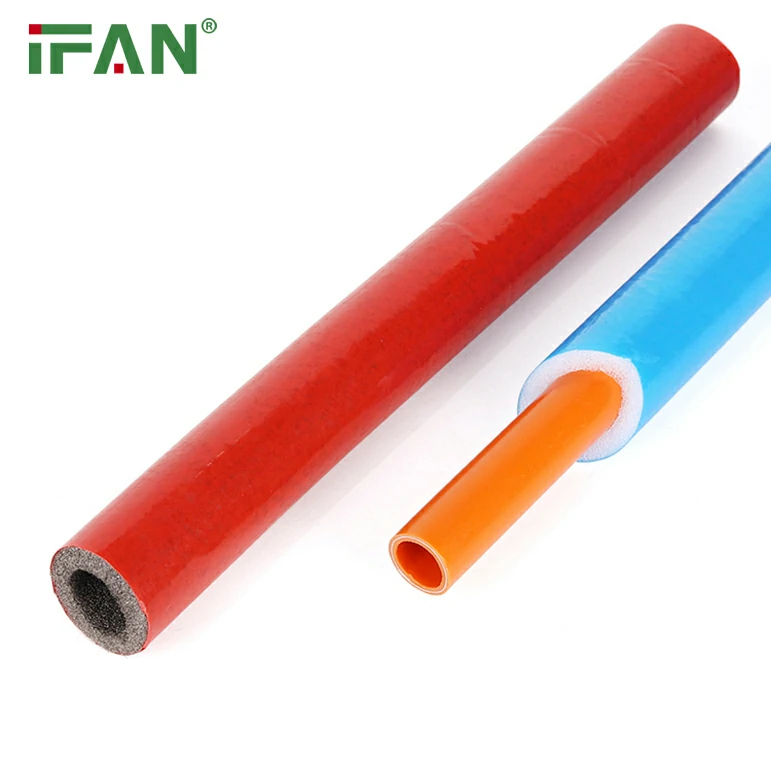
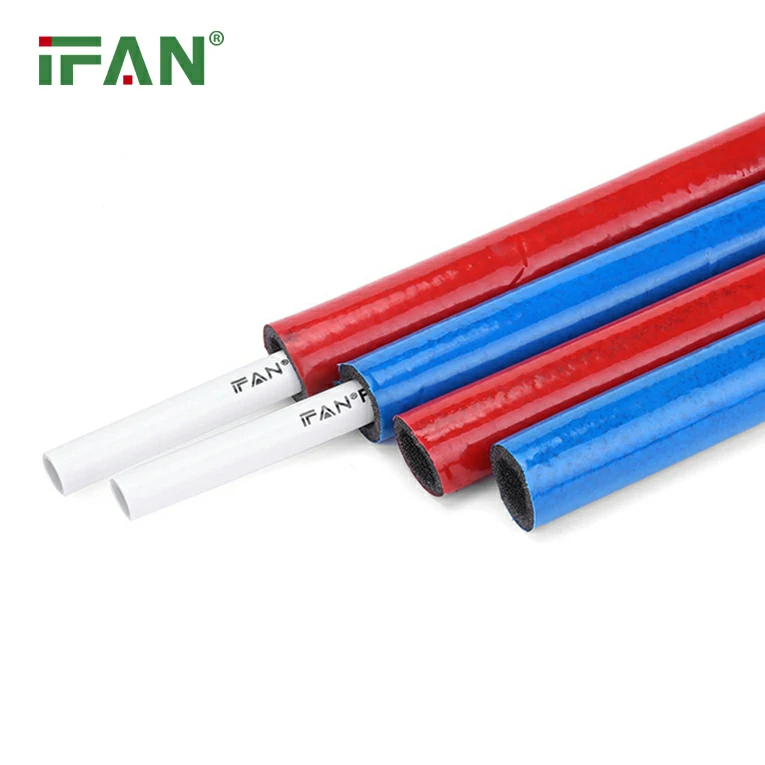
Before we dive into the repair process, it’s essential to understand the basics of PEX plumbing systems and why leaks can occur. PEX pipes are made from cross-linked polyethylene and are used in a variety of plumbing applications, including water supply lines, radiant heating systems, and even snowmelt systems. PEX fittings, which are used to connect PEX pipes to each other or to plumbing fixtures, play an important role in ensuring leak-free installations.
Despite their many advantages, PEX pipes are not immune to damage. PEX pipe leaks can happen for several reasons:
- Improper Installation: If PEX fittings are not correctly installed, it can lead to leaks. For instance, crimping tools may not be properly applied, or the fittings might not be fully tightened.
- Frozen Pipes: PEX pipes are more resistant to freezing compared to metal pipes, but they can still freeze if exposed to extremely low temperatures for extended periods. When frozen, PEX pipes can crack or burst, leading to leaks.
- Physical Damage: PEX pipes are flexible, but they can still be damaged by impact. Sharp objects or heavy pressure can cause cracks or punctures in the pipes.
- Aging or Degradation: Over time, exposure to UV light, chemicals, or excessive pressure can weaken PEX pipes, causing them to leak.
Identifying the Source of the Leak
Before attempting a repair, it’s crucial to pinpoint where the leak is located. PEX pipe leaks can occur at the connection points or along the pipe itself. Common signs of a leak include:
- Visible water dripping or pooling around the pipe
- A musty or damp smell
- Reduced water pressure in the affected area
Once the leak’s location is identified, you can begin the repair process.
How to Repair a Leaking PEX Line
Repairing a leaking PEX line can be done relatively easily, even for DIYers. Here’s a step-by-step guide on how to fix a PEX pipe leak:
Tools and Materials You’ll Need
To repair a leaking PEX pipe, you’ll need the following tools and materials:
- Replacement PEX pipe (if necessary)
- PEX fittings (appropriate type depending on your system)
- PEX crimping tool or clamp tool
- Pipe cutter (for cutting damaged sections of pipe)
- Replacement crimp rings or clamps
- Wrenches (if necessary for tightening fittings)
- Teflon tape or pipe joint compound (optional, for thread-sealed fittings)
- Bucket or towel (to catch any excess water)
Step 1: Turn Off the Water Supply
Before beginning any plumbing repair, it’s essential to turn off the water supply to the affected area. This will prevent further water from leaking and creating more damage during the repair. You can usually turn off the water at the main shutoff valve or at a specific shutoff valve near the leaking PEX line.
Step 2: Dry the Area Around the Leak
Once the water supply is turned off, dry the area around the leak with a towel or rag. This will make it easier to see the leak and work with the pipe. Be sure to remove any standing water around the leak, as it may interfere with the repair process.
Step 3: Inspect the Leak
Now that the area is dry, take a close look at the PEX pipe and PEX fittings. If the leak is coming from a fitting, it may be caused by improper installation or a loose connection. In this case, you may just need to tighten the fitting or replace the crimp ring or clamp.
If the leak is coming from a crack in the pipe itself, you will need to replace the damaged section of the PEX pipe.
Step 4: Cut the Damaged Section of Pipe
If you’ve identified that the leak is coming from a damaged section of PEX pipe, you’ll need to cut the damaged area out. Use a pipe cutter to carefully remove the portion of the pipe that’s leaking. Be sure to make clean, straight cuts on both ends of the damaged pipe.
If you are dealing with a leak at the fitting, skip to Step 5.
Step 5: Install a New PEX Fitting
If the leak is due to a faulty fitting, it’s time to replace it. Here’s how to install a new PEX fitting:
- Slide a new crimp ring or clamp onto the end of the PEX pipe.
- Insert the pipe into the fitting, ensuring it is fully seated in the fitting.
- Use your PEX crimping tool or clamp tool to secure the crimp ring or clamp, making sure it is tight and secure.
- If you’re using a push-fit fitting, simply push the PEX pipe into the fitting until it clicks into place.
Step 6: Install a New Section of Pipe
If you had to cut a damaged section of PEX pipe, you will need to install a new piece. Here’s how to do it:
- Measure and cut a replacement section of PEX pipe that matches the length of the section you removed.
- Use PEX fittings to connect the new section of pipe to the existing pipe on both sides. Again, use a crimping tool or clamps to secure the connections properly.
Step 7: Turn on the Water Supply and Test for Leaks
Once the repair is complete, turn the water supply back on slowly to check for leaks. Carefully inspect the repaired section and ensure that the PEX fittings are secure and that there are no further leaks.
Step 8: Clean Up
Once you’re confident the repair is successful, clean up the area and dispose of any excess pipe or fittings. Ensure the area around the repair is dry and free from water to avoid potential mold or mildew growth.
Preventing Future Leaks
After repairing the leak, it’s a good idea to take some steps to prevent future issues with your PEX plumbing system. Here are a few tips:
- Use High-Quality Materials: Always use high-quality PEX pipes and PEX fittings from reputable manufacturers. Cheap, low-quality materials can lead to premature failure.
- Proper Installation: Ensure that PEX fittings are correctly installed and that crimping or clamping tools are used properly. Incorrect installation is a common cause of leaks.
- Keep PEX Pipes Protected: Protect PEX pipes from UV exposure, as direct sunlight can degrade the material. Use UV-resistant sleeves or cover the pipes if they’re exposed to sunlight.
- Regular Inspections: Periodically check your plumbing system for signs of wear or potential issues, such as leaks, especially before winter when freezing can be a concern.
Conclusion
Repairing a leaking PEX line is a straightforward process if you follow the right steps and use the proper tools. Whether it’s a problem with a fitting or a damaged section of pipe, fixing PEX plumbing issues is something most DIYers can handle with a little knowledge and preparation. By using the correct PEX fittings, performing regular inspections, and following proper installation techniques, you can ensure that your PEX plumbing system remains leak-free for years to come.
Frequently Asked Questions (FAQs)
1. What tools do I need to repair a leaking PEX pipe?
To repair a leaking PEX pipe, you’ll need a pipe cutter, a crimping or clamp tool, replacement PEX fittings, crimp rings or clamps, and Teflon tape or pipe joint compound (if necessary).
2. Can I use push-fit fittings for a PEX repair?
Yes, push-fit fittings can be used for PEX repairs, especially when you want to avoid using crimping tools. These fittings are quick and easy to install, making them ideal for DIY repairs.
3. What should I do if I notice a leak near a PEX fitting?
If the leak is near a PEX fitting, you may need to tighten the fitting or replace the crimp ring or clamp. If the fitting is damaged, you may need to replace it entirely.
4. Are there any long-term risks of using PEX pipes?
PEX pipes are highly durable and resistant to corrosion, but they can be damaged by UV light, chemicals, or freezing temperatures. It’s important to protect PEX pipes from these risks and ensure they’re installed correctly.
5. How can I prevent PEX pipe leaks in the future?
To prevent future PEX pipe leaks, use high-quality materials, ensure proper installation, protect pipes from UV exposure, and conduct regular plumbing system inspections.