PEX (cross-linked polyethylene) plumbing systems have revolutionized the world of home and commercial plumbing. Known for their flexibility, resistance to corrosion, and ease of installation, PEX pipes have become a popular choice in both new builds and renovations. However, like all plumbing systems, PEX systems can experience issues over time, including leaks at the PEX compression fitting connections.
A leaking PEX compression fitting can be a frustrating problem, but it’s not one that’s impossible to fix. In this article, we’ll break down everything you need to know about how to repair a leaking PEX compression fitting in your water line. We’ll guide you step-by-step through the process of identifying the problem, troubleshooting, and ultimately fixing the leak. By the end, you’ll have the knowledge to tackle the repair with confidence.
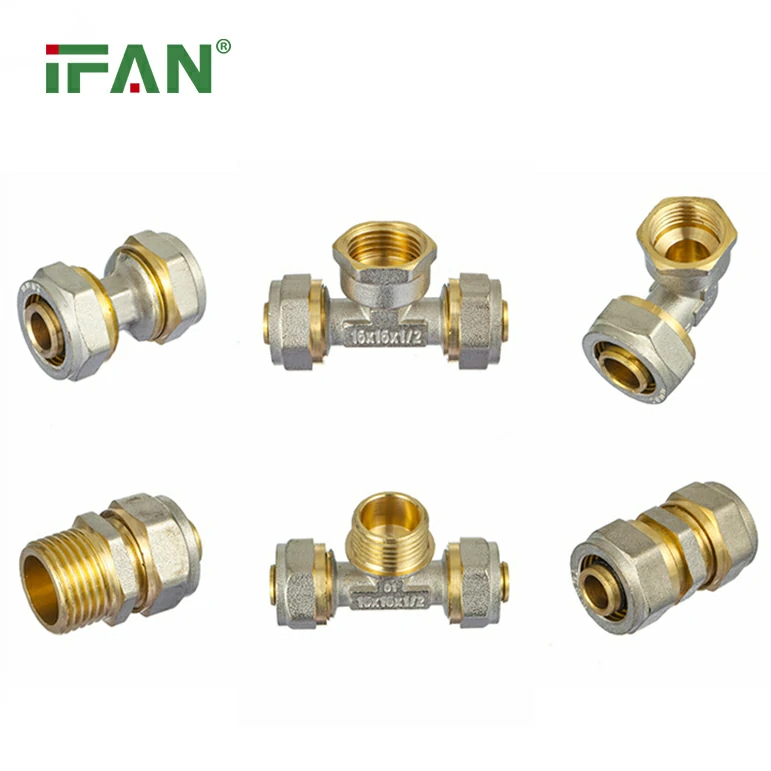
What Are PEX Compression Fittings?
Before diving into the repair process, it’s important to understand what PEX compression fittings are and how they work.
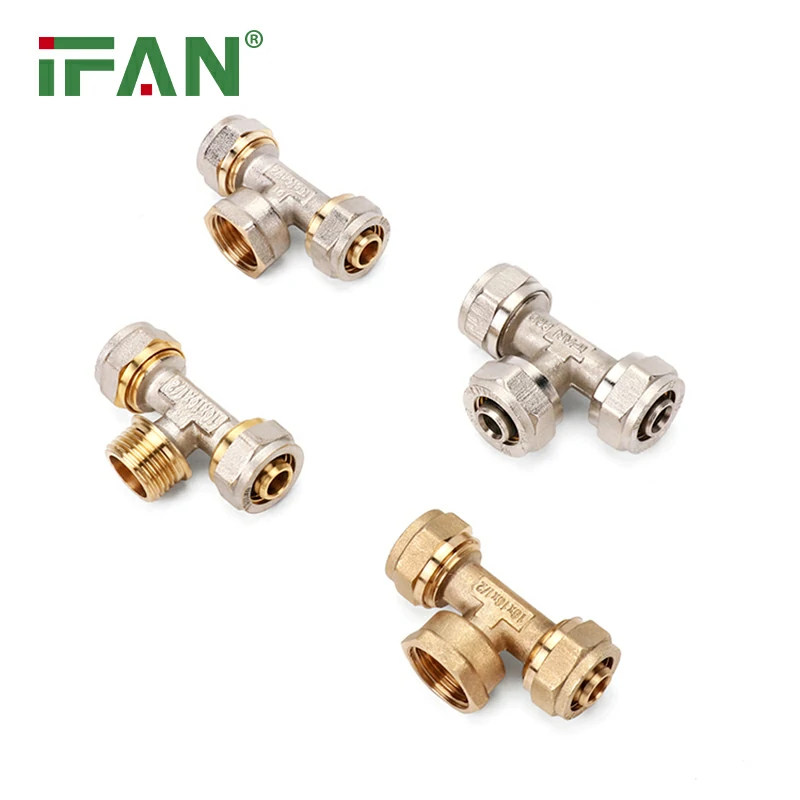
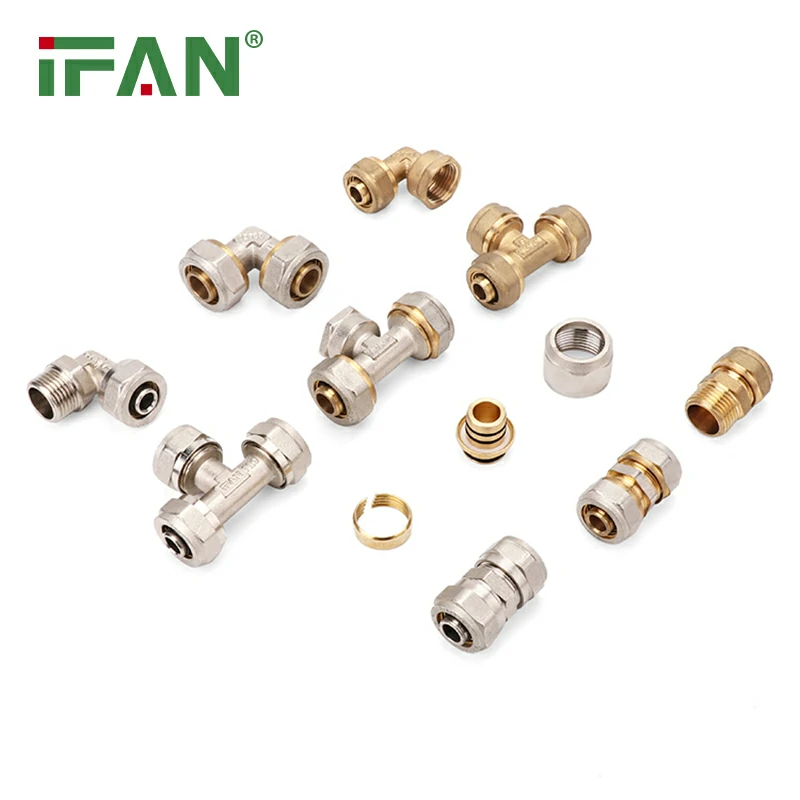
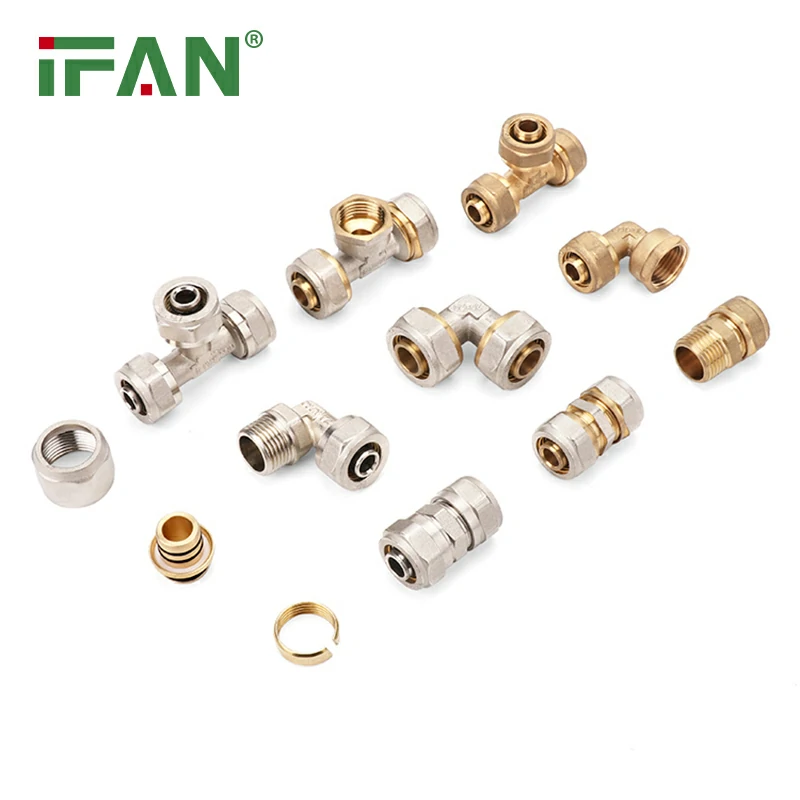
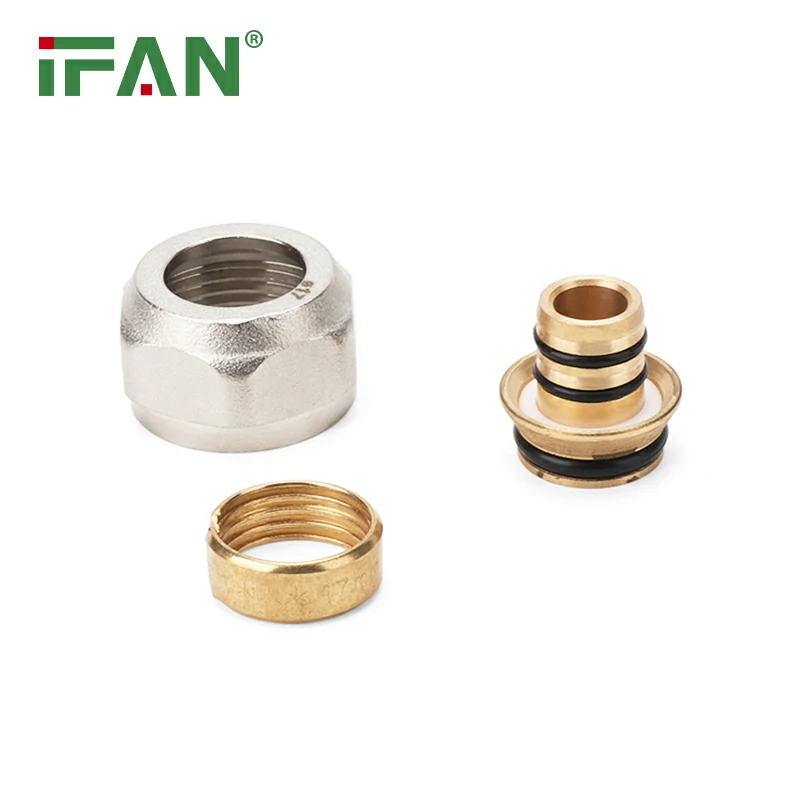
A PEX compression fitting is a plumbing component that connects PEX pipes to other pipes or fixtures, such as faucets, valves, or even other types of materials like copper or CPVC. These fittings are designed to create a tight, secure connection by using a compression nut, a ferrule (compression ring), and the fitting body.
PEX compression fittings are typically installed by pushing the PEX pipe into the fitting, placing the ferrule over the pipe, and then tightening the compression nut. This compresses the ferrule, creating a tight seal around the pipe. PEX compression fittings don’t require special tools like crimpers or press tools, making them a popular choice for both professionals and DIYers.
Why Do PEX Compression Fittings Leak?
Before we tackle the repair process, it’s essential to understand why PEX compression fittings might leak in the first place. Leaks in PEX compression fittings can occur due to a number of reasons:
- Improper Installation: One of the most common causes of leaks is improper installation. If the compression nut isn’t tightened properly, or if the ferrule isn’t positioned correctly, the seal may not be tight enough, resulting in leaks.
- Worn Out Ferrule or Compression Nut: Over time, the PEX compression nut and ferrule can wear out. If these components are damaged or corroded, they may not form a proper seal, leading to leaks.
- Cracked or Damaged Pipe: In some cases, the PEX pipe itself may be cracked or damaged at the connection point. This can prevent the compression fitting from properly sealing the pipe, leading to a leak.
- Over-tightening or Under-tightening: If the compression nut is overtightened, it can crush the PEX pipe or the ferrule, damaging the fitting and causing a leak. Conversely, if it is under-tightened, the seal may not be tight enough to prevent water from leaking out.
- Incompatible Fittings: Using the wrong size or incompatible fitting with the PEX pipe can also lead to leaks. Always ensure you are using the correct fittings for your pipe size and material.
Step-by-Step Guide to Repairing a Leaking PEX Compression Fitting Water Line
Now that we’ve discussed the potential causes of a leaking PEX compression fitting, let’s dive into the repair process. With the right tools and a little know-how, you can fix the leak and restore your PEX plumbing system to full functionality.
Tools and Materials Needed:
- Adjustable wrench
- Pipe cutter or PEX tubing cutter
- Replacement PEX compression fitting
- Replacement compression nut and ferrule (if damaged)
- Teflon tape (optional)
- Bucket or towel to catch any water
Step 1: Turn Off the Water Supply
Before you begin any plumbing repair, always turn off the water supply to the area you’re working on. You don’t want to risk getting soaked while trying to fix the leak. If your home has a shut-off valve for the water line, turn it off completely. If the leak is in a section of the house that doesn’t have a dedicated shut-off, you’ll need to turn off the main water supply.
Step 2: Identify the Leak Location
Inspect the area around the PEX compression fitting to determine exactly where the leak is coming from. Check around the fitting for signs of water dripping or moisture accumulation. In some cases, the leak might be small and difficult to spot, so be sure to thoroughly check the compression nut, ferrule, and the area where the PEX pipe meets the fitting.
Step 3: Loosen the Compression Nut
Using an adjustable wrench, loosen the compression nut around the PEX compression fitting. Make sure to rotate the nut counterclockwise to release the pressure and remove the fitting from the pipe. If the PEX pipe is still intact, you may be able to reuse the pipe, but if it’s damaged, you’ll need to cut the section of pipe out and replace it.
Step 4: Inspect the Fitting Components
Once you have removed the compression nut and ferrule, inspect these components for any signs of damage or wear. Look for cracks, corrosion, or any obvious signs that the components are no longer functioning correctly. If the ferrule or nut is damaged, replace them with new ones of the correct size.
Step 5: Inspect the PEX Pipe
If the PEX pipe is damaged or cracked, you’ll need to cut the affected section out and replace it. Use a pipe cutter to carefully remove the damaged part of the pipe. Ensure that the cut is straight and smooth so that the new fitting will seal properly. If the pipe is intact, proceed to the next step.
Step 6: Reinstall the Compression Fitting
Now that you’ve inspected the components and ensured everything is in good condition, it’s time to reassemble the fitting. Slide the new or undamaged compression ferrule over the PEX pipe. Make sure it’s placed flush against the pipe end, and then push the pipe into the fitting.
Next, screw the compression nut back onto the fitting. Tighten the nut with your adjustable wrench until it’s snug. Be careful not to overtighten, as this can damage the pipe or the ferrule.
Step 7: Check for Leaks
Once the fitting is securely in place, turn the water supply back on. Check around the fitting for any signs of leaks. If the leak persists, you may need to tighten the compression nut a bit more. If you still see water leaking, you might need to replace the entire fitting or call a professional plumber for further inspection.
Step 8: Optional – Use Teflon Tape
While PEX compression fittings are designed to create a secure, leak-proof seal, you can use Teflon tape around the threads of the fitting before reinstalling the compression nut to add an extra layer of protection against leaks. This step is optional but can be useful in certain cases.
Prevention Tips to Avoid Future Leaks
To avoid the need for frequent repairs to your PEX compression fittings, here are some tips to ensure your system stays leak-free:
- Proper Installation: Always follow manufacturer instructions when installing PEX compression fittings to ensure a secure, leak-proof connection.
- Don’t Overtighten: Avoid overtightening the compression nut, as it can damage the fitting or the pipe.
- Regular Maintenance: Check your plumbing system periodically for signs of wear or leaks. This can help you catch small issues before they become major problems.
- Use Quality Components: Use high-quality PEX compression fittings, ferrules, and compression nuts to ensure a reliable, long-lasting connection.
Conclusion
Repairing a leaking PEX compression fitting doesn’t have to be a daunting task. With the right tools and a little patience, you can fix the leak yourself and restore your plumbing system to full working order. By following the steps outlined in this guide, you can address the issue quickly and confidently. Remember to always turn off the water supply before starting the repair, and take care to inspect all components for damage. With these tips, you’ll be well on your way to ensuring that your PEX plumbing system stays leak-free for years to come.
Frequently Asked Questions (FAQs)
1. How do I know if the leak is from the PEX compression fitting?
Look for moisture around the compression nut, ferrule, or the connection between the PEX pipe and the fitting. If you notice water dripping or wet spots, it’s likely the source of the leak.
2. Can I use a PEX crimp tool to fix a compression fitting leak?
No, PEX compression fittings and crimp fittings are different. If you have a compression fitting leak, you will need to follow the steps outlined above rather than using a crimp tool.
3. Is it necessary to replace the entire fitting if it’s leaking?
If the PEX compression fitting is cracked or damaged, it should be replaced. However, if the ferrule or compression nut is the only part that’s worn out, replacing those components may resolve the leak.
4. Can I reuse the PEX pipe when repairing a compression fitting leak?
If the PEX pipe is undamaged, you can reuse it. However, if there is any visible damage or cracking, you should cut and replace that section of pipe.
5. What is the best way to prevent PEX compression fitting leaks in the future?
To prevent future leaks, always ensure proper installation, avoid over-tightening, use quality components, and periodically inspect your plumbing system for potential issues.