PEX Fittings Installation Guide: Step-by-Step Instructions
Introduction
Installing PEX (cross-linked polyethylene) fittings is a straightforward process that can be done by both professionals and DIY enthusiasts. In this step-by-step guide, we will walk you through the process of installing PEX fittings to ensure a secure and leak-free plumbing system. Let’s break down the installation process into easy-to-follow steps.
1. Gather the Required Tools and Materials
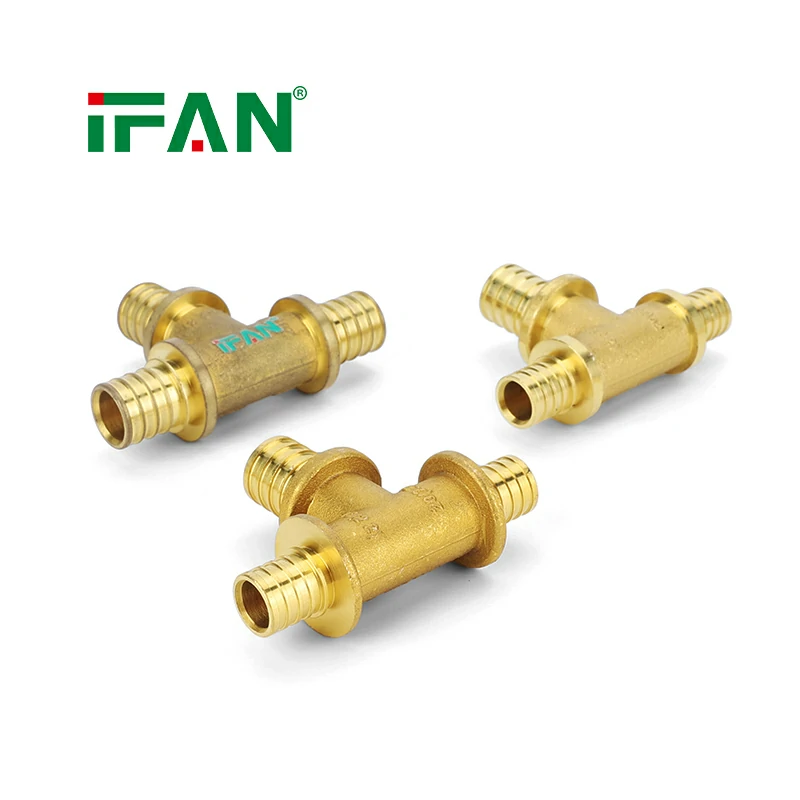
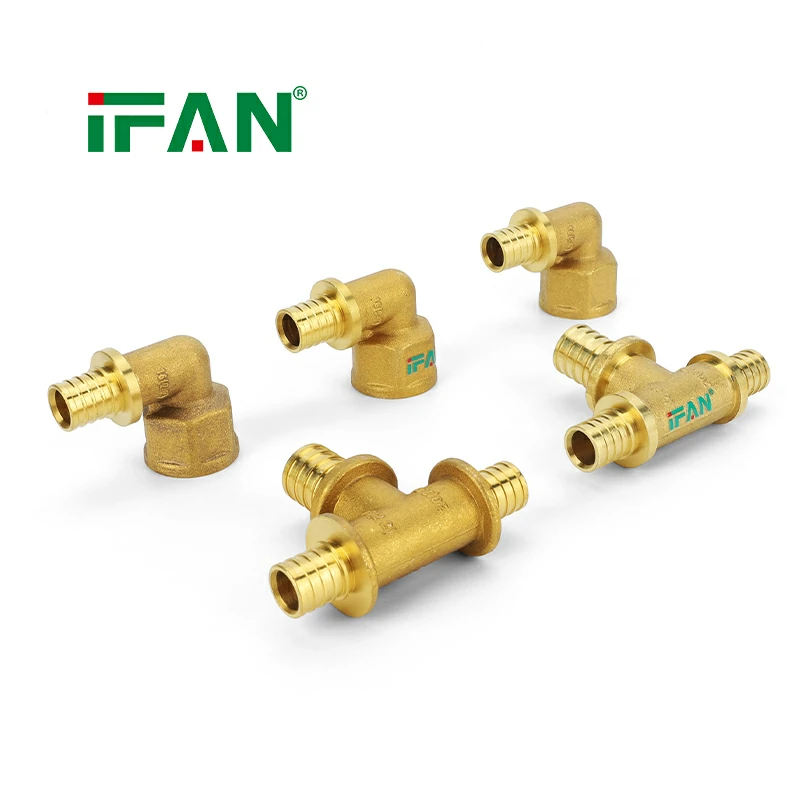
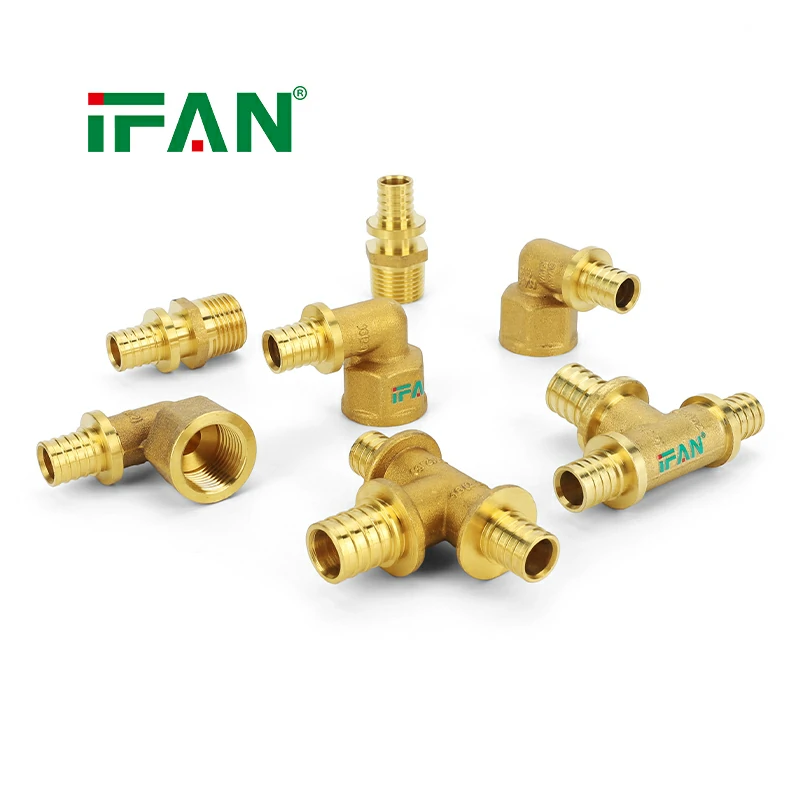
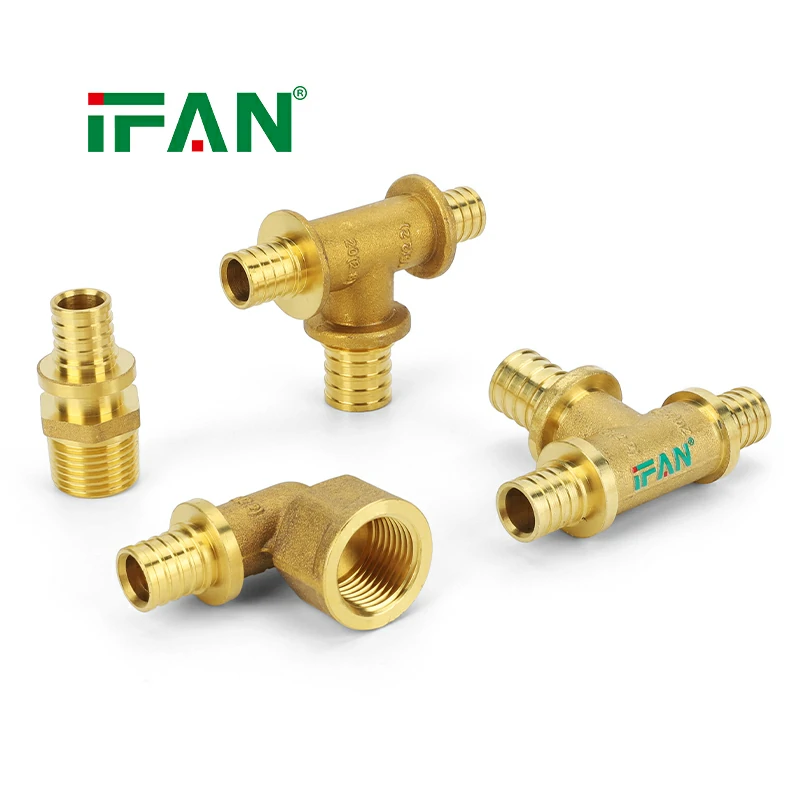
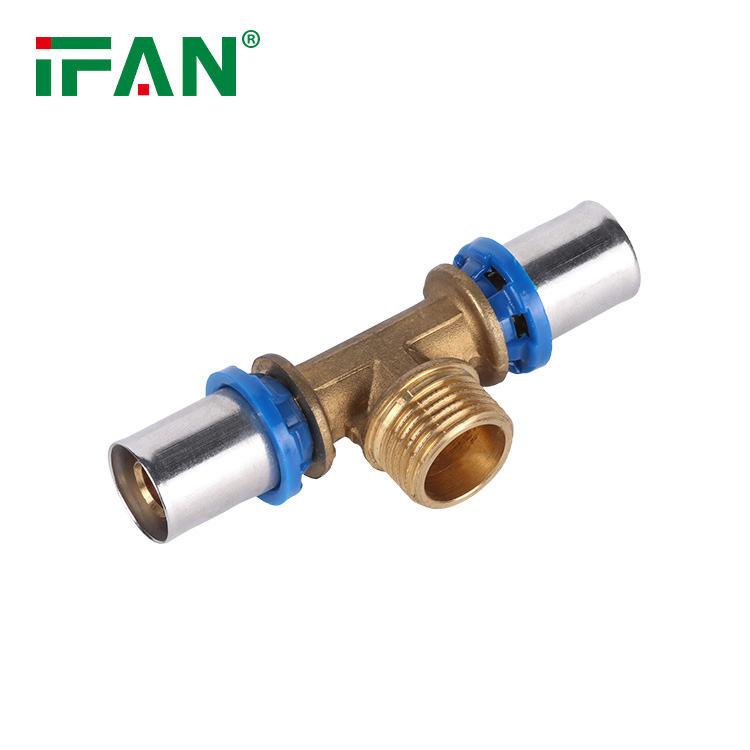
Before starting the installation, gather all the necessary tools and materials. This typically includes PEX tubing, PEX fittings (push, compression, crimp, or expansion), a PEX cutter, a deburring tool, a measuring tape, and a marker. Additionally, ensure that you have any required adapters or transition fittings if connecting to existing plumbing systems.
2. Measure and Cut the PEX Tubing
Measure the required length of PEX tubing for the desired connection and mark it accordingly. Use a PEX cutter to make a clean and square cut on the marked spot. Ensure that the cut is perpendicular to the tubing to ensure a proper fit with the PEX fitting.
3. Remove Burrs from the Tubing
After cutting the PEX tubing, use a deburring tool to remove any burrs or rough edges from the inside and outside of the tubing. This step is crucial to ensure a smooth and secure connection between the tubing and fittings.
4. Insert the PEX Fitting
Depending on the type of PEX fitting being used (push, compression, crimp, or expansion), follow the manufacturer’s instructions to insert the fitting onto the PEX tubing. For push fittings, simply push the tubing into the fitting until it reaches the built-in O-ring. For compression fittings, slide the compression ring over the tubing and tighten the nut onto the fitting. For crimp fittings, slide the crimp ring onto the tubing and position the fitting, then use a crimping tool to compress the ring. For expansion fittings, use an expansion tool to expand the PEX tubing, then insert the fitting into the expanded tubing and allow it to contract back to its original size.
5. Check for Proper Connection
After inserting the PEX fitting onto the tubing, visually inspect the connection to ensure it is fully inserted and seated properly. Push and pull the tubing to ensure a secure fit. For crimp fittings, use a go/no-go gauge to verify that the crimp ring is properly compressed. This step is crucial to prevent any potential leaks.

6. Repeat the Process for Additional Connections
If your plumbing system requires multiple connections, repeat the above steps for each connection. Take accurate measurements, cut the tubing, remove burrs, and insert the PEX fittings as needed.
7. Pressure Test the System
Once all the PEX fittings are in place, it is recommended to pressure test the system to ensure there are no leaks. Follow the appropriate pressure testing procedure based on the specific plumbing system and local codes. This step will help identify any potential issues before finalizing the installation.
Conclusion
Installing PEX fittings is a simple and efficient process that can be accomplished with basic tools and materials. By following these step-by-step instructions, you can ensure a successful installation of PEX fittings, resulting in a secure, watertight, and reliable plumbing system. Always refer to the manufacturer’s guidelines and local codes when installing PEX fittings to ensure compliance and optimal performance.