Installing a cast-iron kitchen sink can be a rewarding project that enhances both the functionality and aesthetics of your kitchen. Cast-iron sinks are known for their durability, heat resistance, and timeless appeal. Whether you’re replacing an old sink or installing a brand-new one, there are several key steps involved in ensuring the sink is securely set, sealed, and properly connected to your plumbing system. One of the most important connections is the PEX compression fitting, which ensures a leak-free connection between the sink and the plumbing system.
In this article, we’ll guide you through the process of installing a cast-iron kitchen sink, including setting the sink in place, applying caulk to seal it, and connecting the water supply using PEX compression fittings. By the end of this guide, you’ll be well-equipped to tackle your sink installation with confidence.
Understanding the Basics of Cast-Iron Kitchen Sinks
Before we dive into the installation process, let’s briefly discuss why cast-iron kitchen sinks are a popular choice for homeowners. Cast-iron sinks are made from a single, heavy piece of iron coated with an enamel layer for protection. The enamel coating provides a smooth, glossy surface that resists stains and is easy to clean. Cast-iron sinks are also known for their longevity, often lasting decades or more if properly maintained.
One of the main challenges of installing a cast-iron kitchen sink is its weight. These sinks can be significantly heavier than stainless steel or other materials, so it’s important to have assistance and ensure your countertop and cabinetry can support the weight.
Step 1: Preparing for the Installation
Before setting the cast-iron kitchen sink in place, you’ll need to gather all the necessary materials and tools. Here’s a checklist of what you’ll need:
Materials:
- Cast-iron kitchen sink
- Caulk (preferably silicone or plumber’s caulk)
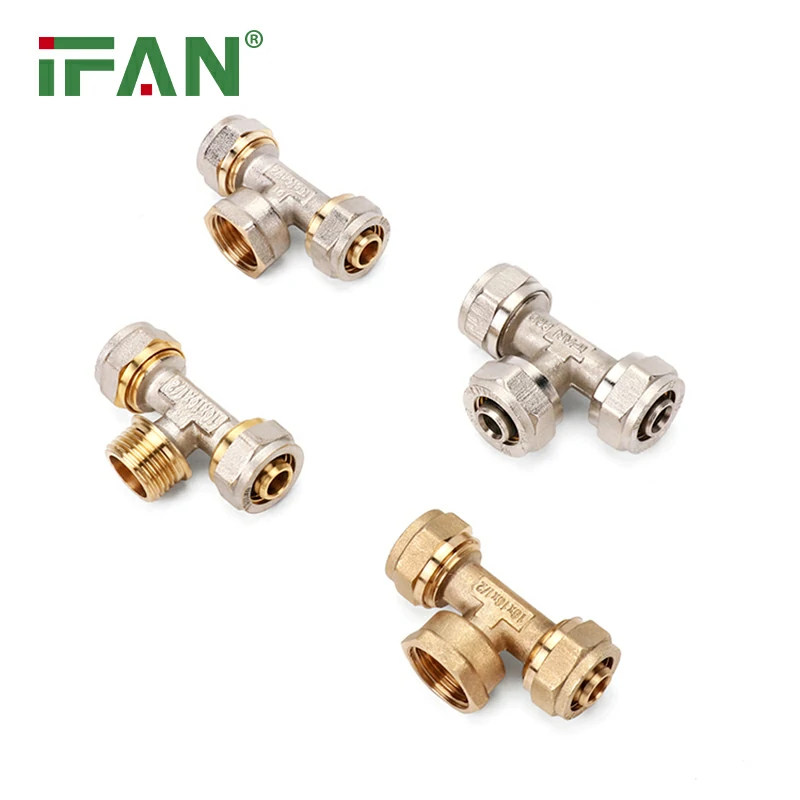
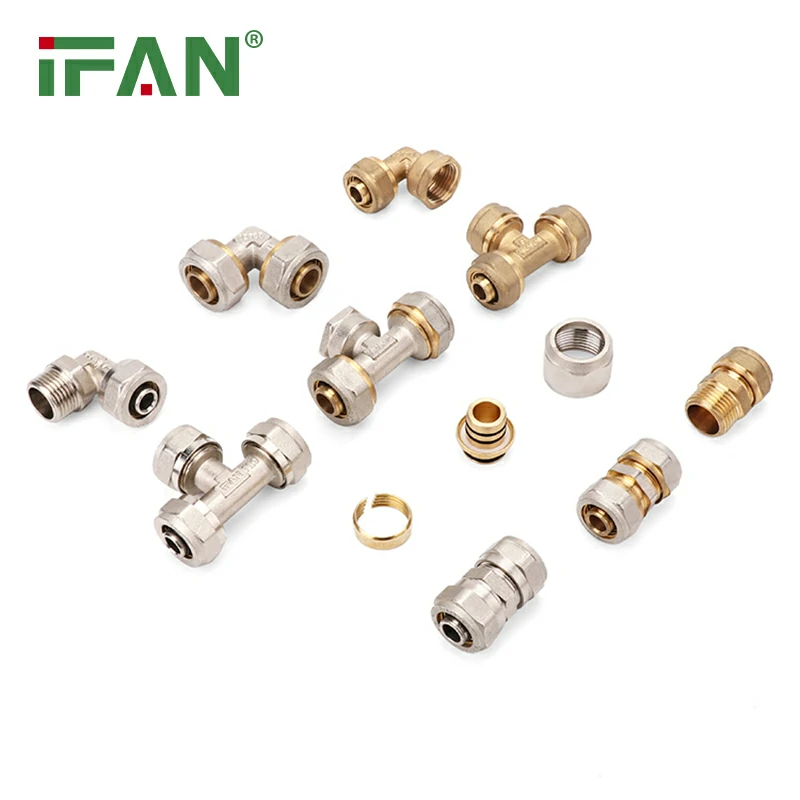
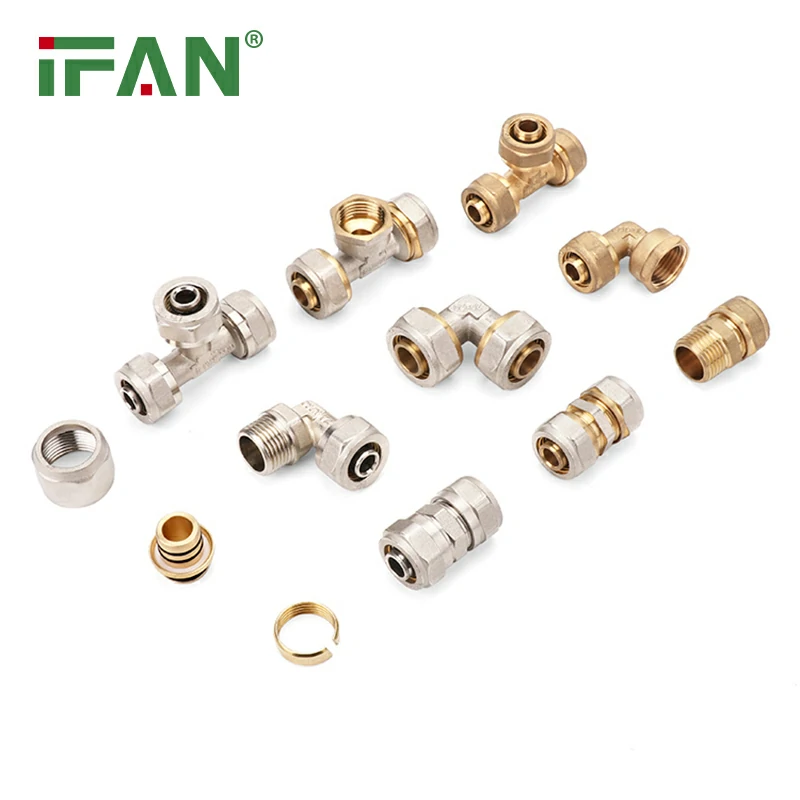
- PEX pipes and fittings (compression fittings)
- PEX crimp rings (if needed)
- Adjustable wrench
- Pipe cutter or hacksaw
- Level
- Sink clips or mounting brackets (if not included with the sink)
- Towels or rags (to catch any water)
- Plumber’s tape (optional for added leak protection)
Tools:
- Adjustable wrench
- Drill (if holes need to be drilled for mounting brackets)
- Caulk gun
- PEX crimp tool (if using PEX crimp fittings)
- Pipe cutter
- Level
Once you have everything ready, you can begin the installation.
Step 2: Setting the Cast-Iron Kitchen Sink
The first step in the installation process is setting the cast-iron kitchen sink in place. This step requires some care, as the sink’s weight and bulk make it more challenging to maneuver.
1. Check the Countertop and Cabinet Support
Ensure that the countertop and cabinetry are in good condition and can support the weight of the cast-iron sink. Cast-iron sinks can weigh upwards of 100 pounds, so it’s important to verify that the structure is sturdy. You may need to reinforce the cabinets if they are old or weakened.
2. Fit the Sink into the Opening
Place the cast-iron kitchen sink into the countertop opening. It should fit snugly but with enough room to apply a bead of caulk around the edge. If the sink is too large, you may need to make some adjustments to the opening by using a jigsaw or circular saw. Make sure the sink is centered in the cut-out and check that it sits evenly.
3. Secure the Sink Using Mounting Brackets
Many cast-iron sinks come with mounting brackets or clips that secure the sink to the underside of the countertop. If your sink has mounting brackets, follow the manufacturer’s instructions to install them correctly. Typically, these brackets will need to be screwed into the bottom of the countertop, ensuring that the sink remains secure.
If your sink does not come with mounting hardware, you can purchase universal sink brackets or clips from your local hardware store. Attach them to the underside of the countertop to secure the sink in place.
Step 3: Applying Caulk for a Seal
Once the cast-iron kitchen sink is positioned and secured, it’s time to apply a bead of caulk around the edge of the sink to create a watertight seal.
1. Clean the Surface
Before applying the caulk, clean the surface of the countertop around the sink. Make sure there’s no dust, debris, or old caulk that could interfere with the seal. Use a cloth and some rubbing alcohol to wipe the area clean.
2. Apply the Caulk
Load the caulk into a caulk gun and apply a continuous bead of caulk around the edge of the sink where it meets the countertop. Be sure to apply enough caulk to fill the gap, but avoid applying too much, as it may squeeze out when the sink is pressed into place.
3. Press the Sink into Position
Gently press the sink down into the countertop opening to compress the caulk and create a tight seal. Wipe away any excess caulk with a damp cloth.
4. Allow the Caulk to Cure
Allow the caulk to cure for the recommended amount of time (usually 24 hours) before moving on to the next step. This will ensure that the seal is strong and waterproof.
Step 4: Installing the PEX Compression Fittings
Now that your sink is securely in place and sealed, it’s time to connect it to your plumbing system using PEX compression fittings. These fittings are an excellent choice for creating a reliable, leak-free connection between the PEX pipe and your sink’s plumbing.
1. Turn Off the Water Supply
Before starting any plumbing work, always turn off the water supply to the sink. Locate the shutoff valve under the sink and turn it off.
2. Prepare the PEX Pipe
If you’re using PEX pipe, cut it to the correct length to reach the connection points on your sink. Use a PEX pipe cutter to make a clean, straight cut. Be sure the cut is square to ensure a secure connection.
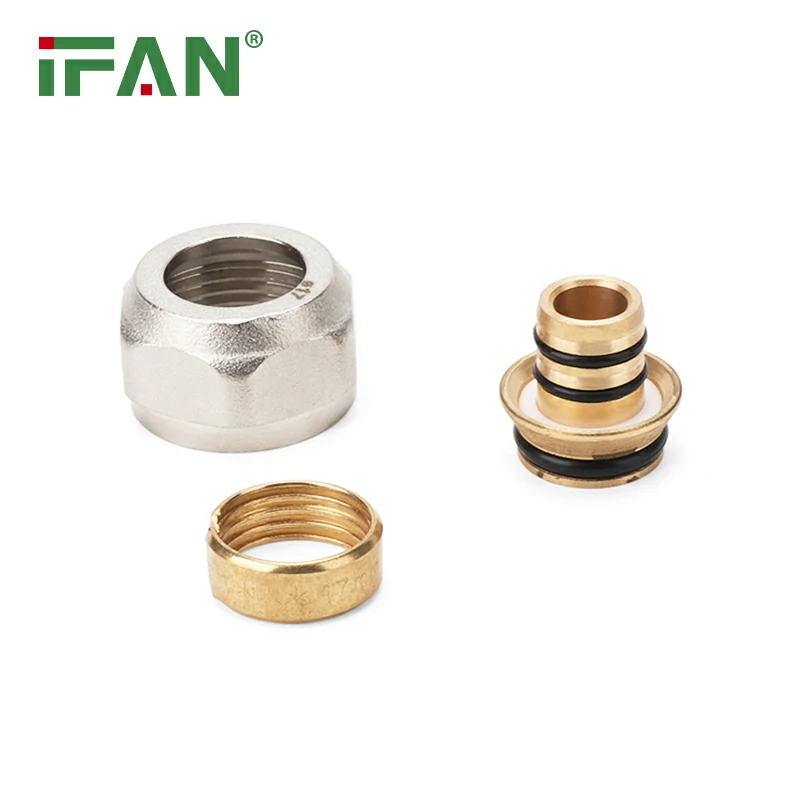
3. Install the PEX Compression Fitting
For each connection (e.g., hot and cold water supply lines), slide a compression ring over the end of the PEX pipe, followed by a compression nut. Insert the PEX pipe into the compression fitting and tighten the nut by hand. Use an adjustable wrench to tighten the compression nut until it’s secure, but be careful not to overtighten.
Tip: If you’re working with a compression fitting that connects to a threaded pipe, use plumber’s tape on the threads before installing the fitting to prevent leaks.
4. Check the Connections
Once all the fittings are in place, turn the water supply back on and check for any leaks. If you see any water leaking from the fittings, tighten the compression nuts a little more until the leak stops.
Step 5: Installing the Drain Assembly
Most cast-iron kitchen sinks have a drain assembly that needs to be installed. Depending on your sink model, the drain may come pre-installed, or you may need to attach it yourself.
1. Attach the Drain Flange
Apply a small amount of plumber’s putty around the drain flange and insert it into the sink’s drain hole. Tighten the locknut from underneath the sink to secure the flange in place.
2. Connect the Drain Pipe
Use PEX compression fittings to connect the drain pipe to the sink drain and the rest of the plumbing system. Make sure the fittings are secure and leak-free.
Step 6: Final Checks and Cleanup
Once everything is installed, double-check all the connections, including the water supply lines and drain assembly. Make sure the sink is level and securely mounted. Clean up any excess caulk or plumber’s putty around the sink and faucet.
Finally, test the sink by running both hot and cold water to ensure the plumbing is working properly and there are no leaks.
Common Issues to Watch Out For
- Leaking Compression Fittings: Ensure the compression nuts are properly tightened but avoid overtightening, which can cause damage to the fittings.
- Sink Unlevel: Double-check that the sink is level before tightening the mounting brackets to avoid issues with water draining properly.
- Caulk Not Cured Properly: Give the caulk enough time to cure before using the sink to prevent water from seeping under the sink.
Conclusion
Installing a cast-iron kitchen sink is a manageable DIY project that can elevate the look and functionality of your kitchen. By following the proper steps—setting the sink, sealing with caulk, and using PEX compression fittings for your water connections—you can ensure a secure, leak-free installation. Whether you’re a seasoned DIYer or a first-timer, taking your time and following the steps outlined in this guide will help you achieve a professional-looking result.
Frequently Asked Questions (FAQs)
1. Do I need a plumber to install a cast-iron sink?
While installing a cast-iron kitchen sink can be challenging due to its weight, many homeowners can do it themselves with the right tools and assistance. If you’re unsure about your plumbing connections, it may be wise to consult a professional plumber.
2. How long does it take for caulk to cure on a cast-iron sink?
It typically takes 24 hours for caulk to fully cure and form a strong, watertight seal. Avoid using the sink during this time to ensure the caulk sets properly.
3. Can I use PEX compression fittings for both hot and cold water lines?
Yes, PEX compression fittings can be used for both hot and cold water lines. They create a secure, leak-free connection that works for both types of water.
4. What should I do if I notice a leak around the sink?
If you notice a leak around the sink, check the compression fittings, caulk seal, and the drain assembly. Tighten any loose fittings and reapply caulk if necessary.
5. Can I install a cast-iron sink without mounting brackets?
It
’s possible to install a cast-iron sink without mounting brackets, but it’s not recommended. Mounting brackets provide additional support and prevent the sink from shifting or coming loose over time.