In the world of modern plumbing, PEX press fittings have become the go-to solution for reliable, quick, and efficient connections. PEX (cross-linked polyethylene) piping is increasingly used for both residential and commercial plumbing systems, and PEX press fittings are one of the most reliable methods for creating secure, leak-free joints. This article will provide a comprehensive guide to connecting PEX press fittings, discussing everything from the benefits of PEX systems to the step-by-step process of installation. Whether you’re a professional plumber or a DIY enthusiast, understanding how to properly connect PEX press fittings is essential for ensuring the durability and performance of your plumbing system.
What are PEX Press Fittings?
PEX press fittings are a type of fitting used to join sections of PEX piping together. Unlike traditional soldered or threaded fittings, PEX press fittings use a mechanical press tool to create a strong, leak-proof connection. The fitting is designed to press onto the PEX pipe securely, forming a tight seal without the need for heat, flames, or other potentially dangerous methods.
PEX press fittings are commonly used in both water supply systems and radiant heating installations. They offer a number of advantages over traditional fittings, including faster installation times, fewer tools required, and no risk of fire or burns during installation.
Types of PEX Press Fittings
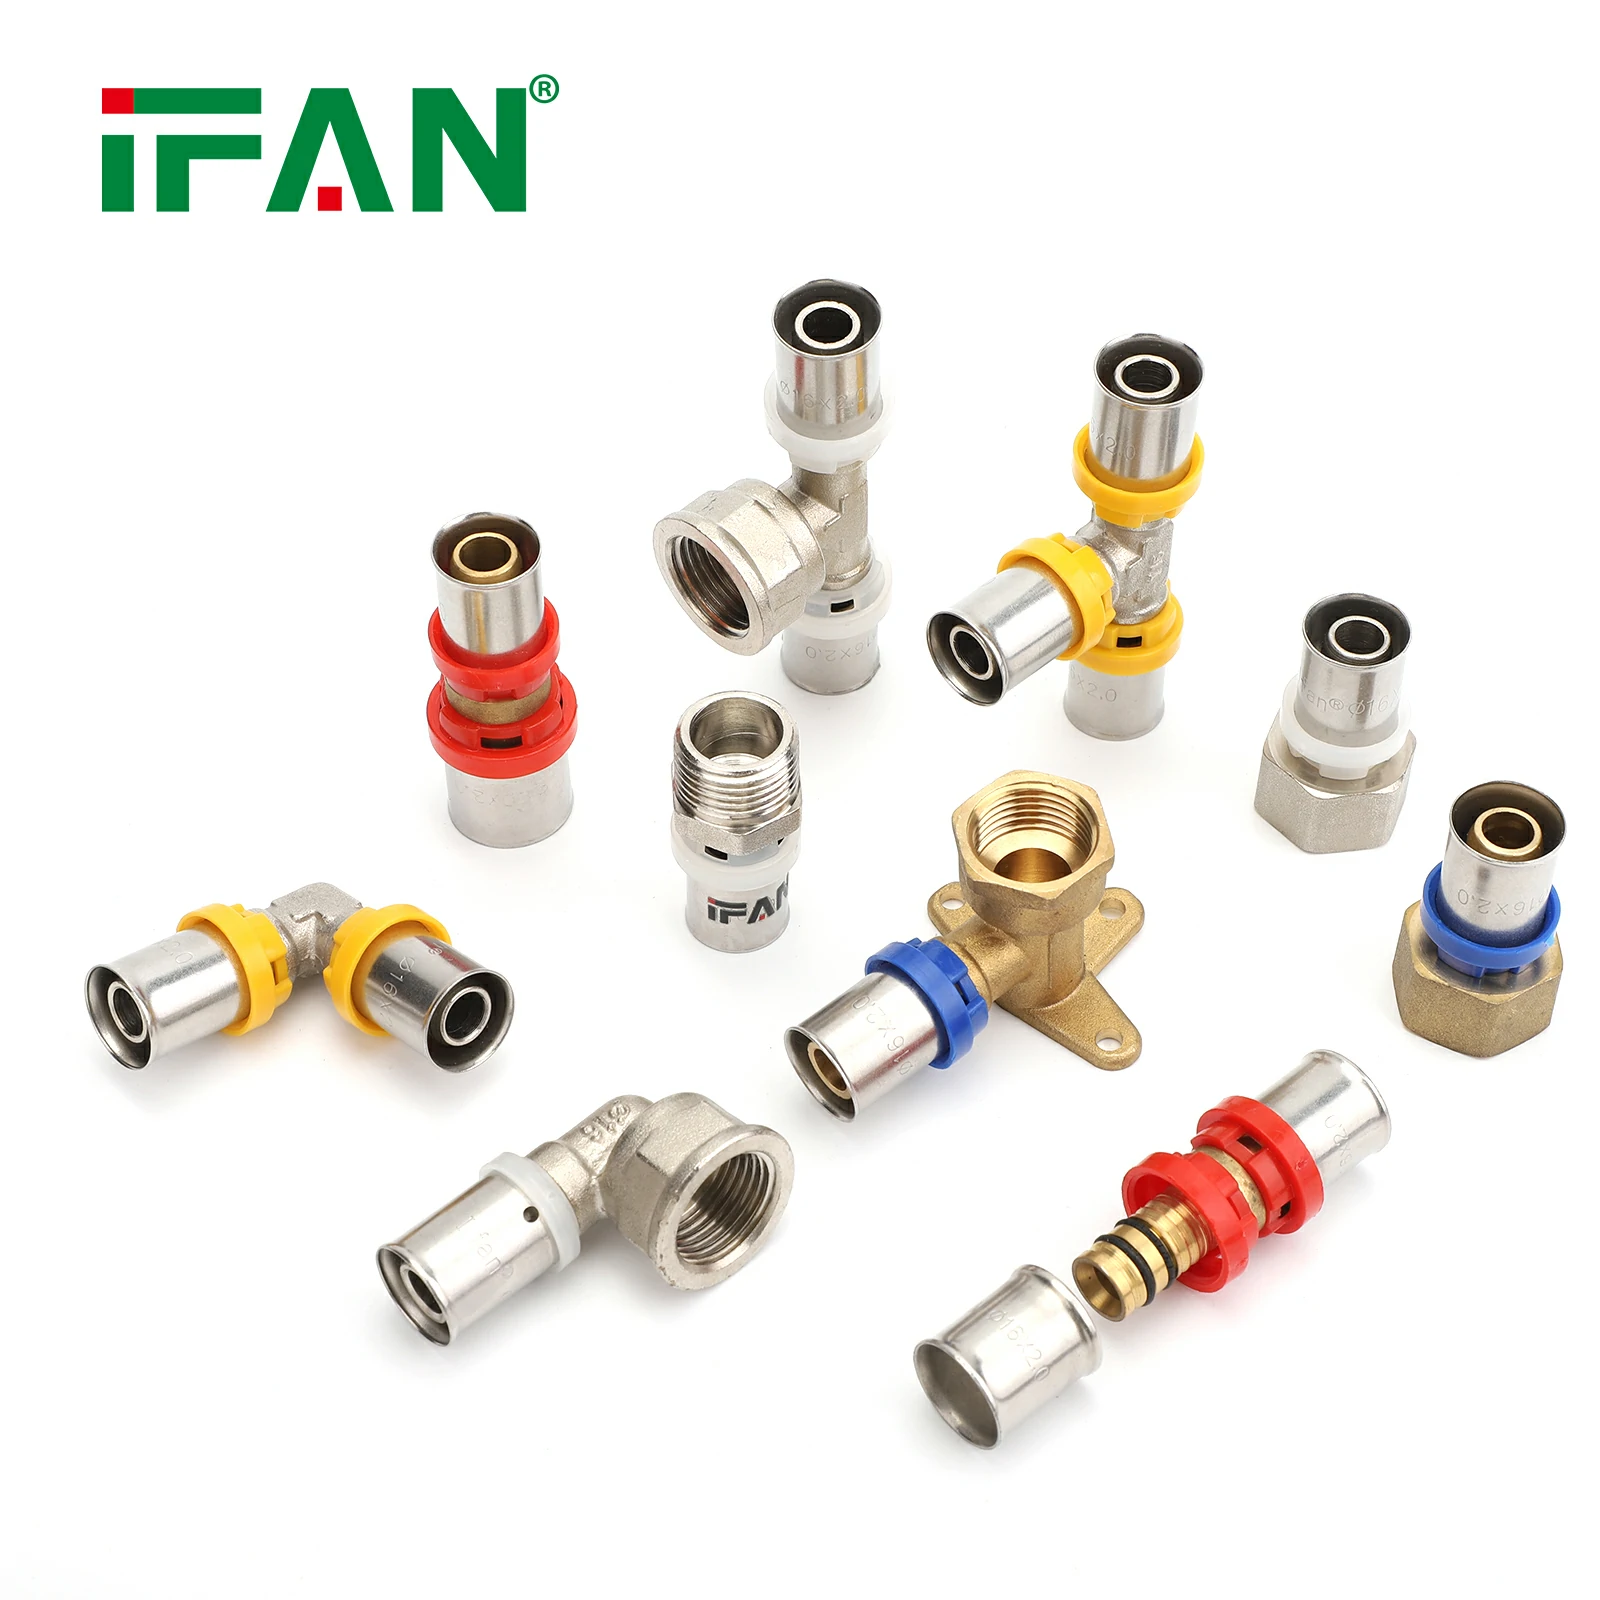
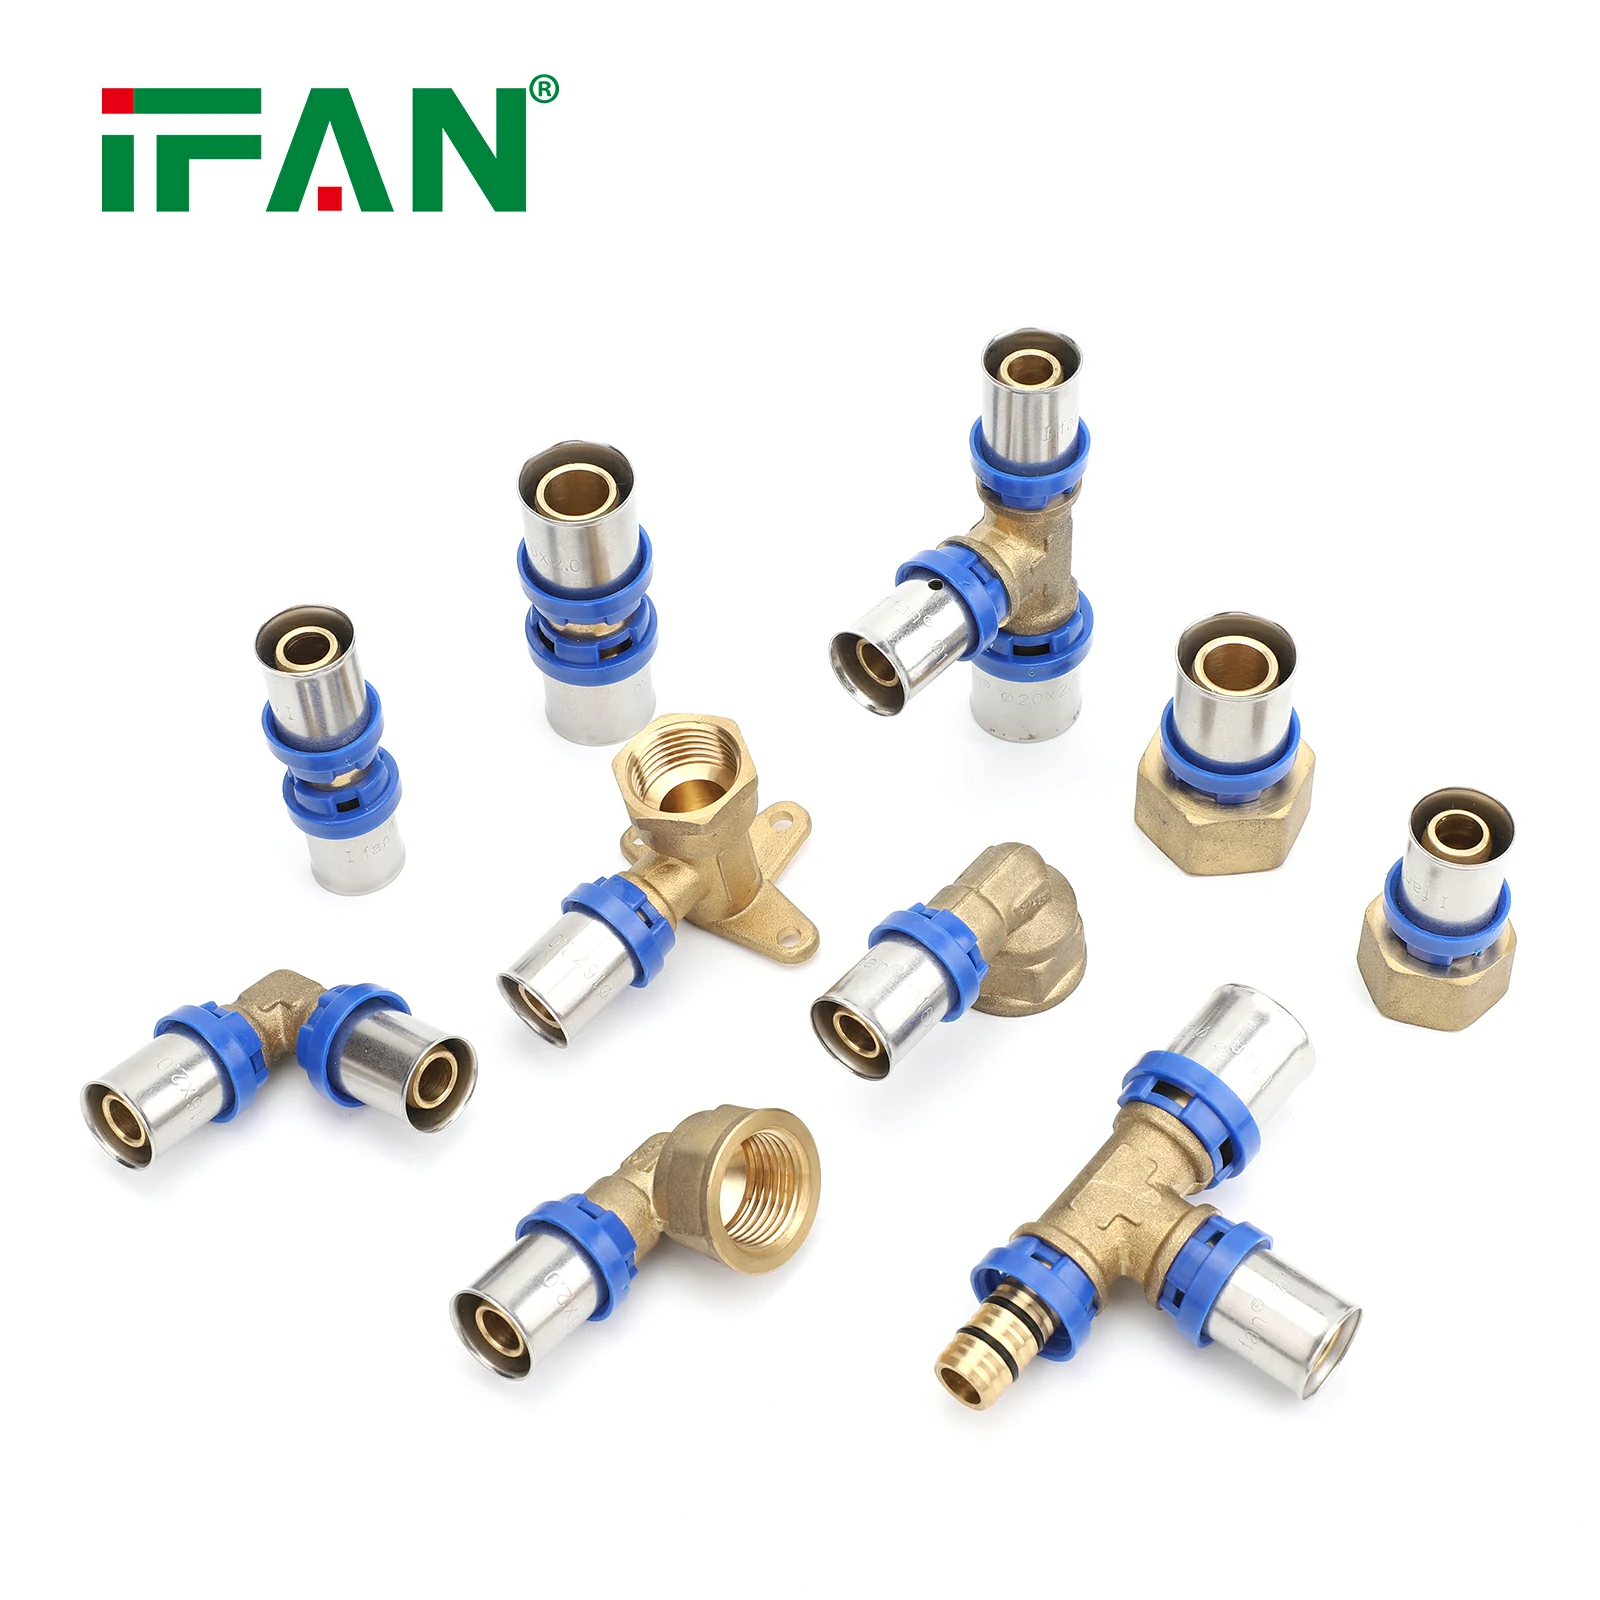
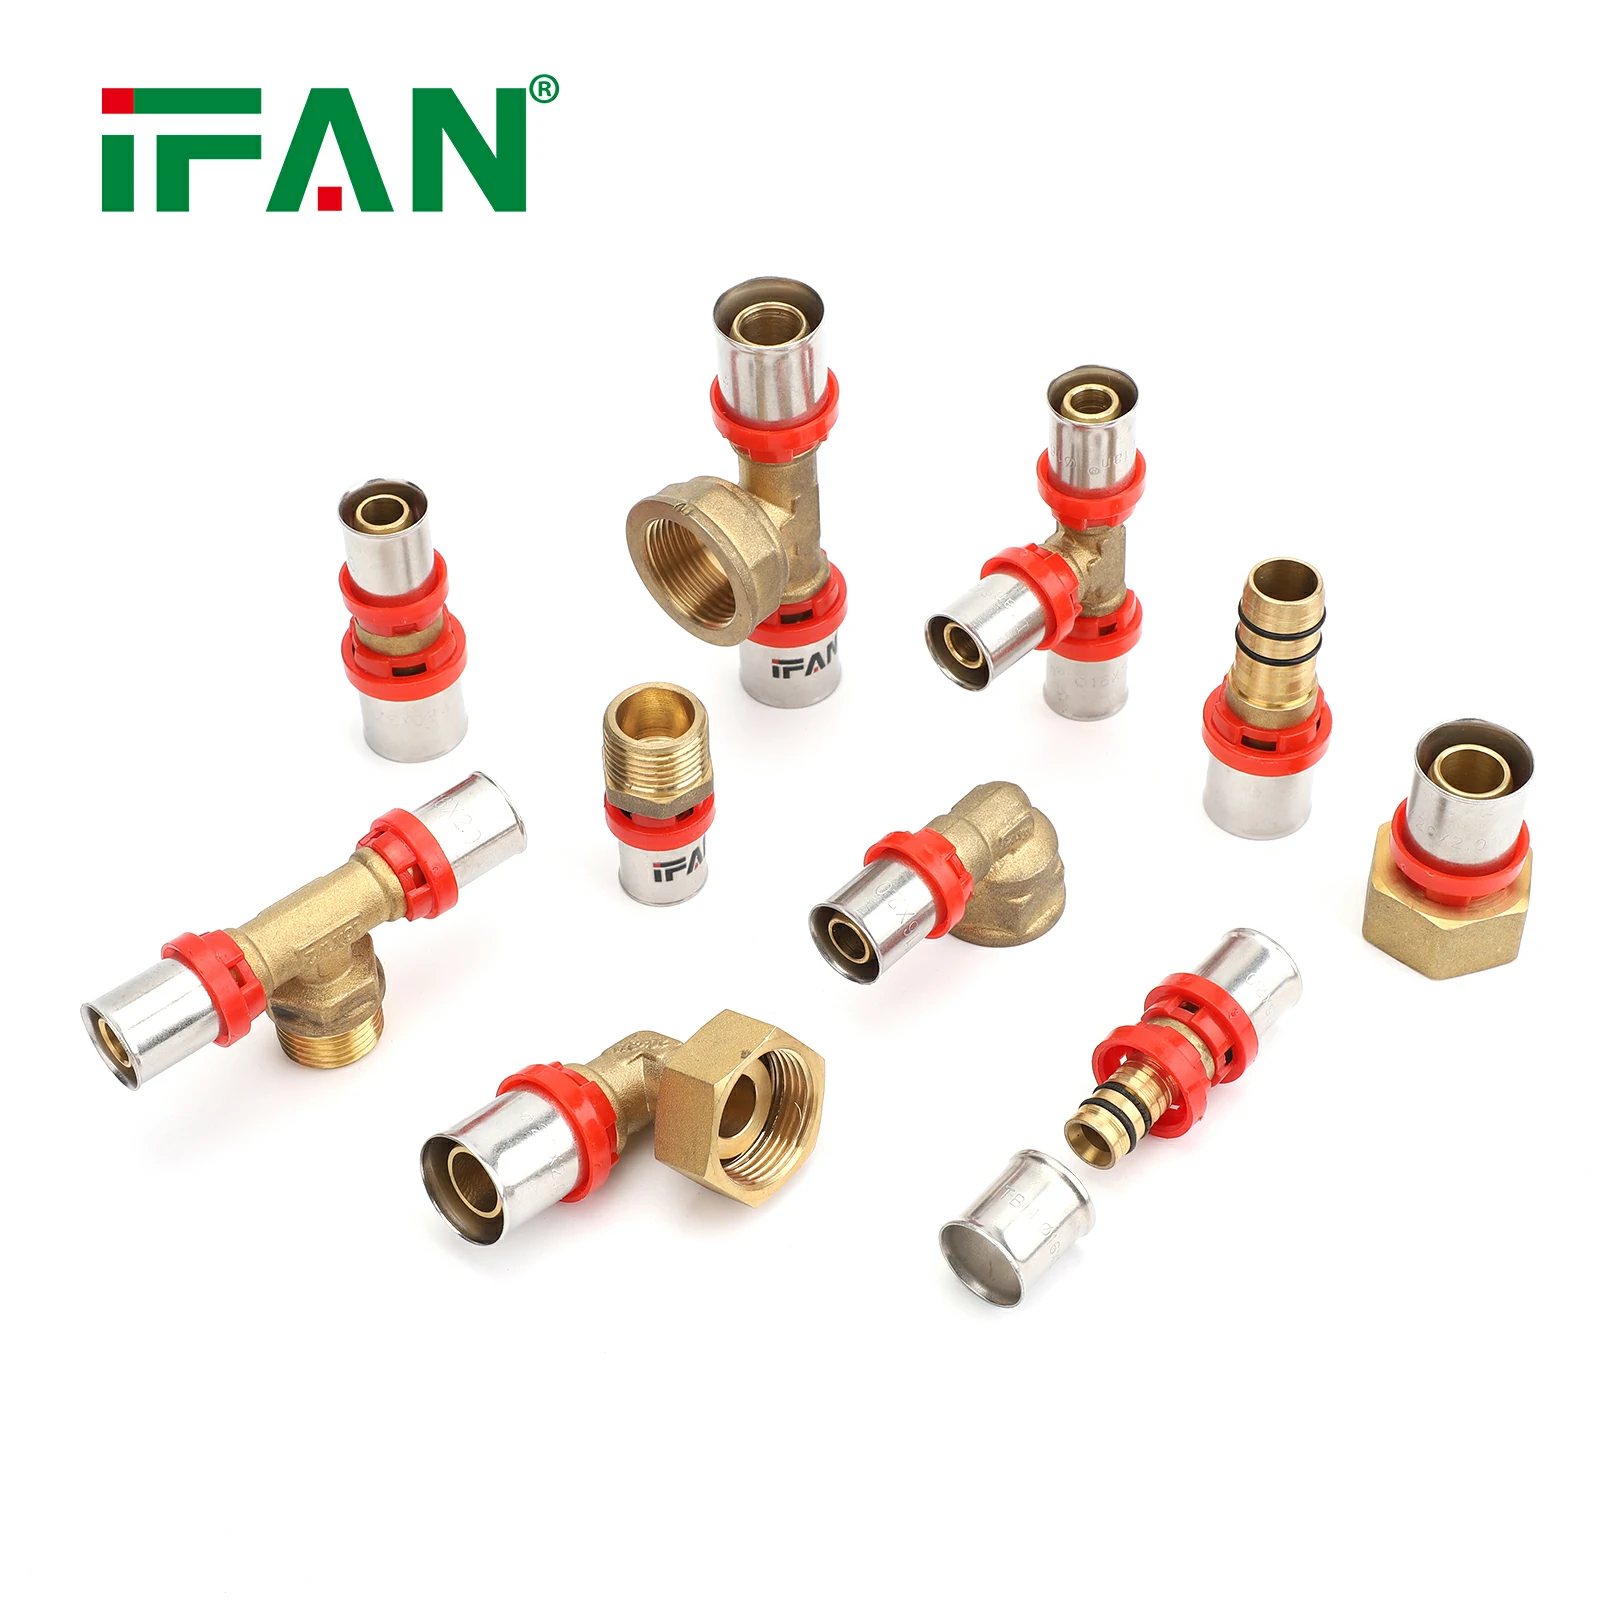
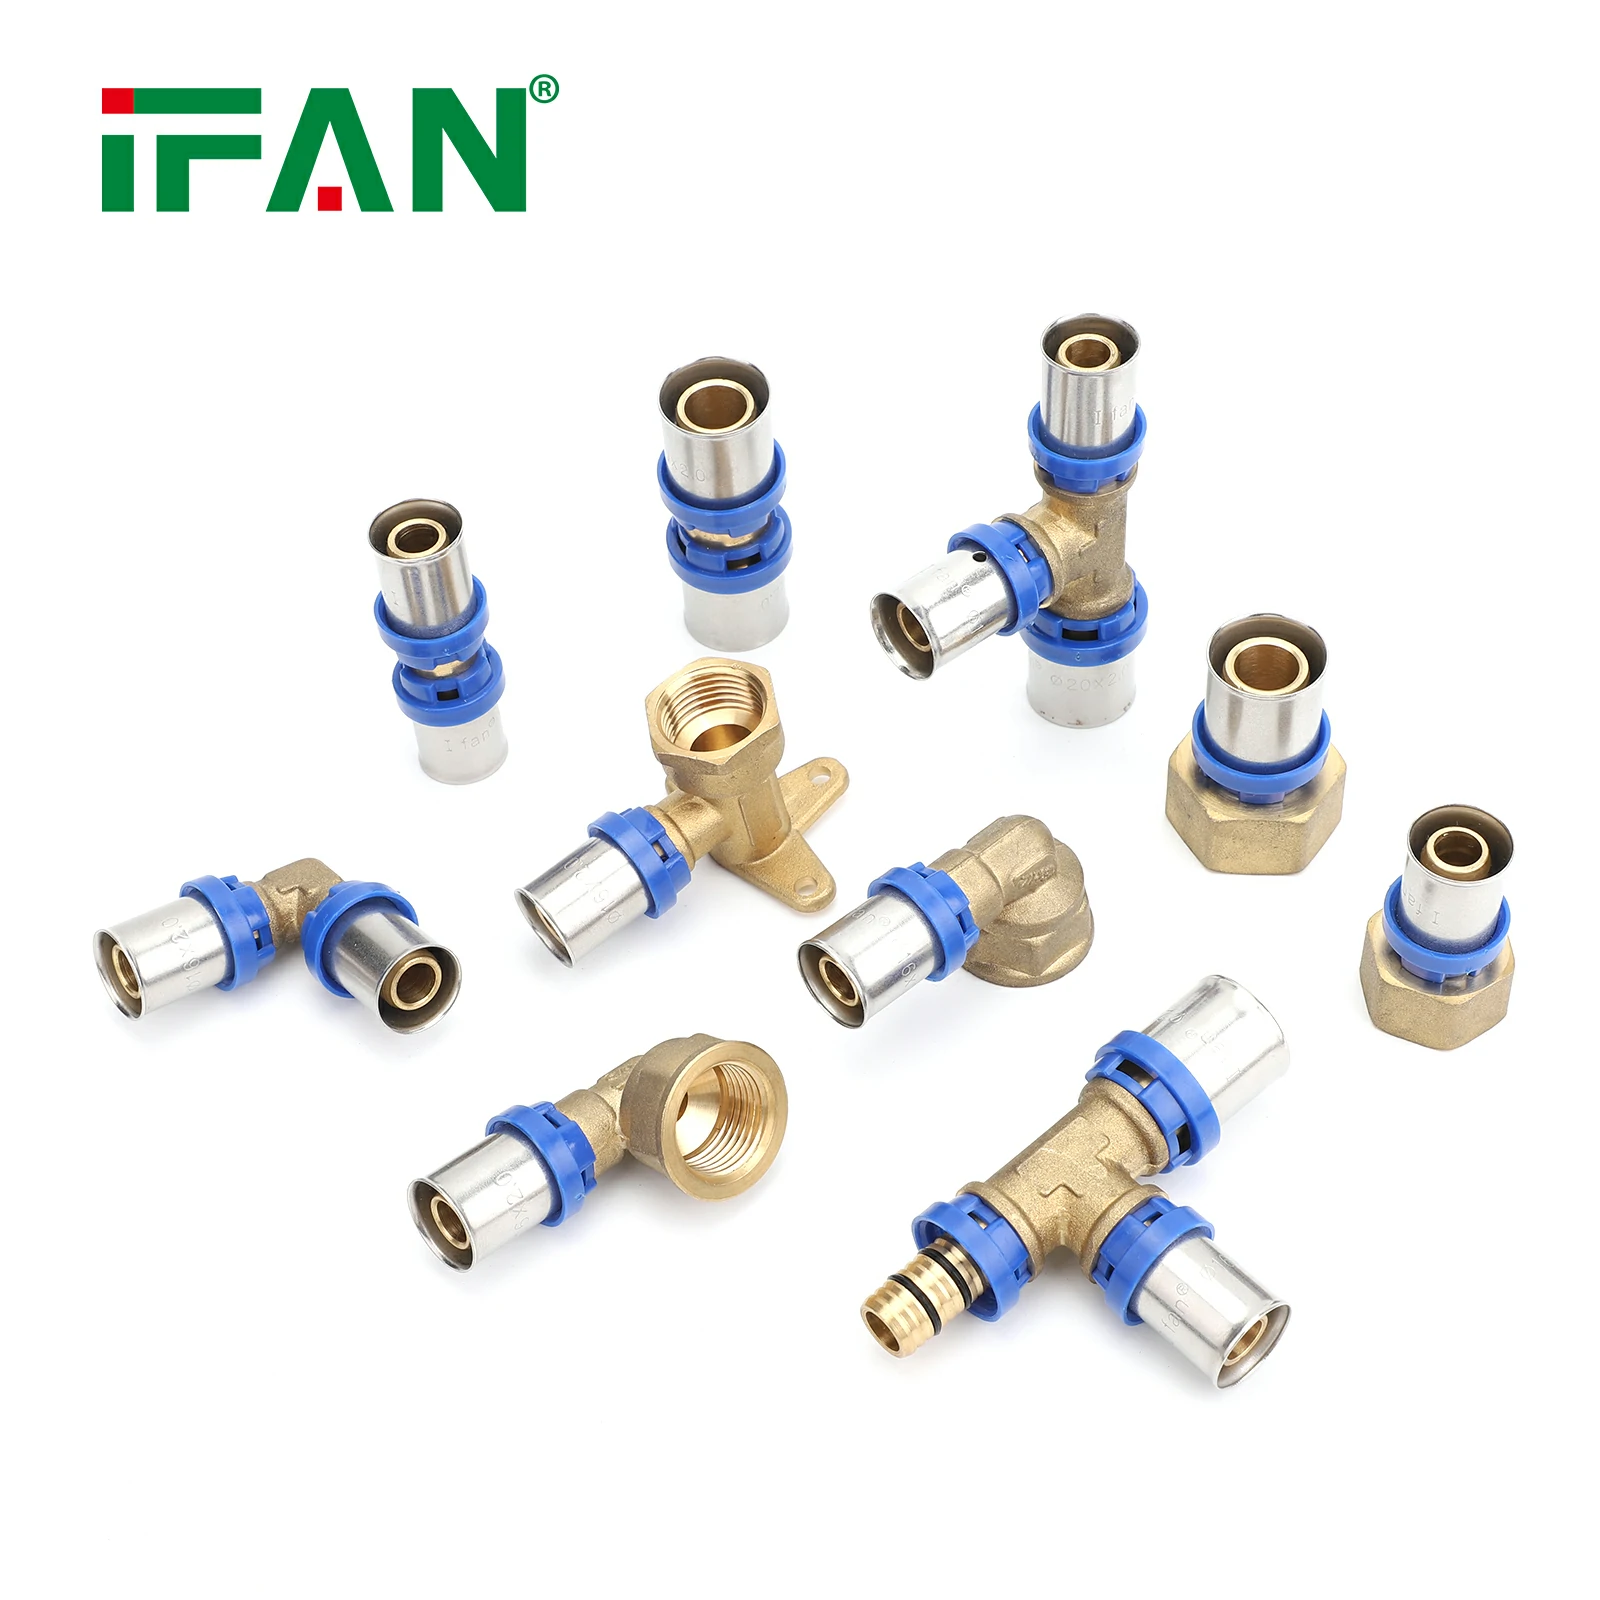
Before diving into how to connect PEX press fittings, it’s important to understand the different types of PEX fittings available:
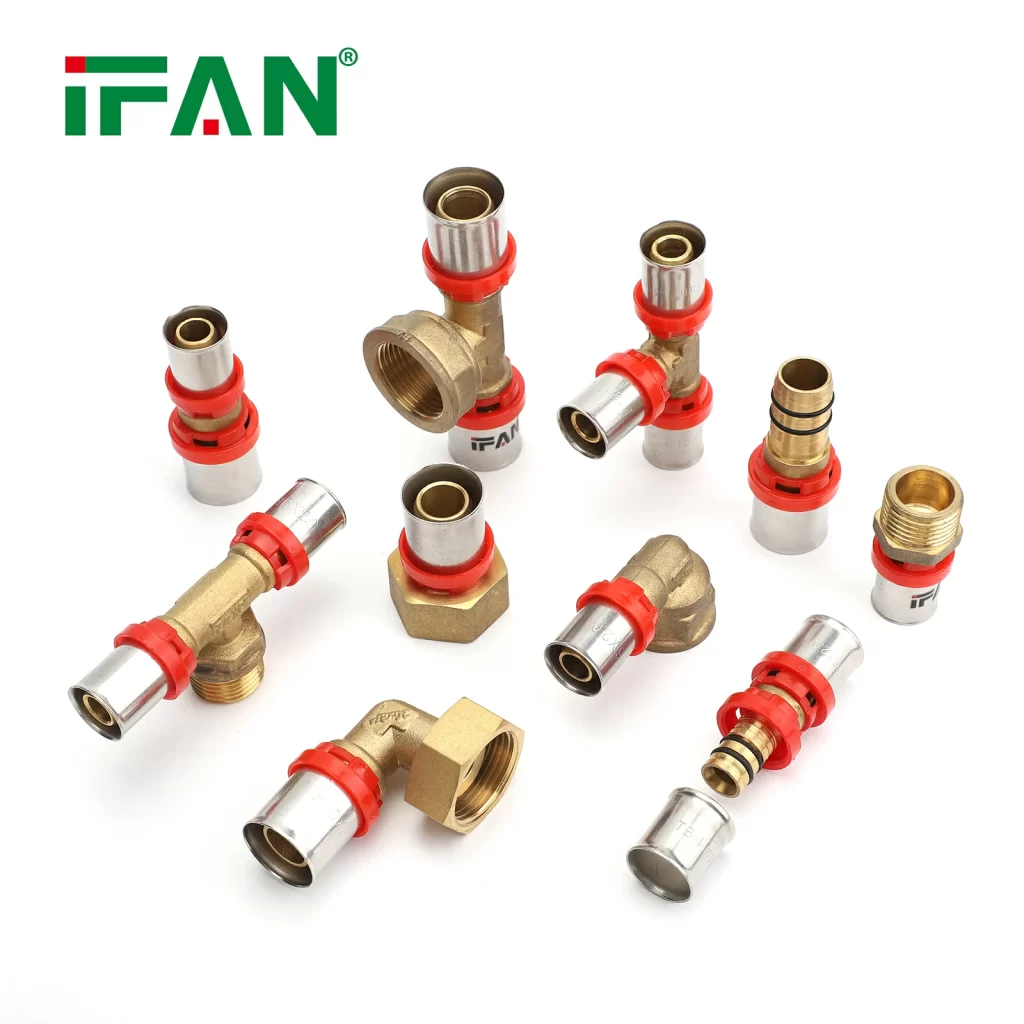
- Straight Couplings: These are the most common PEX fittings and are used to connect two sections of PEX pipe in a straight line.
- Elbows: Used to change the direction of the PEX piping at a 90-degree angle.
- Tees: These fittings allow for a branch connection to a single pipe.
- Adapters: These are used to connect PEX pipe to other types of pipe, such as copper or PVC.
Each of these fittings comes in different sizes to match the diameter of the PEX pipe you are working with, and they are designed for use with specific types of PEX, such as PEX-a, PEX-b, or PEX-c.
Why Choose PEX Press Fittings?
PEX press fittings have a number of advantages that make them a popular choice among plumbers and homeowners alike. Some of the key benefits include:
1. Ease of Installation
One of the main reasons PEX press fittings are so popular is the ease with which they can be installed. Unlike soldered fittings, which require heat and skill to install, PEX press fittings can be installed quickly with the use of a simple press tool. This means that even inexperienced DIYers can use PEX press fittings with relative ease, reducing installation time significantly.
2. No Flame or Heat Required
PEX press fittings do not require any flame or heat to create a secure connection, making them safer to use, especially in areas where open flames are prohibited or impractical. This is particularly important when working in environments where there are flammable materials or in situations where traditional soldering might cause damage to surrounding materials.
3. Reliable and Leak-Free
Once installed, PEX press fittings offer a durable and reliable connection that is resistant to leaks. The press tool applies consistent pressure to ensure a tight, leak-proof seal. This makes PEX press fittings ideal for both water supply lines and heating systems.
4. Durable and Corrosion-Resistant
PEX press fittings are made from high-quality materials, often brass or stainless steel, which are resistant to corrosion. This makes them suitable for long-term use in both hot and cold water systems, and their durability ensures that the fittings won’t degrade or leak over time.
5. Versatility
PEX press fittings are versatile and can be used in a variety of applications, including residential plumbing systems, radiant heating systems, and commercial plumbing installations. They come in various sizes and configurations, making them compatible with a wide range of PEX pipes and other plumbing systems.
Tools Needed to Connect PEX Press Fittings
To properly install PEX press fittings, you’ll need a few essential tools. Here is a list of the basic tools required for connecting PEX press fittings:
1. PEX Press Tool
The most important tool for connecting PEX press fittings is the PEX press tool. This tool is specifically designed to crimp or press the fitting onto the PEX pipe, creating a secure, leak-proof connection. Press tools come in manual, battery-operated, or hydraulic versions, depending on the size and scale of your project.
2. PEX Pipe Cutter
A PEX pipe cutter is used to make clean, straight cuts in the PEX pipe. This tool ensures that the pipe ends are properly prepared for fitting installation. A clean, square cut is essential for achieving a reliable seal with the fitting.
3. Deburring Tool
After cutting the PEX pipe, it’s important to remove any burrs or rough edges to ensure that the press fitting can be installed properly. A deburring tool is used to smooth out the cut edges of the PEX pipe before inserting it into the fitting.
4. Fitting Calibration Tool
A fitting calibration tool is used to ensure that the PEX pipe is inserted into the fitting to the correct depth. This helps to achieve a consistent and secure connection every time.
5. Measuring Tape
A measuring tape is essential for measuring the correct lengths of PEX pipe and ensuring that the fittings are installed at the proper locations in the plumbing system.
Step-by-Step Guide to Connecting PEX Press Fittings
Now that you have the necessary tools and materials, let’s dive into the step-by-step process of connecting PEX press fittings:
Step 1: Prepare the PEX Pipe
The first step is to cut the PEX pipe to the required length using a PEX pipe cutter. Make sure the cut is straight and clean. After cutting, use a deburring tool to smooth out any rough edges or burrs on the pipe, ensuring a proper seal with the fitting.
Step 2: Insert the Fitting
Insert the PEX pipe into the press fitting. Ensure that the pipe is inserted all the way to the depth mark on the fitting. If necessary, use a fitting calibration tool to verify that the pipe is properly inserted into the fitting.
Step 3: Use the PEX Press Tool
Position the PEX press tool over the fitting, ensuring that the jaws of the tool are aligned with the fitting’s crimping area. When the tool is in position, squeeze the handles to apply pressure, which will compress the fitting around the PEX pipe, creating a secure, leak-proof seal.
Step 4: Inspect the Connection
Once you have pressed the fitting onto the PEX pipe, carefully inspect the connection to ensure that it is secure. Check for any signs of gaps or misalignment. You can use a visual inspection tool to verify that the fitting has been properly pressed.
Step 5: Test the System
After all fittings are installed, it’s crucial to test the system for leaks. Turn on the water supply and check for any leaks around the connections. If a leak is detected, the fitting may need to be re-pressed or replaced.
Advantages of Connecting PEX Press Fittings
The benefits of connecting PEX press fittings extend far beyond ease of use. Some key advantages include:
1. Speed of Installation
With PEX press fittings, the installation process is quick and efficient. Unlike traditional methods like soldering or threading, which can take time and require multiple steps, PEX press fittings can be installed in just a few minutes per connection.
2. Safety
Because PEX press fittings do not require heat, there is no risk of fire or burns during installation. This makes them a safe alternative to soldering, especially in environments with flammable materials.
3. Long-Term Reliability
PEX press fittings are designed to last, providing a durable and reliable connection that can withstand high pressure and temperature fluctuations. This makes them a great choice for both residential and commercial plumbing systems.
4. Cost-Effective
Although the initial cost of a PEX press fitting tool may seem high, the time savings and reduced labor costs associated with PEX press fittings make them a cost-effective choice in the long run.
Conclusion
Connecting PEX press fittings is an easy, efficient, and reliable method for installing plumbing systems. The benefits of using PEX press fittings, such as speed, safety, and durability, make them an excellent choice for both professional plumbers and DIY enthusiasts. By following the proper steps and using the right tools, you can ensure a secure, leak-free connection that will provide long-lasting performance for your plumbing system.
Frequently Asked Questions (FAQs)
- What types of fittings can be used with PEX press fittings? PEX press fittings come in a variety of types, including straight couplings, elbows, tees, and adapters. These fittings can be used to connect PEX pipes in various configurations, depending on the needs of your plumbing system.
- Do I need special tools to install PEX press fittings? Yes, you will need a PEX press tool to properly install PEX press fittings. Other tools, such as a PEX pipe cutter and deburring tool, are also necessary to prepare the PEX pipe for installation.
- Can I use PEX press fittings in outdoor installations? Yes, PEX press fittings can be used in outdoor installations, but it’s important to ensure that the PEX pipe is protected from UV rays, as prolonged exposure to sunlight can degrade the material.
- **How do I know if my PEX
press fittings are installed correctly?** After pressing the fitting onto the pipe, check for a secure, tight seal. You can also perform a water test to check for leaks. If there are any signs of leakage, the fitting may need to be re-pressed.
- How long do PEX press fittings last? PEX press fittings are designed to last for many years. The durability of the fittings depends on factors like water quality, pressure, and temperature, but they can last up to 50 years or more when installed correctly.