As winter approaches, homeowners in Iowa and other cold regions must take proactive steps to protect their plumbing systems. One common concern is the risk of burst or frozen PEX (cross-linked polyethylene) pipes. While PEX is known for its flexibility and resistance to freezing, it is not immune to the effects of extreme cold. This article provides a comprehensive guide on how to prevent burst or frozen PEX pipes, ensuring your plumbing system remains intact during harsh winter conditions.
1. Understanding PEX Pipes
1.1. What is PEX?
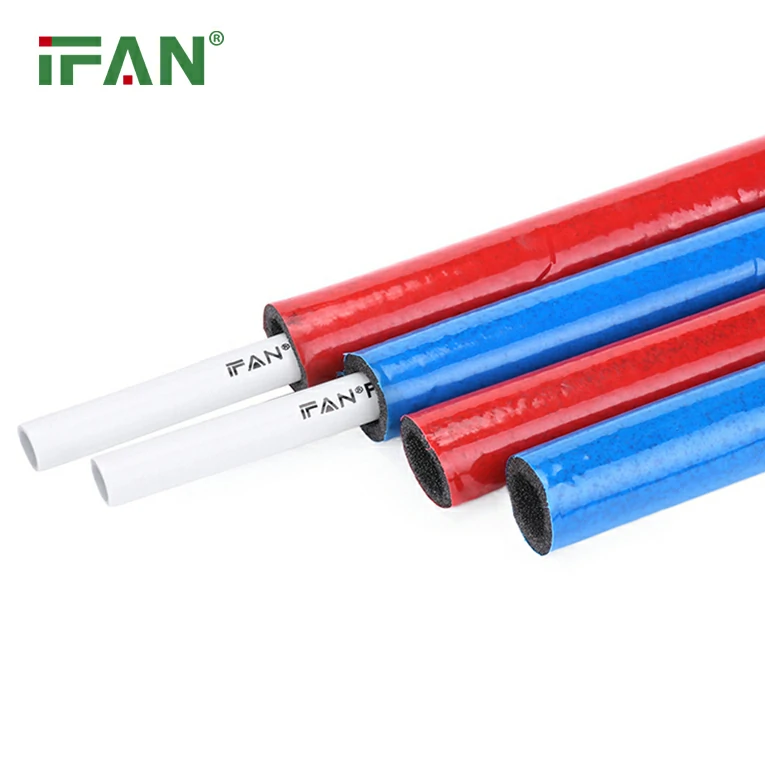
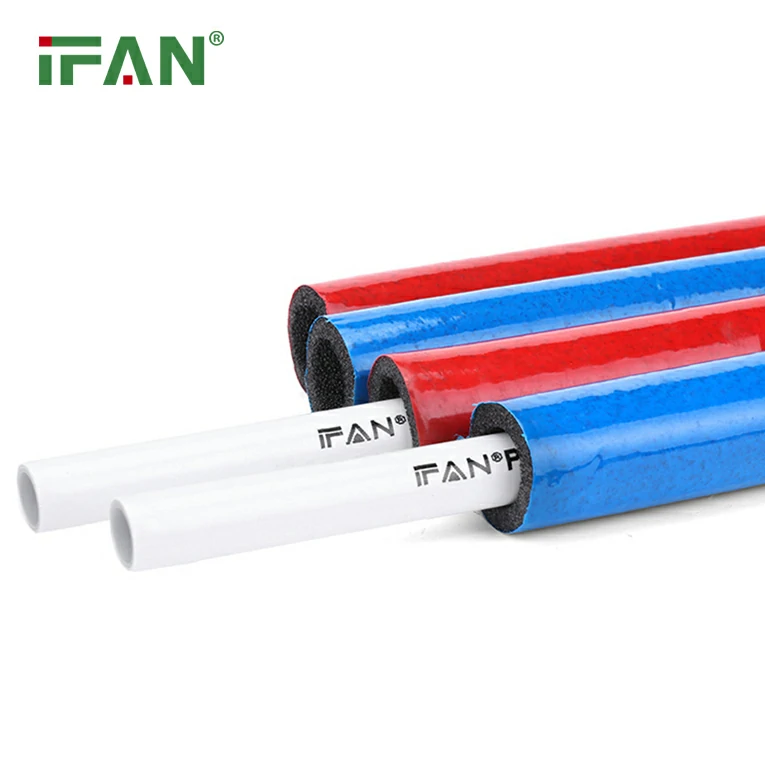
PEX, or cross-linked polyethylene, is a type of plastic piping widely used in residential and commercial plumbing systems. Its flexibility, resistance to corrosion, and ease of installation make it a popular choice among builders and homeowners. PEX pipes are available in various colors, typically red for hot water and blue for cold water, facilitating easy identification during installation.
1.2. How PEX Handles Freezing
One of the significant advantages of PEX is its ability to expand when water freezes, reducing the risk of bursting. Unlike rigid pipes, which can crack under pressure, PEX can accommodate the expansion of ice. However, this does not mean that PEX is entirely immune to freezing. If temperatures drop significantly, or if pipes are poorly insulated, freezing can still occur, leading to potential damage.
2. Common Causes of Frozen PEX Pipes
2.1. Poor Insulation
One of the primary reasons PEX pipes freeze is inadequate insulation. Pipes located in unheated areas, such as basements, attics, or crawl spaces, are particularly vulnerable to cold temperatures.
2.2. Drafty Areas
Pipes situated near drafty windows, doors, or exterior walls are at a higher risk of freezing. Cold air can seep into these areas, lowering the temperature around the pipes.
2.3. Extended Periods of Cold Weather
Prolonged periods of extreme cold can freeze PEX pipes, especially if they are not adequately protected. This is particularly relevant in Iowa, where winter temperatures can plummet.
2.4. Lack of Water Flow
When water is not flowing through the pipes, the risk of freezing increases. This is especially true for fixtures that are rarely used, such as guest bathrooms or outdoor spigots.
3. Preventive Measures for Frozen PEX Pipes
3.1. Insulate Pipes
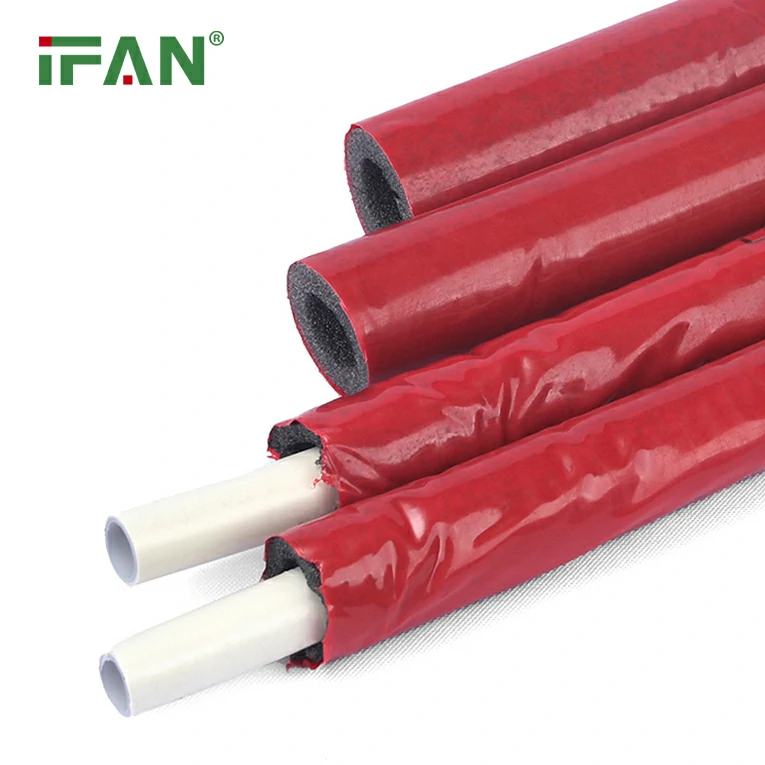
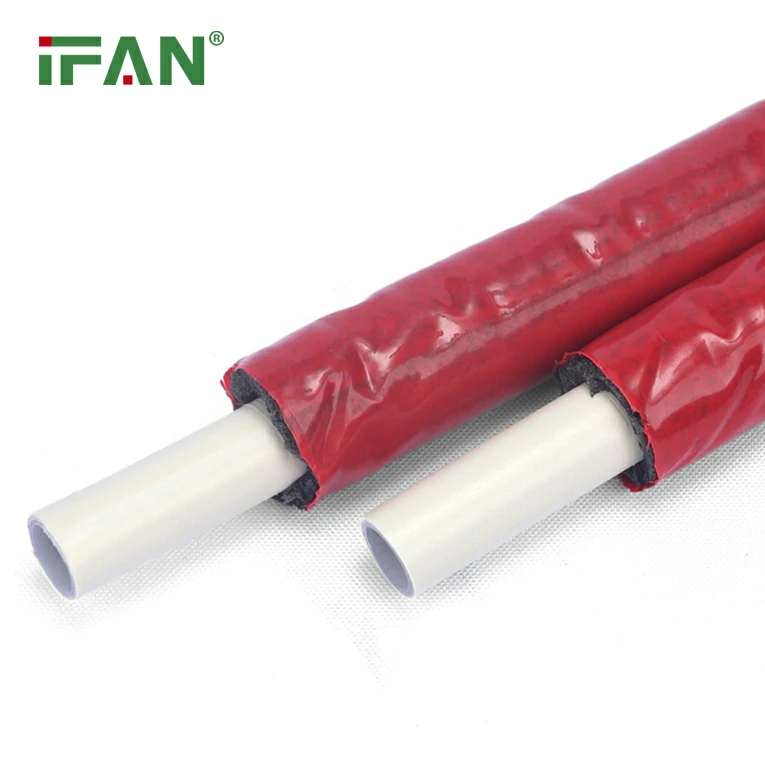
Insulation is key to preventing frozen pipes. Use foam pipe insulation sleeves or wrap insulation tape around exposed PEX pipes, particularly those in unheated areas. This additional layer of protection helps maintain the temperature of the water inside the pipes.
3.2. Seal Drafts
Identify and seal any drafts in areas where pipes are located. Use weather stripping or caulking to seal gaps around windows, doors, and walls. This will help keep cold air from reaching your plumbing.
3.3. Maintain a Consistent Temperature
Keep your home’s thermostat set to a consistent temperature, even when you are away. Avoid setting the thermostat lower than 55°F (13°C) during cold spells, as this can increase the risk of freezing.
3.4. Allow Faucets to Drip
During extremely cold weather, allow faucets connected to PEX pipes to drip slightly. This keeps water flowing through the pipes, reducing the chances of freezing. Even a small trickle can make a significant difference.
3.5. Open Cabinet Doors
If you have PEX pipes running through cabinets, especially those under sinks, open the cabinet doors to allow warm air to circulate around the pipes. This is particularly important for kitchen and bathroom sinks.
3.6. Heat Tape
Consider using heat tape or heating cables on vulnerable pipes. These products provide a consistent source of heat to prevent freezing. Follow the manufacturer’s instructions for safe installation and use.
3.7. Winterize Outdoor Plumbing
Before winter hits, ensure that outdoor plumbing, such as garden hoses and spigots, is properly winterized. Disconnect hoses, drain outdoor faucets, and consider using insulated covers for outdoor spigots.
4. What to Do If Your PEX Pipes Freeze
4.1. Identify the Frozen Section
If you suspect that your PEX pipes have frozen, locate the section of the pipe that is frozen. Look for visible signs, such as frost or bulging in the pipe.
4.2. Thawing Techniques
To thaw frozen pipes, use a hairdryer or heat gun on a low setting, applying heat gradually to the frozen section. Avoid using open flames or high heat, as this can damage the pipe. Start from the faucet end and work your way back.
4.3. Turn on the Faucet
As you apply heat, turn on the faucet connected to the frozen pipe. This allows water to flow through the pipe as it th