IFAN factory 30+ years manufacture experience support color /size customization support free sample.Welcome to consult for catalog and free samples.This is our Facebook Website:www.facebook.com,Click to watch IFAN’s product video.Compared with Tomex products, our IFAN products from quality to price are your best choice, welcome to buy!
Polypropylene Random Copolymer (PPR) fittings have gained significant popularity in the plumbing industry due to their durability, cost-effectiveness, and ease of use. Whether you’re a professional plumber or a DIY enthusiast, understanding the proper installation process for PPR fittings is crucial for ensuring a reliable, long-lasting plumbing system. This guide will walk you through the steps for installing PPR fittings, highlight some essential tips, and provide best practices to avoid common pitfalls.
What are PPR Fittings?
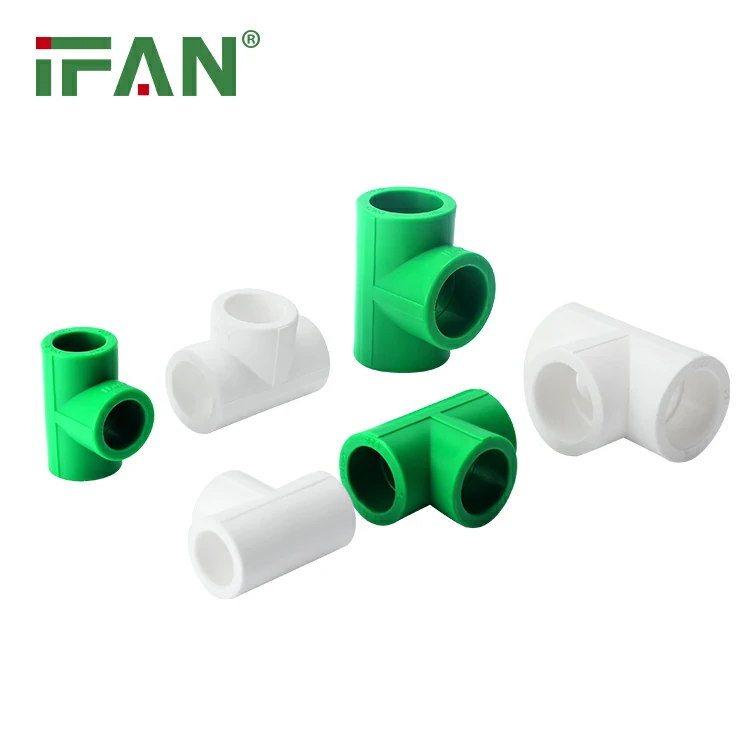
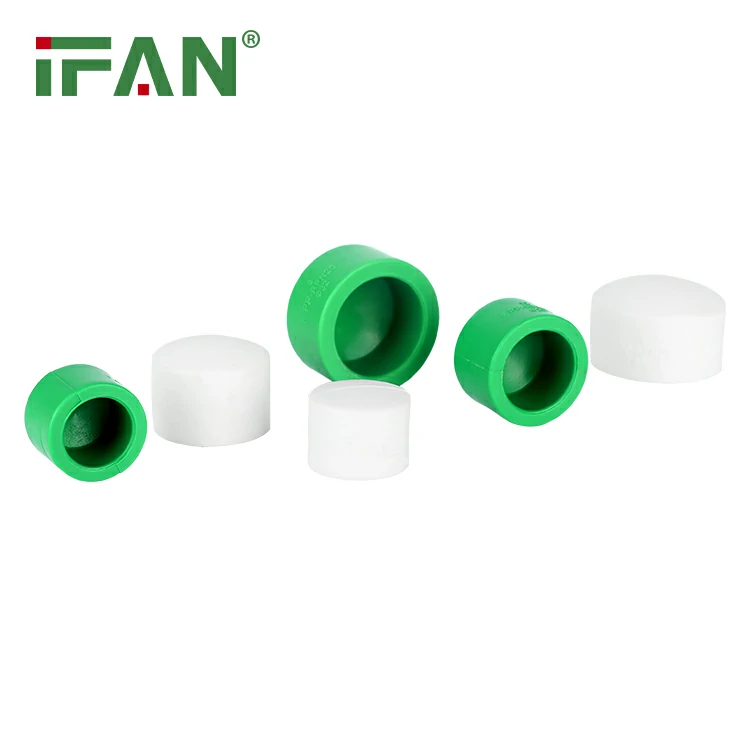
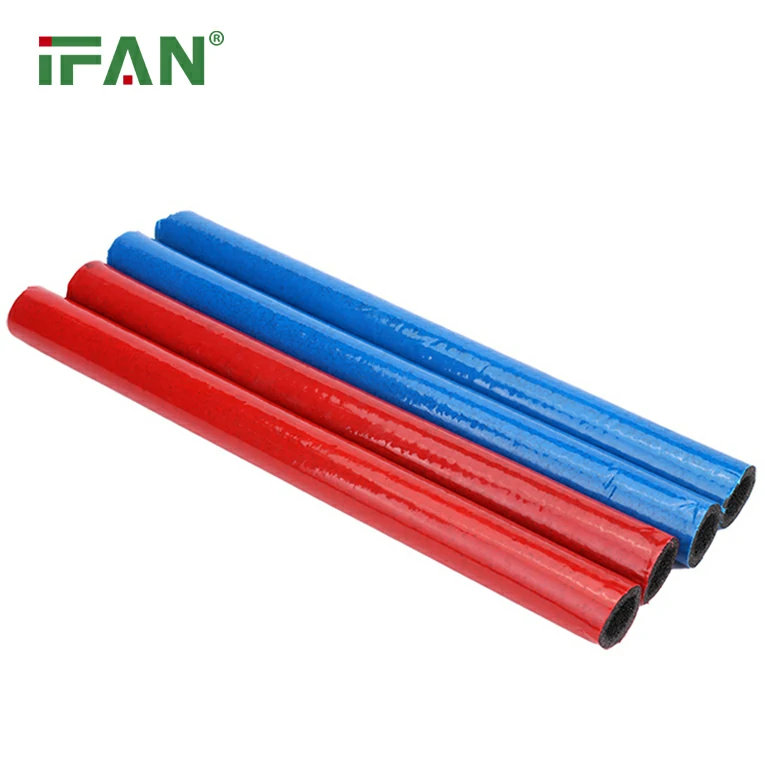
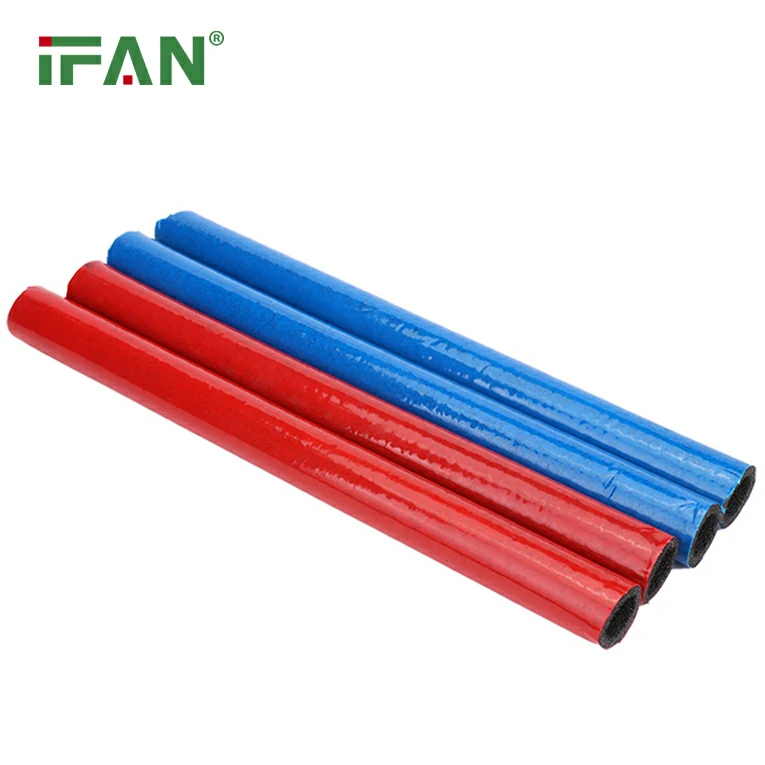
PPR fittings are plumbing components made from polypropylene, a thermoplastic polymer that is widely used for its excellent resistance to high temperatures, chemicals, and pressure. These fittings are designed to connect PPR pipes in a plumbing system, making them an ideal solution for both hot and cold water applications.
Benefits of PPR Fittings
Before diving into the installation process, it’s important to understand why PPR fittings are a preferred choice in modern plumbing systems. Here are some key advantages:
- Durability: PPR fittings can withstand years of exposure to water and temperature fluctuations without degrading.
- Corrosion Resistance: Unlike metal fittings, PPR fittings don’t rust, making them a better choice in environments with high moisture levels.
- Ease of Installation: PPR fittings are easy to install, especially with the right tools and techniques.
- Cost-Effectiveness: They are typically more affordable than traditional metal fittings such as copper or brass.
Tools Required for Installing PPR Fittings
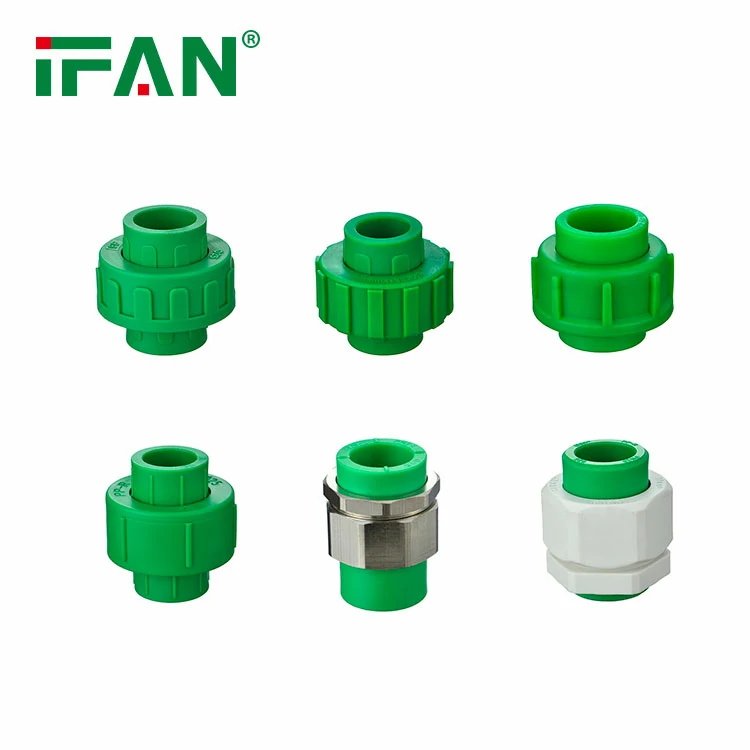
Before you begin installing PPR fittings, ensure you have the necessary tools. Some of the most important tools for the job include:
- Pipe Cutter: To cut the PPR pipes cleanly and evenly.
- Heating Tool: To soften the pipe for a secure connection.
- Pipe Deburring Tool: To smooth out any burrs on the cut edges of the pipe.
- PPR Fittings: Various fittings such as elbows, couplings, and tees.
- Measuring Tape: To measure the exact lengths of pipes and fittings.
- Wrench: For tightening and securing any threaded fittings.
Having these tools on hand will make the installation process smoother and more efficient.
Step-by-Step Guide to Installing PPR Fittings
Step 1: Measure and Cut the Pipe
Start by measuring the exact length of PPR pipe that you need for your plumbing system. Use a measuring tape to ensure accuracy, as improper measurements can lead to wasted materials or improperly fitting pipes.
Once you have your measurements, use a pipe cutter to make a clean, straight cut on the PPR pipe. A clean cut is essential for a tight fit when inserting the pipe into the fitting. Make sure the pipe ends are square and smooth.
Step 2: Deburr the Edges
After cutting the PPR pipe, use a deburring tool to remove any rough edges or burrs left from the cutting process. Burrs can prevent a secure connection and may cause leaks. Take the time to smooth out any imperfections around the pipe’s edge to ensure a proper seal.
Step 3: Heat the Pipe and Fitting
PPR fittings rely on a heat fusion method for installation. This means that both the pipe and the fitting need to be heated so that they soften enough to join together securely.
Use a heating tool to evenly heat the end of the PPR pipe. Be sure to follow the manufacturer’s instructions for the correct temperature and heating time. Typically, the pipe should be heated until it reaches a soft, pliable state.
At the same time, heat the inside of the PPR fitting using the same heating tool. Heating both components ensures a tight and durable bond once they are fused together.
Step 4: Insert the Pipe into the Fitting
Once both the PPR pipe and fitting are heated, immediately insert the softened end of the pipe into the fitting. You should insert the pipe as far as it will go to ensure a secure connection. Hold the pipe and fitting together for a few seconds to allow them to cool and harden. This step is crucial for ensuring a leak-proof joint.
Be sure to align the pipe and fitting properly to avoid any misalignment, as this can cause leaks or weak spots in the joint.
Step 5: Allow the Connection to Cool
After inserting the pipe into the fitting, let it cool for several minutes to allow the joint to set completely. Do not disturb the connection during the cooling process to ensure the bond is strong.
Once cooled, check the connection for any signs of leaks by applying water pressure and inspecting the joint for any drips.
Step 6: Repeat the Process for Additional Fittings
Continue the process for all necessary connections in your system. Each PPR fitting—whether it’s an elbow, tee, or coupling—requires the same heating and inserting technique. Always ensure that both the pipe and fitting are heated to the correct temperature for a secure bond.
Tips for Installing PPR Fittings
- Work in a Well-Ventilated Area: Since you’ll be heating the pipe and fittings, ensure that you’re working in a well-ventilated space to avoid inhaling fumes.
- Avoid Overheating: Do not overheat the PPR fittings or PPR pipe. Overheating can cause the material to melt, weakening the connection.
- Use the Right Size Fittings: Ensure that the PPR fittings match the diameter of the pipes you are using. Using the wrong size can cause leaks and damage to the system.
- Properly Clean the Pipe: Before heating, clean the pipe ends to remove any dust, dirt, or grease. This ensures a clean bond between the pipe and fitting.
- Test for Leaks: After installation, always test the system by applying pressure and checking for any leaks at the joints.
Common Mistakes to Avoid
- Improper Pipe Alignment: Misalignment of the pipe and fitting can result in weak connections and leaks. Ensure proper alignment during installation.
- Overheating or Underheating: Too much heat can cause damage to the materials, while insufficient heat may lead to poor fusion. Always follow the manufacturer’s guidelines.
- Not Allowing Enough Cooling Time: Rushing the cooling process can lead to weak joints. Allow the fittings to cool completely before applying pressure.
FAQs About Installing PPR Fittings
- Do I need special tools to install PPR fittings?
Yes, you will need a pipe cutter, a heating tool, and a deburring tool to install PPR fittings correctly. - Can I use PPR fittings for both hot and cold water?
Yes, PPR fittings are suitable for both hot and cold water systems due to their excellent temperature resistance. - How long do PPR fittings last?
When properly installed, PPR fittings can last for several decades without degradation, making them a long-lasting solution for plumbing systems. - Is it necessary to heat both the pipe and the fitting?
Yes, both the PPR pipe and the fitting need to be heated for a secure and leak-free connection. - Can I install PPR fittings in tight spaces?
Yes, PPR fittings are lightweight and versatile, making them ideal for installation in tight or confined spaces.
Conclusion
Installing PPR fittings is a straightforward process that, when done correctly, ensures a reliable, leak-free plumbing system. By following the proper steps and using the right tools, you can achieve long-lasting connections in both residential and commercial applications. Always remember to take your time, avoid common mistakes, and test your system to ensure everything is functioning properly.
